

You walk out the back door, look at that gray rectangle, and feel nothing. There is a table on it. Maybe two chairs. It still reads as a parking pad with furniture parked on it. The slab is not the real problem. The problem is that nothing on it is connected to anything else, so your eye slides straight across the concrete and out into the yard.
Learning how to decorate a concrete patio is mostly about giving the eye somewhere to stop. You build a floor, then walls, then a ceiling, in that order. That is the whole trick. A rug makes the floor. Planters make the walls. String lights make the ceiling. Once those three layers exist, the concrete underneath stops being the main event and starts being the background.
This guide takes you through twelve steps, from scrubbing the slab to setting out the last lantern. Plan on one full weekend, with most of the hands-on work landing on the second day. The first day is cleaning and patching, which is dull, and drying, which requires you to leave it alone. Nothing here involves pouring, staining, or replacing your concrete. You are working with the slab you already have.
Move your furniture off, grab a broom, and let’s get the floor cleared.
Also read: DIY Solar Jar Lanterns You Can Make for Under 10 Dollars
Clear the slab down to bare concrete
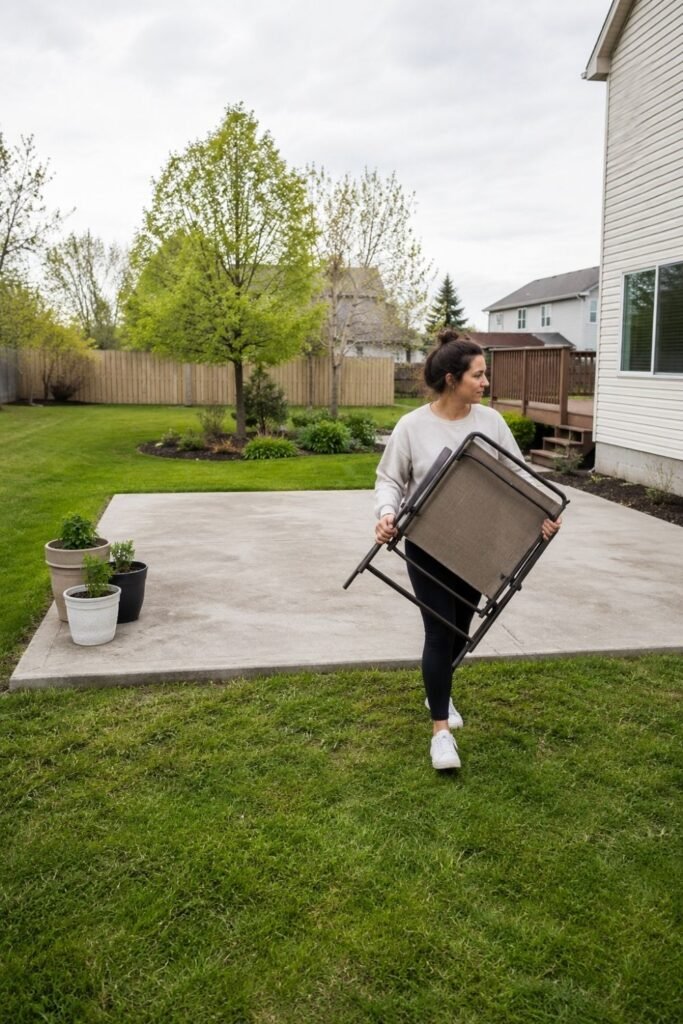
Everything goes, including the pieces you plan to put right back. You cannot read the real shape of a space with a grill, a hose reel, and a folded umbrella sitting in the middle of it. Carry the furniture, the pots, the toys, and the doormat onto the grass or driveway where you can see them all at once. Standing outside the empty slab and looking in is the only honest way to judge what actually earns its spot. Half of it will not go back.
Scrub the concrete and let it dry fully
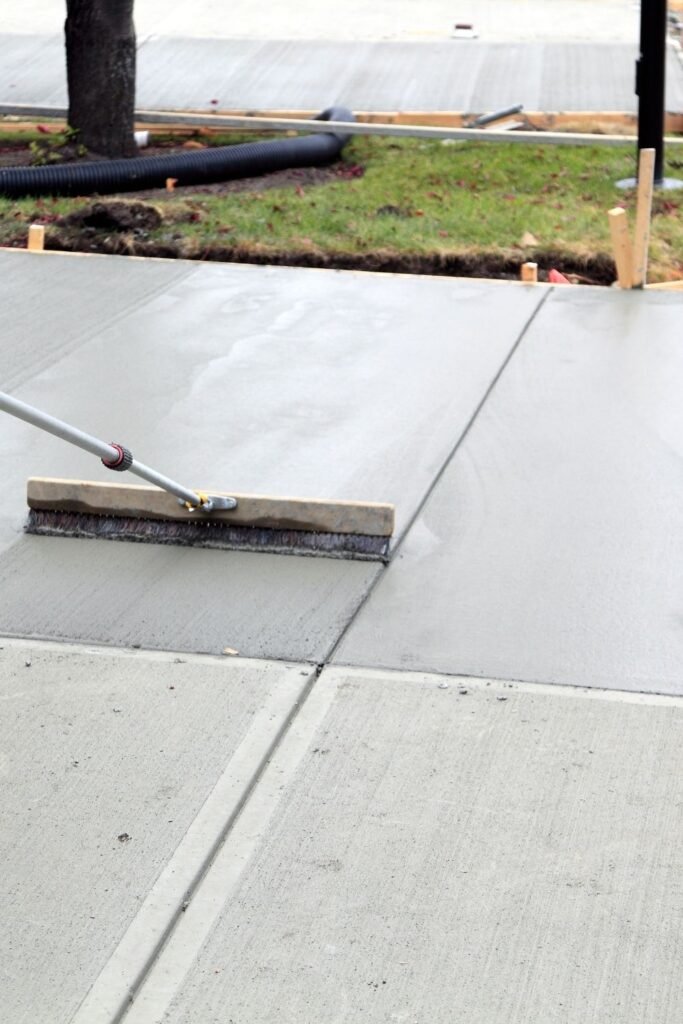
One cup of oxygen bleach powder mixed into two gallons of warm water lifts the gray film that makes a slab look dead. Sweep the whole surface first, then pour the mix in sections and work it in with a stiff push broom. Rinse with the hose. Let the concrete dry a full 24 hours before anything touches it, because damp slabs trap moisture under rugs and stain them from below.
Patch the cracks and crumbling edges
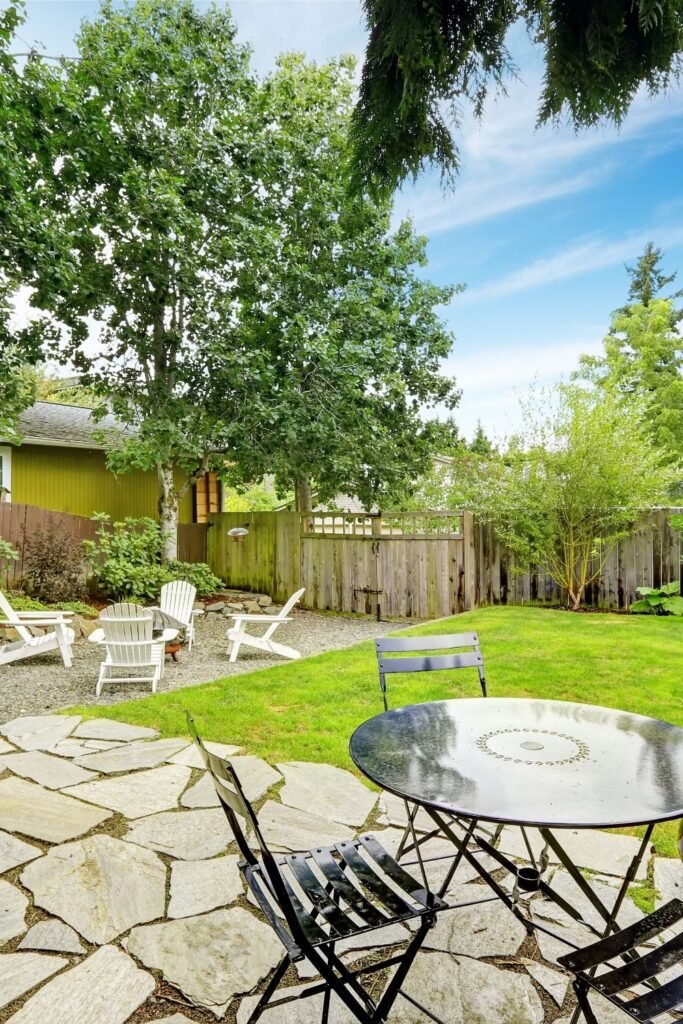
Anything narrower than 1/4 inch takes concrete crack filler from a squeeze tube and nothing more. Wider gaps need vinyl concrete patcher pressed in with a putty knife. Scrape the loose grit out of the crack first with an old screwdriver so the filler grips solid concrete instead of dust. Smooth the patch level with the slab, then wipe a damp sponge across the top to blend the edge into the surrounding surface. Uneven spots are what make furniture rock later.
Tape out two zones before you decorate a concrete patio
Most slabs get treated as one big room, and that is why they feel empty. Two smaller zones read as furnished. One big zone reads as a leftover. Grab your tape measure and painter’s tape, then mark the floor before a single chair comes back:
- Measure the full slab and write down both numbers
- Tape a rectangle for sitting, roughly two thirds of the space
- Tape a smaller square for the grill or a side table
- Leave a 36-inch walking lane from the door to the yard
Stand in the doorway and look at your tape. If the sitting rectangle touches all four edges, shrink it.
Anchor the main zone with an outdoor rug
A rug is doing structural work here, not decorative work. It gives the seating a visible floor, which is what tells your brain the area is a room instead of a patch of concrete. Lay it inside the tape lines you marked, centered, with the long side running the same direction as the slab. Roll it out and leave it flat overnight before you set furniture on it. Creases from the packaging relax on their own once the sun hits them.
Pull the seating away from the house wall
Chairs shoved against siding is a waiting room, not a patio. Slide the whole seating group forward until there is a gap of at least 12 inches behind it. That breathing room is what makes the arrangement look deliberate.
Add a low table at seat height
Sixteen to eighteen inches is the number to hit. Any taller and the table looms over the chairs. Any shorter and nobody can reach a drink without leaning forward. Measure your chair seats first, then match the table within an inch or two. A wooden crate turned upside down works if the height lands right.
Frame the open edge with tall planters
If your slab has a side that opens straight onto grass, that edge is where the room leaks out. Planters at least 16 inches tall stop it. Line up three of them along that open edge, spaced roughly 3 feet apart, so they read as a soft wall rather than a row of pots. Uneven numbers look more natural than even ones, which is why three beats four here. Set them on the concrete before you fill them, because a soil-filled 20-inch planter can weigh over 80 pounds.
Layer plants at three different heights
Fill each planter with potting soil to about 2 inches below the rim, then plant in a pattern the garden center calls thriller, filler, spiller. One tall plant in the back, something bushy in the middle, and something that trails over the front edge. Repeat that same three-part combination in every planter. Matching them looks intentional, while three different arrangements looks like whatever was on sale that day.
Hang string lights to build an overhead ceiling
Lights are the third layer, and they matter more after dark than anything else on the slab. Screw eye hooks into the house wall at 8 feet high, then find a second anchor point on the opposite side. A tall fence post works. So does a 10-foot wooden pole set into a bucket of concrete inside a planter. Run the strand across in two or three passes rather than one, letting each pass dip about 12 inches in the middle. That gentle sag is what makes the light feel like a ceiling instead of a clothesline.
Block the worst view with a screen or curtain panel
Sit down in the main chair and look around slowly. There is one thing out there you would rather not see, usually an AC unit, a trash bin corner, or a neighbor’s driveway. Put a single screen or hanging curtain panel in that one spot. Screening the whole perimeter turns the patio into a box.
Finish with pillows, a throw, and two lanterns
Three pillows in outdoor fabric is plenty, and they should share one color with your plants or your rug so the whole setup reads as connected. Drape one throw over a chair arm. Set two lanterns at different heights, one on the low table and one directly on the concrete beside a planter. That height difference is small, but it stops the finished patio from looking flat in photos.
Frequently Asked Questions
Do I need to seal or paint my concrete first?
No, and skipping it is usually the better call for a first patio. Sealing is its own weekend project with its own prep, its own cure window, and a real chance of a blotchy finish if the slab is not perfectly clean when you start. Painted concrete also chips at the edges and under chair legs, which means you sign up for touch-ups every spring. A clean, patched slab holds a rug and planters just as well as a sealed one. If you still want to seal later, do it in the fall when the patio is not in use, and pull everything off first.
Will an outdoor rug damage or stain the concrete underneath?
It only causes trouble in two situations. The first is laying a rug on a slab that has not dried fully, which traps moisture against the surface and grows mildew within a couple of weeks. The second is never lifting the rug at all. Give the concrete a full 24 hours to dry after you clean it, then plan to roll the rug back and hose the area every three or four weeks during rainy months. Polypropylene rugs handle this best because they dry fast and do not hold water the way natural fiber does. Jute and sisal look beautiful indoors, but on an outdoor slab they stay damp and start smelling within one season.
What if my patio is small, like 8 by 10 feet?
Build one zone instead of two. The zoning step exists to break up a large empty floor, and a small slab does not have that problem. Use a 5 by 8 foot rug centered on the space, two chairs, one low table between them, and two planters instead of three. Push the planters into the corners rather than lining them along an edge, because corner placement keeps the walking path clear. Skip the privacy screen too unless the view is really bad, since a screen on a small patio eats floor space and makes the whole thing feel closed in.
Can I do this on a slab that slopes?
Yes, and almost every slab does. Builders pour a slight slope on purpose so rain runs away from the house instead of pooling against the foundation. You will barely notice it once furniture is down. Set your seating so the slope runs side to side rather than front to back, which keeps chairs from feeling like they are tipping forward. If a table or chair rocks, slide a rubber furniture pad or a folded shim under the short leg. Check your low table with a level before you commit, because a drink sliding off is the one thing people notice immediately.
How much does the whole thing cost?
Expect somewhere between 250 and 600 dollars if every item is bought new. The rug and the planters take the biggest bite by far, usually more than half the total. String lights run 30 to 60 dollars for a 48-foot strand, and the cleaning and patching supplies together come in under 40 dollars. You can cut the total close to half by thrifting the planters, using a secondhand table, and buying smaller plants that fill out over one growing season. Buying end-of-season in late summer is the single biggest saving, since outdoor rugs and planters get marked down hard once August ends.
Will the string lights survive winter?
Outdoor-rated strands handle rain, snow, and cold without a problem. Ice is the real threat. When water freezes on the cord, the added weight pulls at the sockets, and that is where strands fail first. If you live somewhere that gets a hard freeze, take the lights down in late fall, coil them loosely around a piece of cardboard, and store them somewhere dry. Coiling them tight puts stress on the wire and cracks the insulation over time. In mild climates you can leave them up year-round, but check the sockets each spring for any that have loosened.
How do I keep the plants alive if I forget to water them?
Choose plants that expect to be forgotten. Succulents, ornamental grasses, lavender, rosemary, and sedum all handle a missed week without complaint, and they still give you the three heights the layering step calls for. Big planters help more than anything else, because a 16-inch or taller pot holds enough soil to stay damp for days while a small pot dries out in one hot afternoon. Adding a 2-inch layer of mulch on top of the soil cuts water loss noticeably. If you travel often, a cheap drip line on a hose timer costs about 35 dollars and removes the problem entirely.
Does any of this work on a covered porch or under a roof?
It works better, actually. A roof already gives you the overhead layer, so the string lights become decoration rather than structure, and you can hang them along the beams instead of stringing them across open air. Rugs last longer under cover because they stay dry. The one thing that changes is your plant choice, since a covered slab gets far less direct sun than an open one. Look for shade-tolerant plants like ferns, hostas, or pothos, and move them out into the rain every few weeks so they get a proper soak.
You Built a Room, Not a Slab
Your patio has a floor, walls, and a ceiling now. That is the whole difference.
Give it a week before you change anything else. Sit out there a few evenings and you will notice the one thing still missing, usually a spot to set a plate or a second chair for company.
Now that you know how to decorate a concrete patio, the same three layers work on a balcony, a deck, or a front step.
Pin this to your outdoor space board so it’s waiting for you when the weather turns.