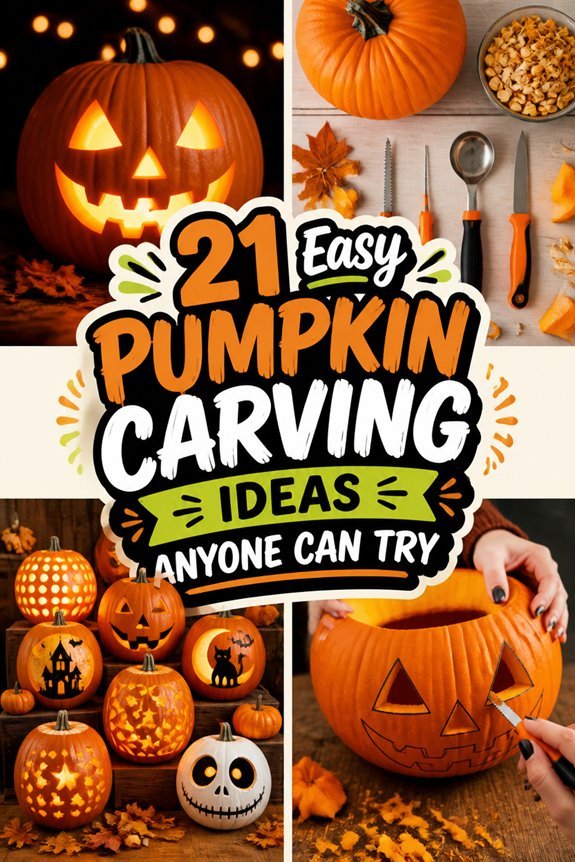
Carving pumpkins has always felt like the official kickoff to fall. Even if you’ve never held a knife to gourd flesh before, simple triangle eyes and a lopsided grin will absolutely do the trick.
Ready to level up? Skeleton hands reaching across the surface or a crisp moon-and-stars pattern adds serious wow factor without requiring pro skills. For the truly ambitious, nested cutouts and spooky haunted houses await—just grab your basic tools and block out an evening.
Simple Triangle Eyes and Nose
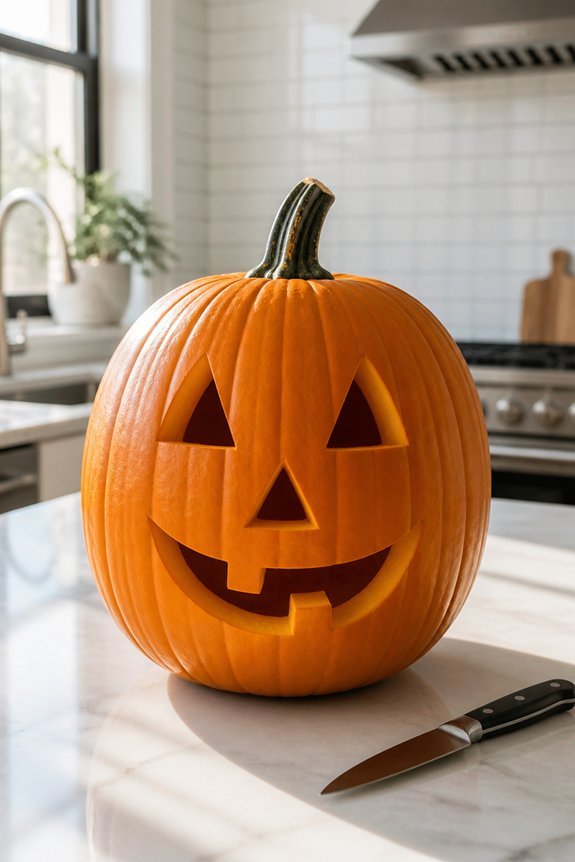
Why do so many people choose the classic triangle design for pumpkin carving? The triangle pattern remains popular because it requires minimal carving skill, uses basic geometric shapes, and produces a recognizable jack-o’-lantern face.
Two triangles serve as eyes, while a single triangle forms the nose. This straightforward approach works well for beginners, children, and anyone seeking quick results without complicated techniques or special tools.
The Friendly Smile Design
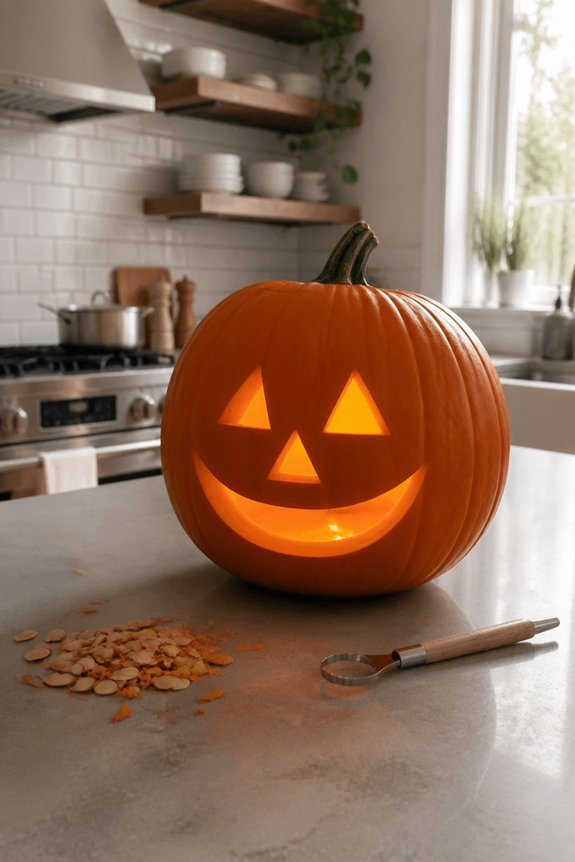
A curved mouth carved into a pumpkin creates a distinctive, approachable appearance that differs markedly from the triangle face.
The smile design requires carving a semi-circular or crescent-shaped line across the lower pumpkin section. Carvers can use a serrated knife or saw for this curved cut.
This expression works well for family-friendly displays and combines effectively with circular or oval eye shapes for balanced facial proportions.
Minimalist Moon and Stars
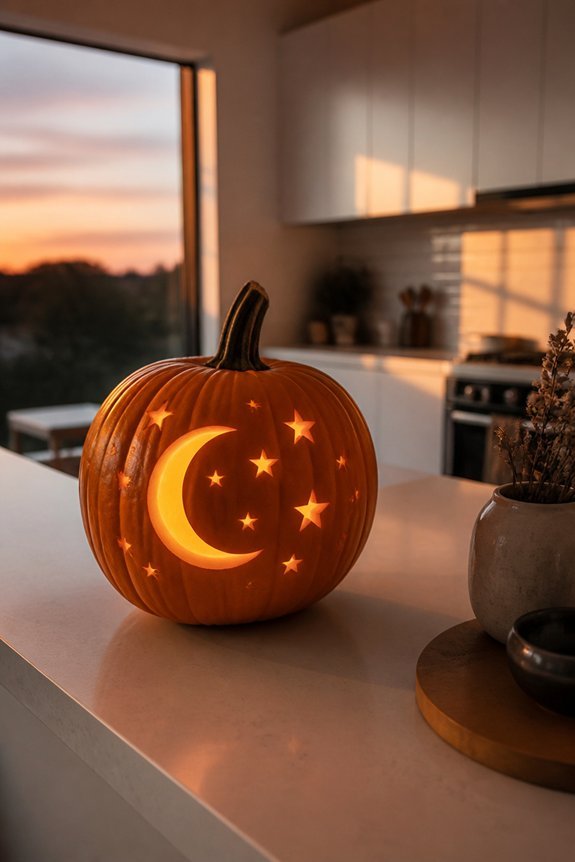
Celestial imagery offers a straightforward alternative to traditional facial designs, requiring only simple geometric shapes carved across the pumpkin surface. A crescent moon, stars, and planets work effectively with minimal detail.
Carvers should sketch the design lightly, then remove skin carefully around marked areas.
This approach produces an elegant result suitable for various skill levels and pumpkin sizes.
Candy Corn Stripes
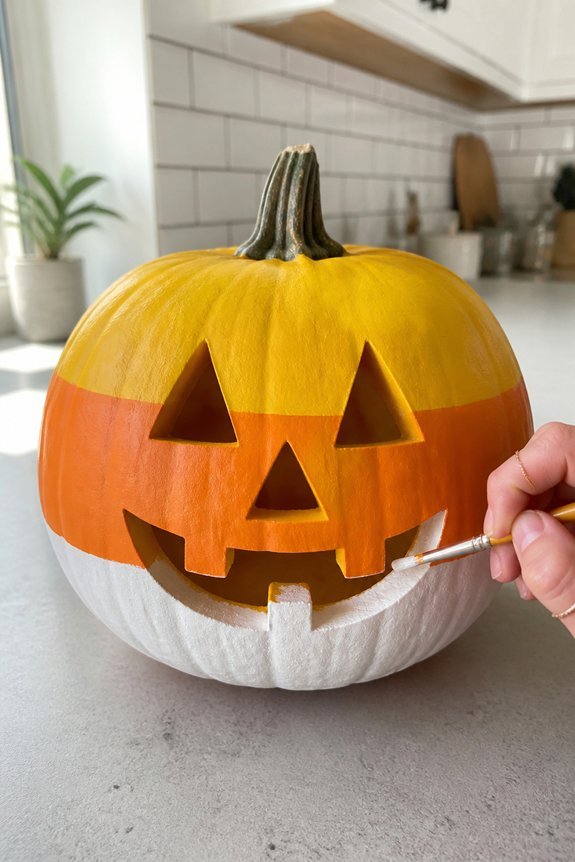
For a more colorful approach, carvers can create horizontal stripes using the iconic candy corn pattern of orange, yellow, and white.
This design requires cutting through the pumpkin skin at consistent intervals, removing sections to reveal the lighter flesh beneath.
The stripes alternate in color progression from top to bottom, mimicking the familiar candy structure.
This pattern works well on medium to large pumpkins.
Glowing Constellation Map
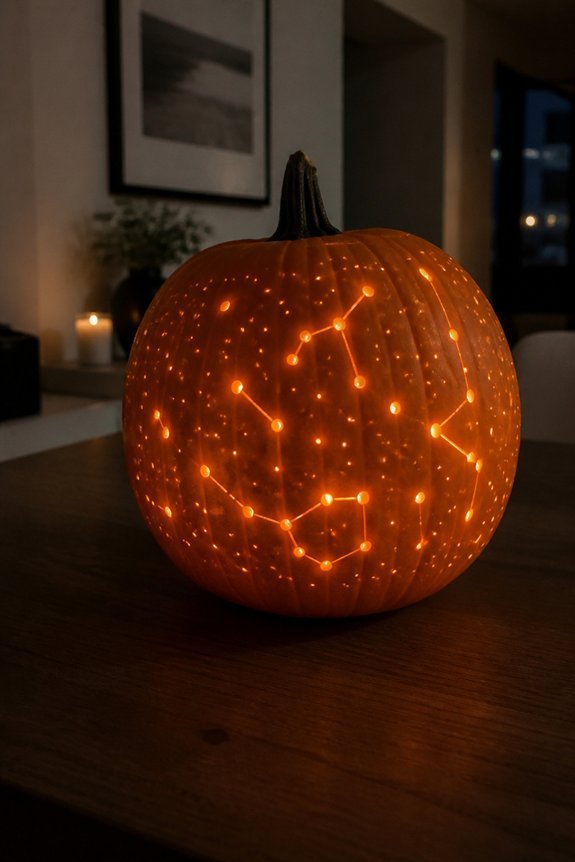
Stargazers and astronomy enthusiasts can transform a pumpkin into an illuminated map of the night sky by strategically carving constellation patterns. Popular choices include Orion, the Big Dipper, and Cassiopeia.
Carvers should sketch designs lightly before cutting, ensuring holes are positioned to allow light from internal candles or LED lights to shine through the carved sections effectively.
The Classic Jack-O’-Lantern Face
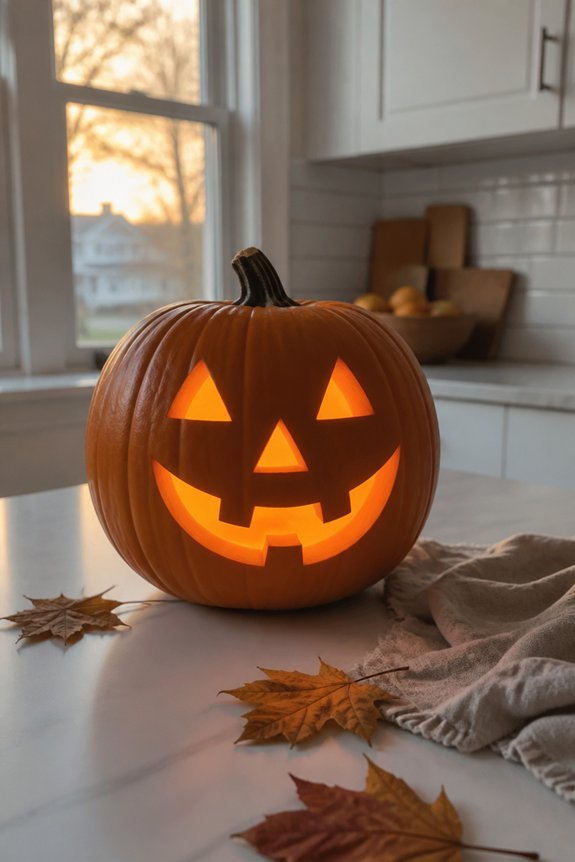
The traditional carved pumpkin face remains the most recognizable Halloween decoration, featuring triangular eyes, a triangular or circular nose, and a carved mouth. This design works well because it requires basic carving skills and minimal planning.
Carvers can adjust the eye and nose sizes to create different expressions, ranging from friendly to menacing. A standard kitchen knife or pumpkin saw handles this project efficiently.
Spooky Skull Carving
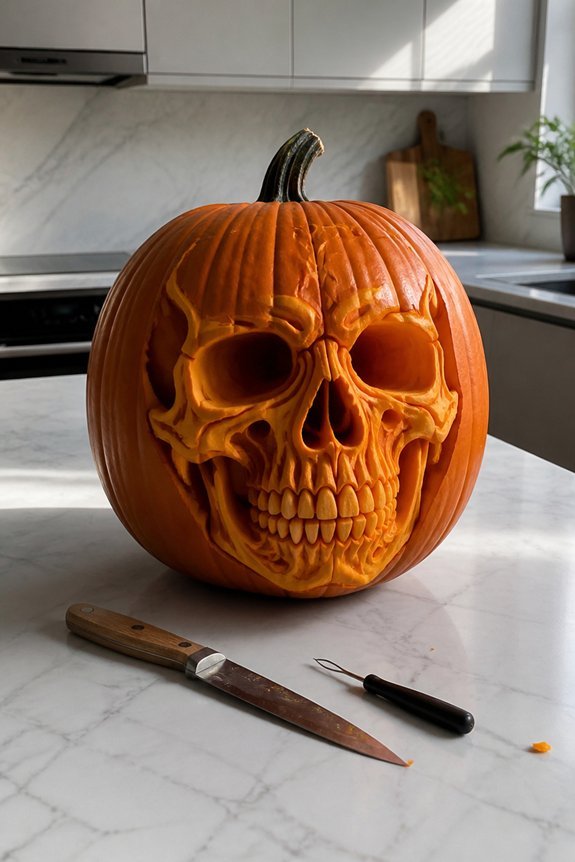
Skull designs offer carvers an alternative approach to traditional jack-o’-lantern faces, requiring more precision and planning than basic triangular features.
Carvers can sketch a skull outline, marking eye sockets, nasal cavity, and teeth before cutting. Crossbones patterns work well beneath the skull, adding complexity.
This design requires steady hand control and careful depth management to avoid puncturing through the pumpkin skin entirely.
Scary Ghost Face
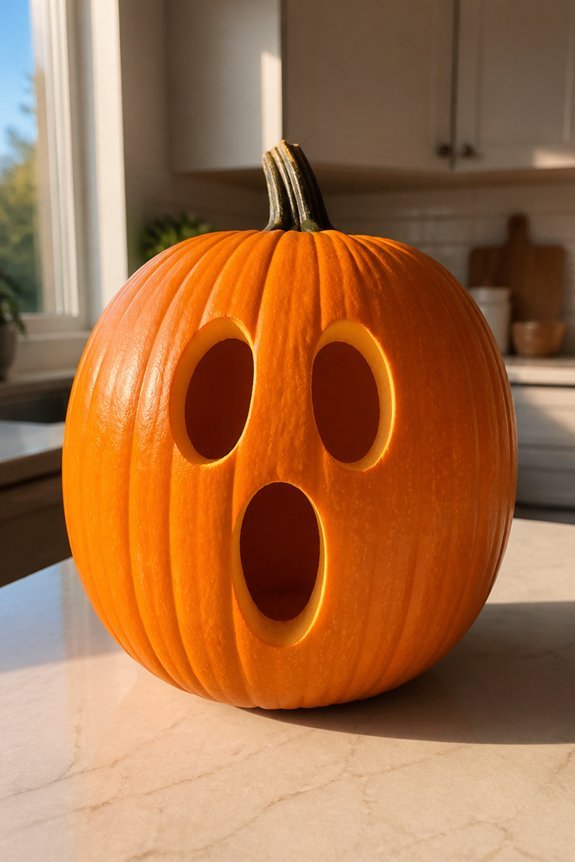
While skull designs demand technical precision and careful depth control, ghost faces present a different carving challenge that relies on simpler shapes and broader features.
Carvers create oval eye sockets, a triangular nose cavity, and an open mouth opening. These designs require less detail work, making them suitable for beginners.
The straightforward geometry allows faster completion with minimal skill requirements.
Frankenstein’s Monster Face
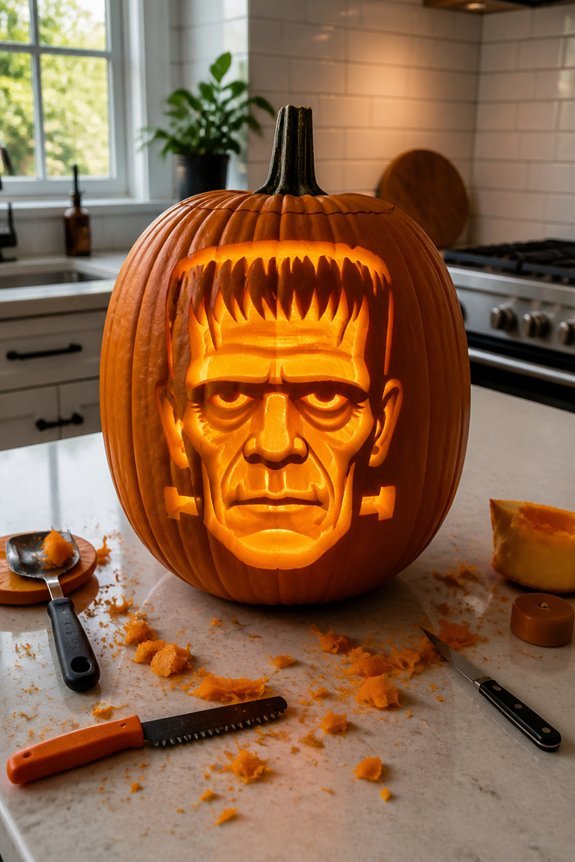
Iconic monster features, including a flat-topped head, protruding forehead, and bolts on the neck, create a recognizable design for pumpkin carving.
Carvers can sketch the angular face shape, deep-set eyes, and prominent chin before cutting. The neck bolts, positioned on both sides, require careful placement for balance.
This classic monster design offers moderate difficulty, suitable for intermediate carvers with basic pumpkin preparation experience.
Black Cat Profile
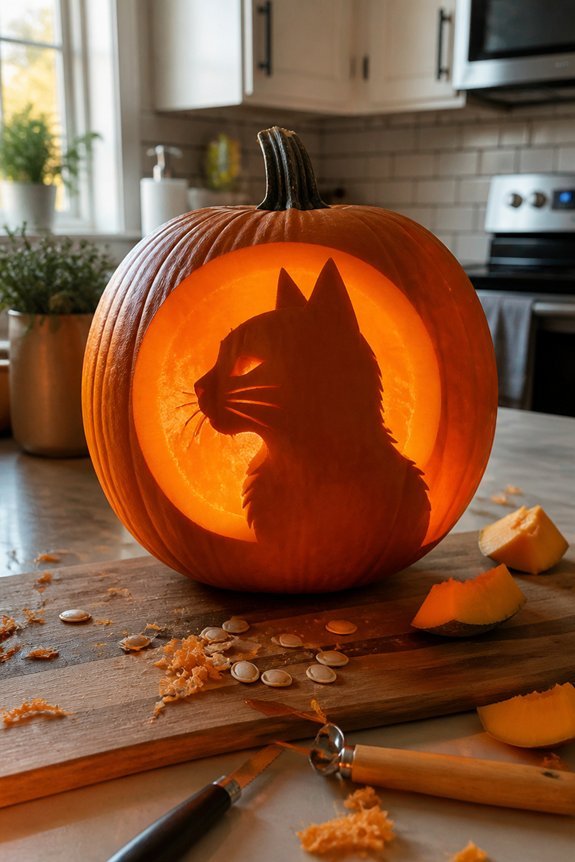
Because cats are recognizable symbols of Halloween, a black cat profile offers an effective pumpkin carving design.
The silhouette approach requires carving the cat’s head, pointed ears, and curved body outline into the pumpkin surface.
This method works well for beginners since it involves simple shapes rather than detailed facial features.
A side-view angle emphasizes the cat’s distinctive ear points and body contour effectively.
Witch Hat Silhouette
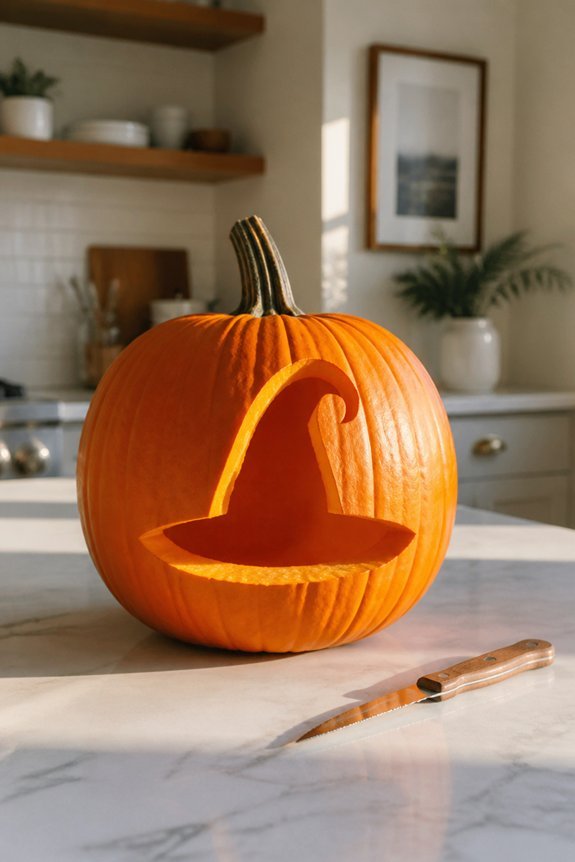
A witch hat silhouette presents another classic Halloween pumpkin carving option that works alongside other seasonal designs.
Carvers can sketch a wide-brimmed hat shape with a tall crown and band detail, then remove the outlined sections.
This design pairs well with the black cat profile, creating a cohesive Halloween theme on multiple pumpkins throughout a yard or entryway.
Vampire Fangs and Cape
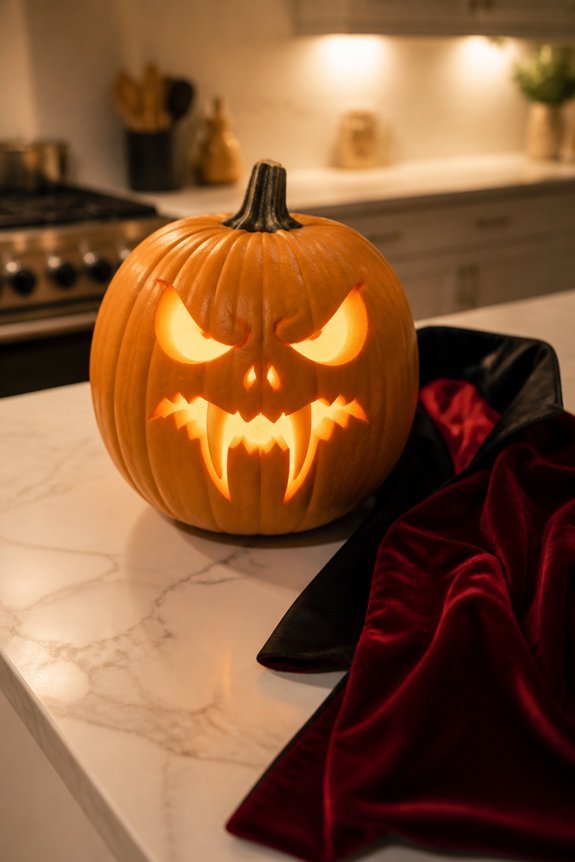
While vampire themes offer a straightforward carving approach, they require attention to proportions and detail work. Carvers can create downward-pointing fangs, using triangular shapes positioned symmetrically on the upper teeth area.
A cape design works best as a simple outline around the pumpkin’s sides, connecting from shoulders to base.
Both elements benefit from practice sketches before carving begins.
Creepy Skeleton Hand
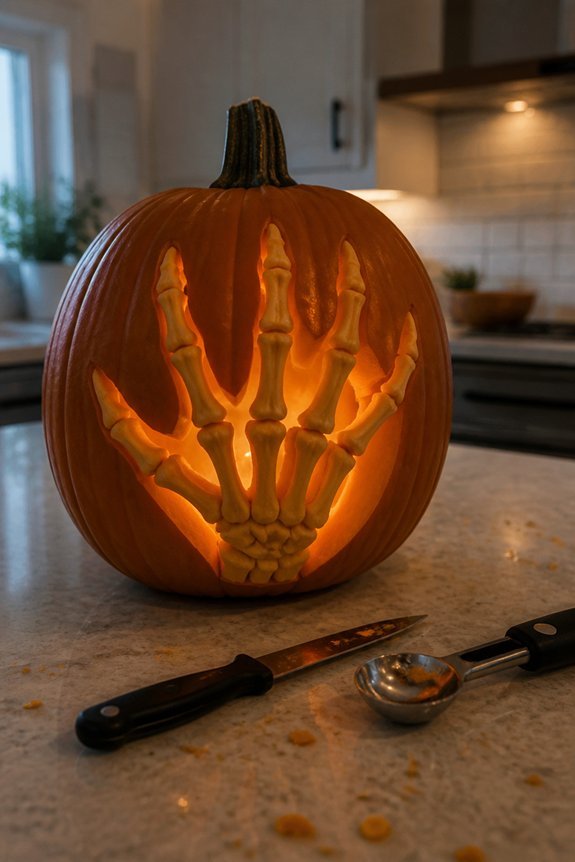
Skeleton hands represent a moderately complex carving option that extends beyond simple facial features.
Carvers should sketch the design beforehand, marking finger bones, knuckles, and palm details.
Using a serrated knife or specialized pumpkin saw, carefully cut along the lines.
The hand can reach outward from the pumpkin’s side or emerge from the top, creating an unsettling effect with proper shading and depth.
Evil Clown Expression
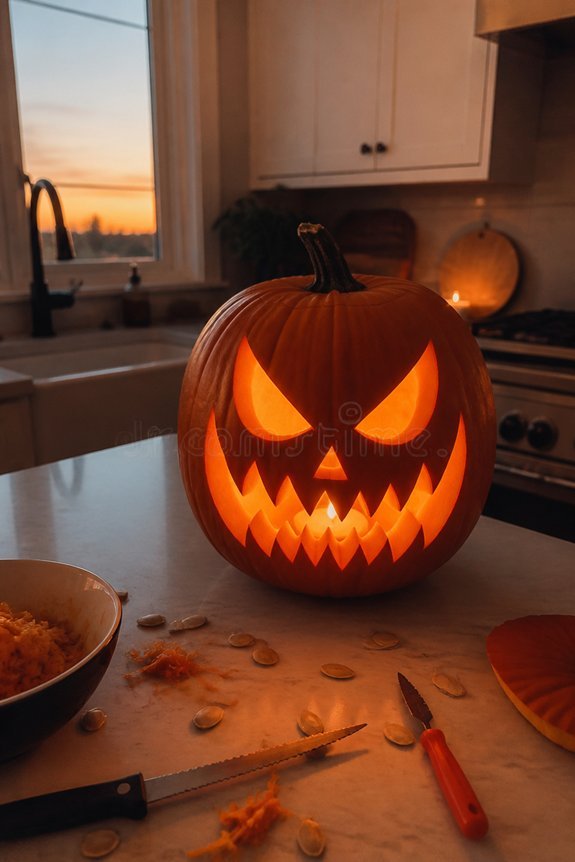
Evil clown expressions offer a different carving approach compared to skeletal designs, focusing on facial features rather than body parts. Carvers can create exaggerated grins, triangular eyes, and curved eyebrows to achieve this effect.
Using a combination of cuts and scraped areas produces depth and dimension. A wide mouth, pointed nose, and asymmetrical face elements enhance the unsettling appearance effectively.
Bat Wings Pattern
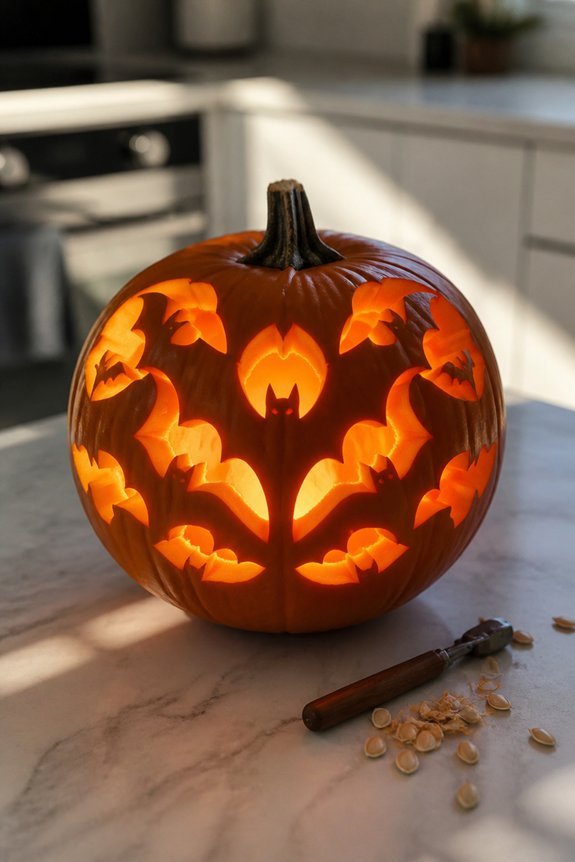
Bat wing patterns present a straightforward carving option that translates well onto pumpkin surfaces. The design requires basic curved lines, making it accessible for beginners.
Carvers can position wings symmetrically on either side of the pumpkin’s face, or place them asymmetrically for variation.
Simple curved cuts work effectively, while more detailed versions incorporate multiple layers and shading techniques for added dimension and visual interest.
Spider Web Design
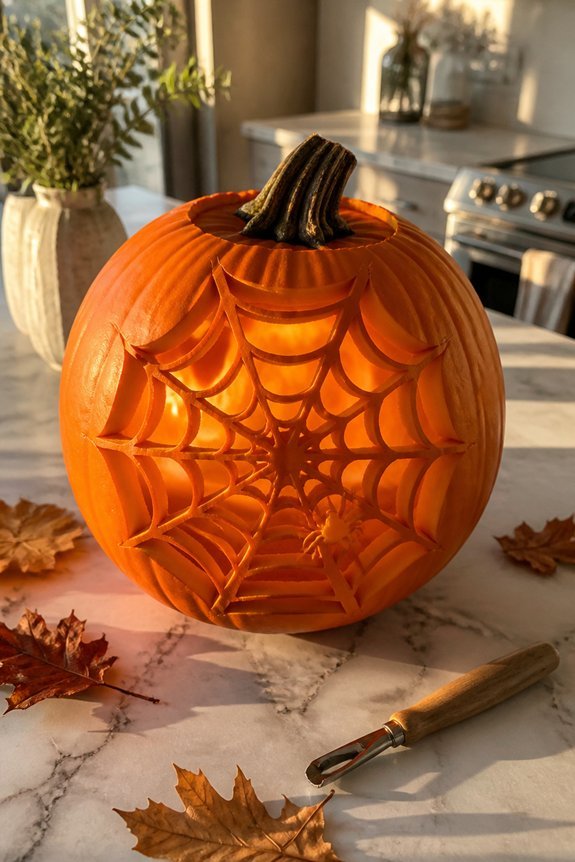
Intricate patterns of interconnected lines create an effective spider web design for pumpkin carving. Carvers draw curved lines radiating from a central point, then connect them with perpendicular strokes.
This pattern works well on medium to large pumpkins, providing adequate space for precise cuts. The design requires a steady hand and basic carving tools including scoops and saws.
Mummy Wrapping Pattern
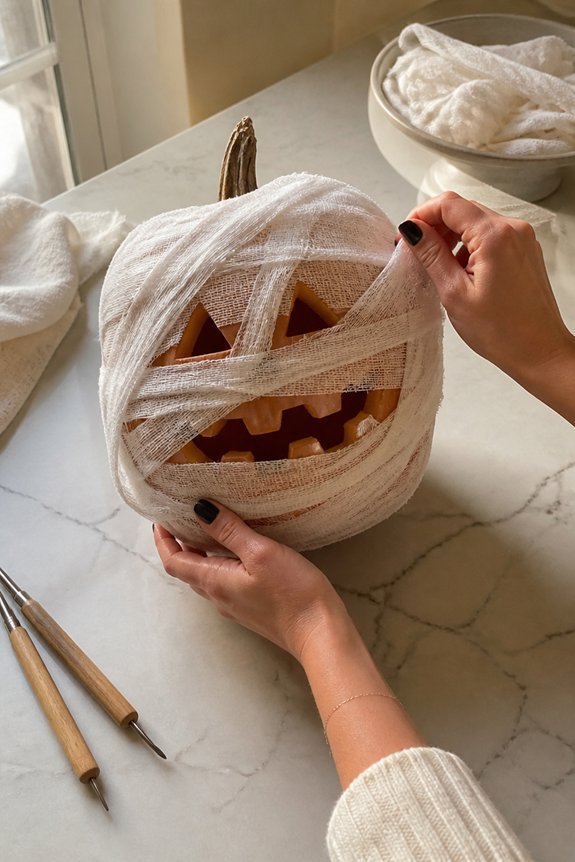
While requiring less precision than intricate spider web designs, the mummy wrapping pattern offers a straightforward approach to Halloween pumpkin carving.
Carvers draw horizontal lines across the pumpkin’s surface, then carve along these lines to create wrapped bandage effects. Leaving small gaps between lines produces authentic mummy appearance.
This design works well on round pumpkins and requires basic carving tools.
Nested Pumpkin Shape Carving
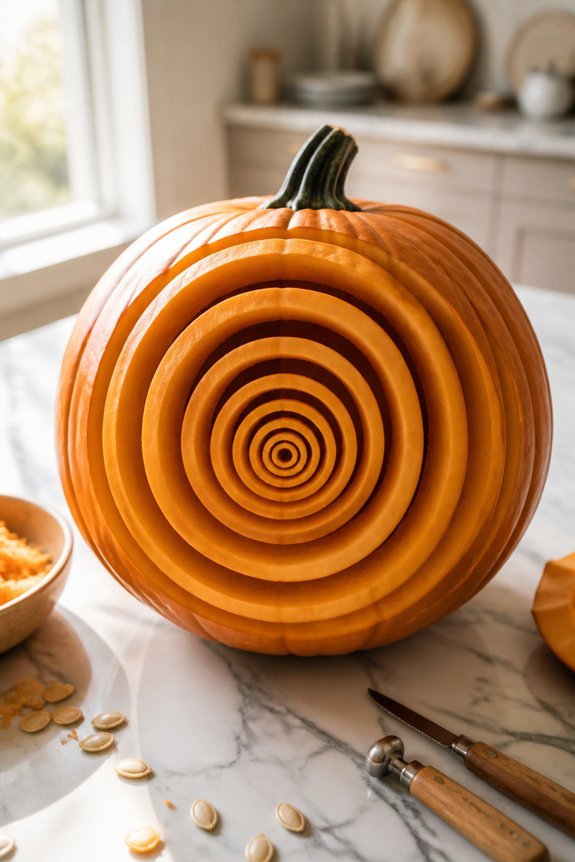
A carver creates nested pumpkin shapes by cutting progressively smaller pumpkin outlines within the main pumpkin surface, producing a layered visual effect. This technique requires a steady hand, a sharp carving knife, and careful measurement.
The carver marks concentric pumpkin silhouettes at varying sizes, then removes the flesh between each layer. The result displays multiple pumpkin shapes receding inward, creating depth and visual interest on the pumpkin’s face.
Haunted House Scene
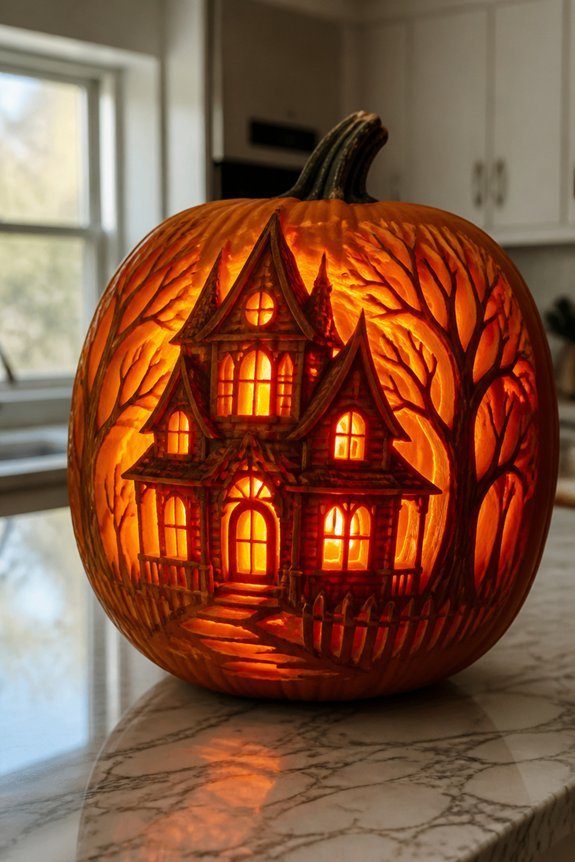
Because carvers seek dramatic, narrative scenes on pumpkins, the haunted house design offers multiple elements to arrange across the surface.
Carvers can include a house silhouette, bare trees, flying bats, and a full moon. Windows and doors become glowing features when carved.
Gravestones, fences, and pathways add depth.
This design works well on large pumpkins, providing adequate space for detailed elements without overcrowding the composition.
Monster Eyes Staring Out
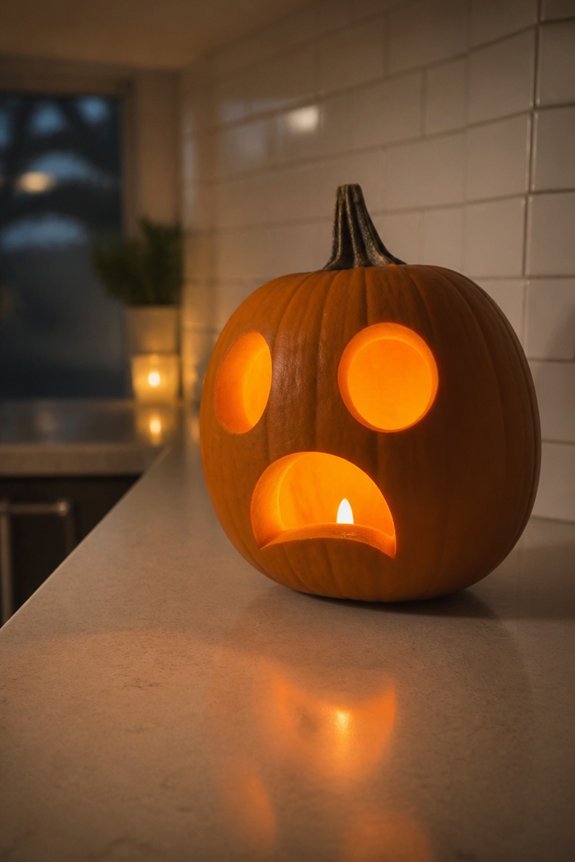
Monster eyes carved into pumpkins create a simple yet effective design that requires minimal planning compared to narrative scenes.
Carvers can use triangles, circles, or ovals for eye shapes, positioning them asymmetrically for added effect. This approach demands only basic tools: a knife or saw, a marker for outlining.
The design works well on pumpkins of various sizes and allows for creative interpretation without complex execution.
Inspirational Quote Carving
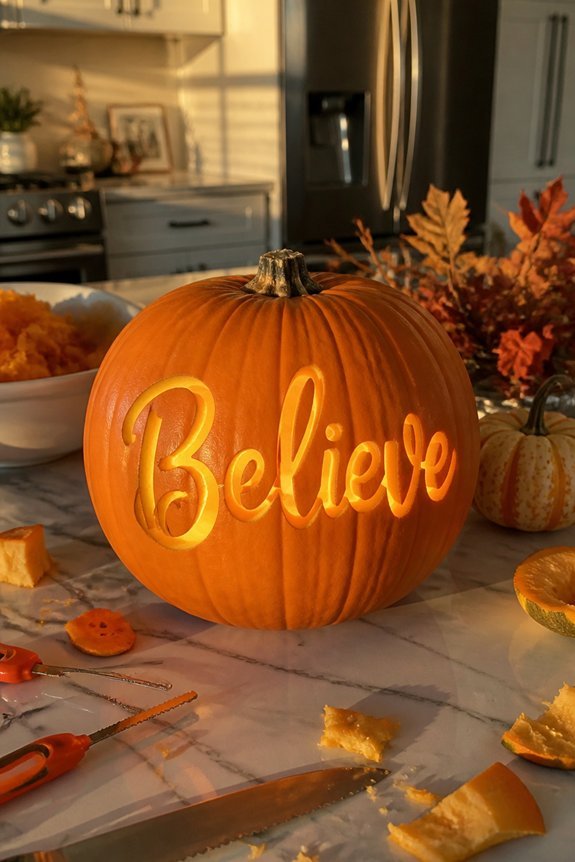
Moving beyond simple facial features, carvers can instead select meaningful words or phrases to display on their pumpkins. Popular choices include Gratitude, Believe, or Be Kind.
Carvers outline letters with markers, then carefully cut along the lines using small saws or detail knives.
This approach creates decorative pumpkins that convey personal messages throughout the autumn season.
Frequently Asked Questions
What Type of Pumpkin Works Best for Carving Detailed Designs?
Sugar pumpkins and carving pumpkins work best for intricate designs. These varieties feature thinner, smoother skin and denser flesh, allowing carvers to achieve finer details. Their smaller to medium size provides manageable surfaces for precision work.
How Long Do Carved Pumpkins Typically Last Before Rotting?
While fresh pumpkins seem eternal, carved ones deteriorate quickly. Typically, carved pumpkins last five to ten days before rotting begins. Cooler temperatures extend longevity, whereas warmth and moisture accelerate decay, potentially reducing their display life to just three days.
What Tools Are Safest and Most Effective for Pumpkin Carving?
Pumpkin carving saws and specialized carving kits prove most effective, offering better control than knives. Serrated blades handle flesh easily. Scoops remove seeds efficiently. One should prioritize tools with ergonomic handles to minimize hand fatigue and injury risk.
Can You Preserve Carved Pumpkins to Extend Their Lifespan?
Carved pumpkins typically last five to ten days before deteriorating. One can extend their lifespan by applying petroleum jelly to cut surfaces, refrigerating them overnight, and keeping them away from direct sunlight and heat sources. Proper storage greatly increases preservation duration.
How Do You Prevent Your Carved Pumpkin From Collapsing Inward?
One can prevent inward collapse by keeping the pumpkin properly hydrated. Regular misting with water maintains moisture levels. Additionally, removing excess interior pulp reduces weight, and storing the pumpkin in cool temperatures slows deterioration considerably.
Conclusion
Pumpkin carving, apparently, requires nine distinct design options to achieve basic seasonal decoration. Individuals select from triangle eyes, friendly smiles, moon patterns, candy corn stripes, constellation maps, nested shapes, haunted houses, monster features, or inspirational text. These designs range from elementary to advanced complexity. The activity remains accessible to most skill levels, though success depends on tool quality, pumpkin selection, and design choice. Carving pumpkins continues as a standard October tradition.