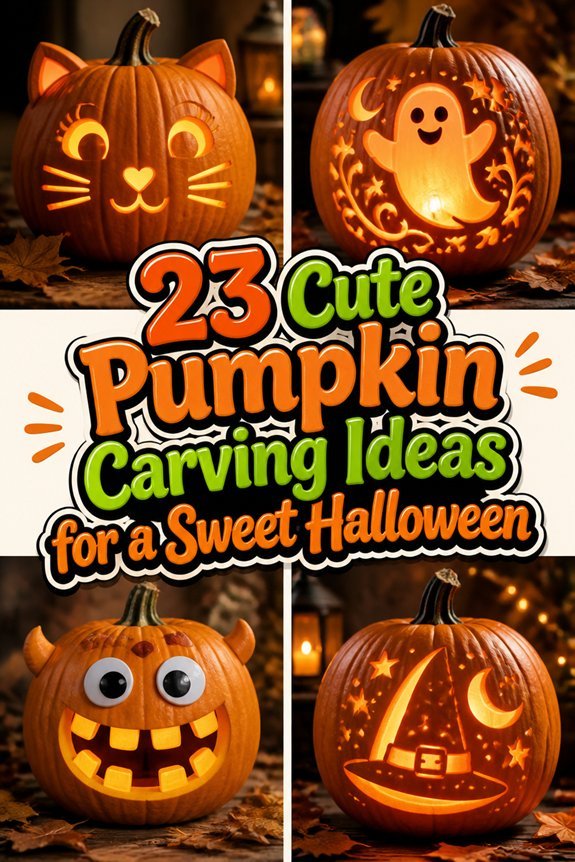
Pumpkin carving brings out the artist in everyone, whether you’re a complete beginner or seasoned pro. Simple designs like the Adorable Ghost Family or that sweet Kawaii Cat Face are perfect starting points. Even a basic Smiling Jack-O’-Lantern can look absolutely charming with the right gentle touch.
Ready for something trickier? The Sleepy Bat With Moon and Friendly Frankenstein add delightful personality to your porch. I’ve always loved how nature themes like Cozy Autumn Leaves feel so welcoming. Grab proper tools, take your time, and remember: every masterpiece starts with that first careful cut.
Adorable Ghost Family
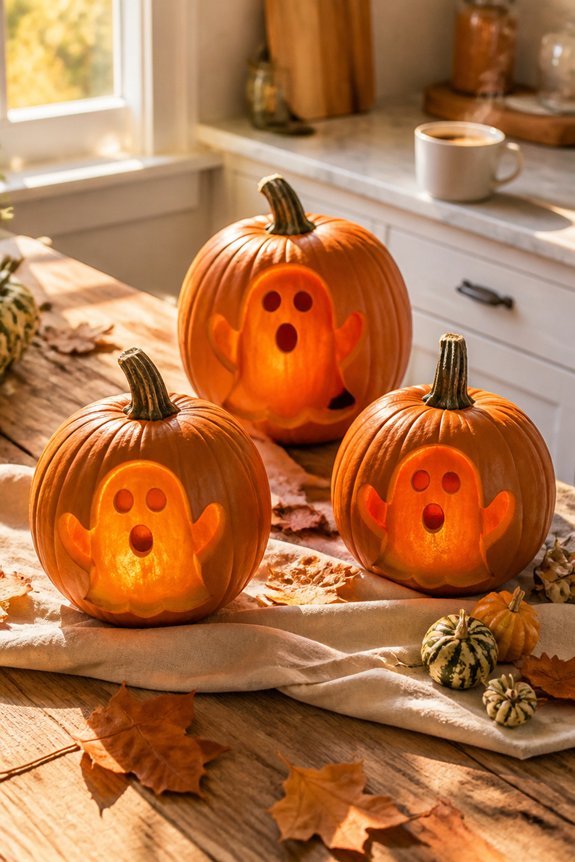
A classic ghost family design offers a straightforward approach to pumpkin carving. Carvers cut simple circular eyes and oval mouths on multiple pumpkins of varying sizes, representing parents and children.
Arranging the pumpkins together creates a family grouping.
This design requires basic knife skills and minimal planning, making it accessible for beginners and experienced carvers alike.
Sleepy Bat With Moon
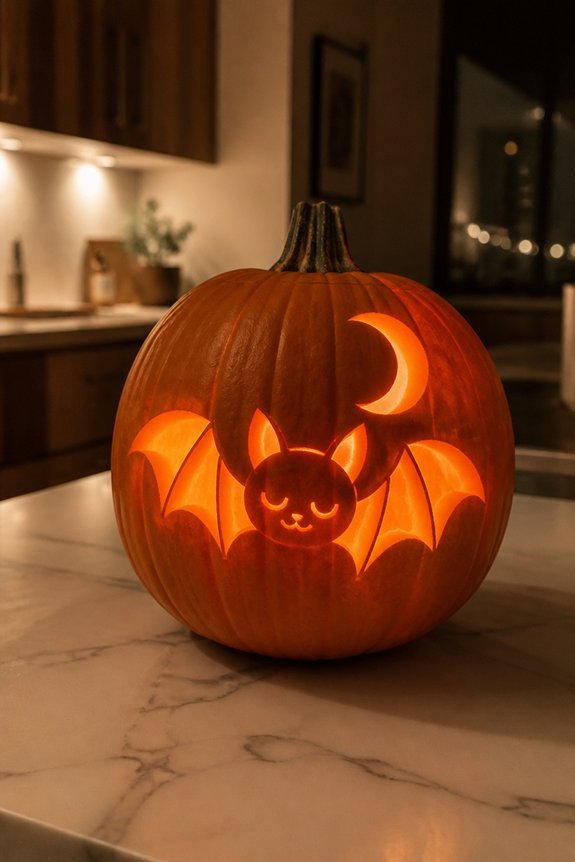
The sleepy bat with moon design combines two distinct carved elements, a bat figure and a crescent moon shape, on one pumpkin.
Carvers position the bat with closed eyes, wings folded, appearing to rest against the moon. This design works well on medium to large pumpkins, allowing adequate space for both elements.
The contrast between the dark bat silhouette and glowing moon interior creates visual balance and displays effectively at night.
Kawaii Cat Face
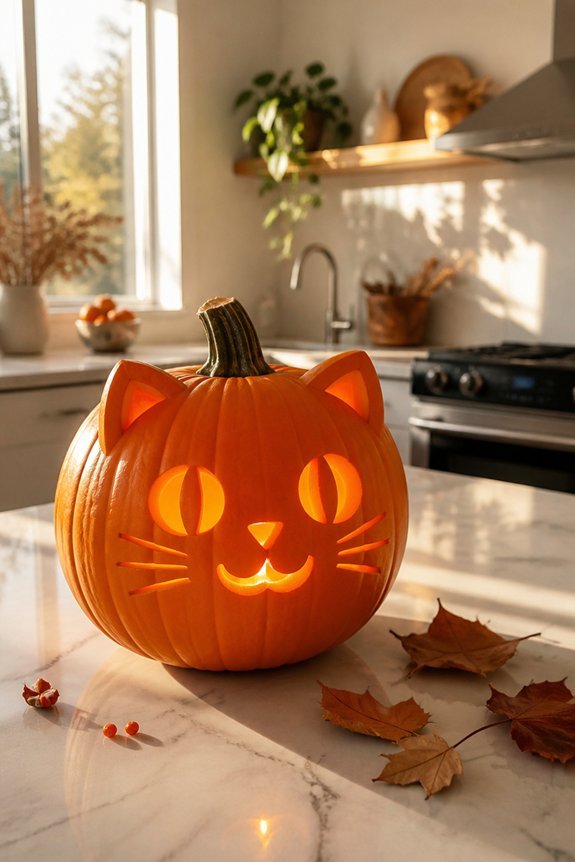
Kawaii cat face design features large, round eyes, small triangular ears, and a simple mouth expression carved into pumpkin surfaces.
This style requires a serrated knife for the eyes, a detail tool for ear outlines, and a scoop for removing flesh.
The design works well on medium to large pumpkins, offering moderate difficulty for carvers with basic knife skills and steady hands.
Playful Penguin Design
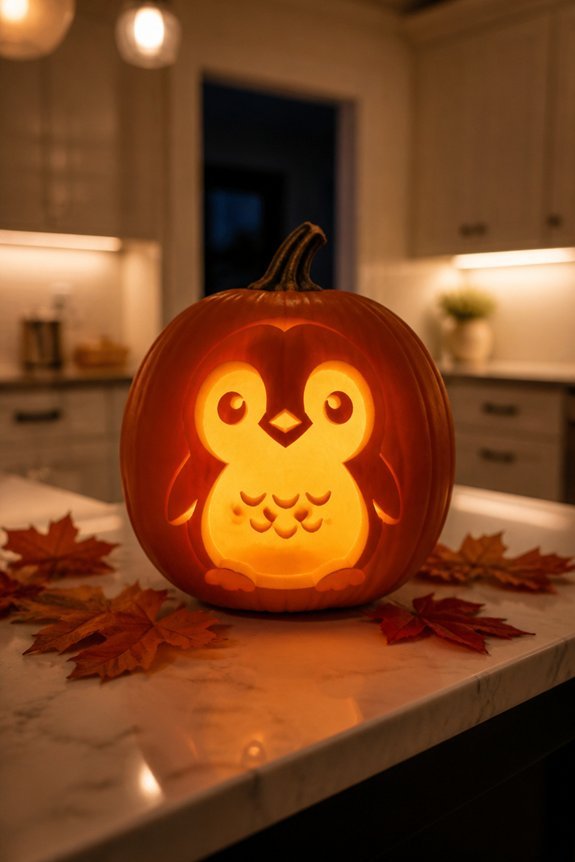
Penguin designs carved into pumpkins feature a rounded body shape, a white belly section, and a small head with dot eyes and a triangular beak. Carvers can use a stencil template to outline the penguin’s proportions, then carefully cut away the outer orange skin to reveal the white flesh underneath.
This design works well for medium to large pumpkins, creating a recognizable figure that remains visible from several feet away.
Friendly Frankenstein
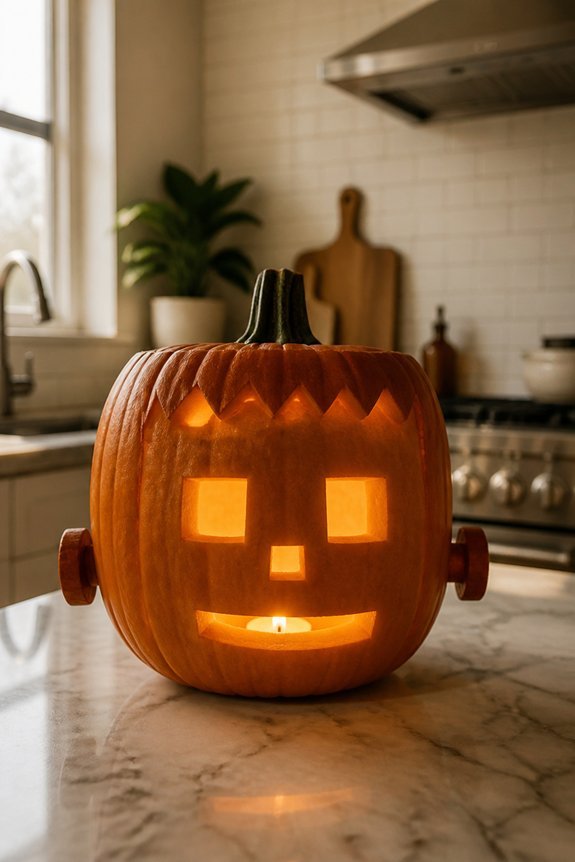
For a classic monster character, carvers can choose Frankenstein’s design, which differs from the penguin’s rounded approach by featuring a rectangular head, flat-top styling, and a prominent neck bolt.
The design requires straight lines, angular features, and two bolts positioned on either side of the neck.
Carvers should use a template to achieve symmetrical proportions and precise angles necessary for this geometric, monster-themed pumpkin.
Sleepy Owl Perched On Branch
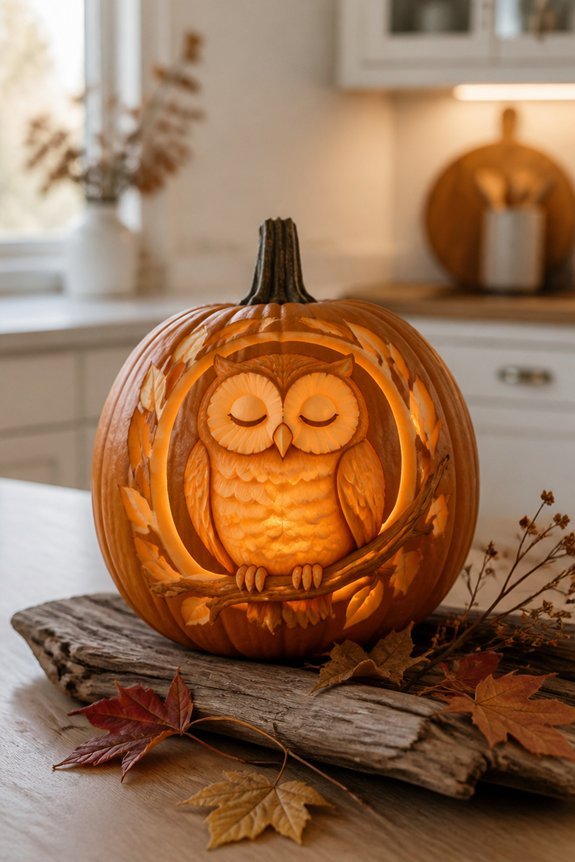
An owl design offers carvers a nature-themed alternative to monster characters, featuring large circular eyes, a curved beak, and feather details across the pumpkin’s surface.
The owl’s head can tilt slightly, suggesting a sleepy expression.
Carvers should sketch the design first, marking eye placement symmetrically.
A perched posture requires defining branch lines below the owl, using thin carving lines for feathers and texture details throughout the pumpkin.
Tiny Spider Web With Friendly Spider
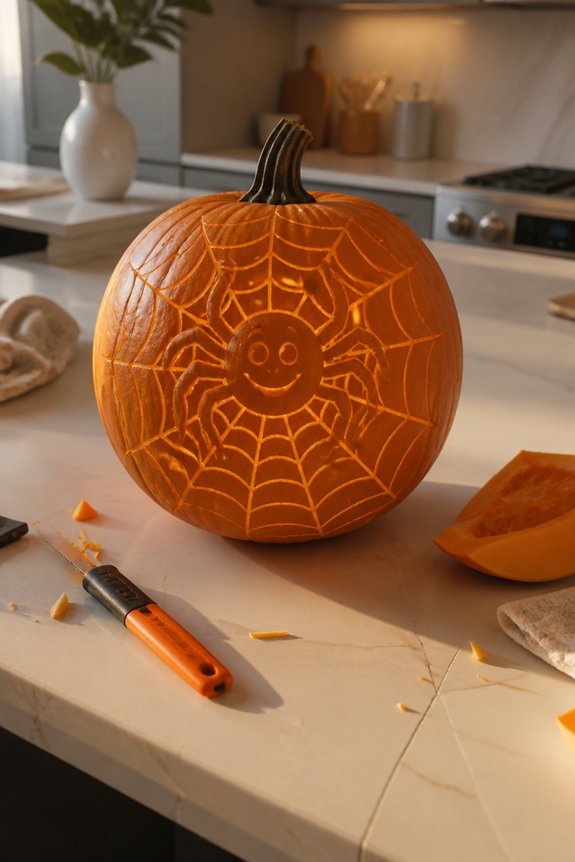
Delicate spider web designs provide carvers with an intricate pattern option that contrasts sharply with more aggressive Halloween themes. A friendly spider positioned within the web creates visual balance, making the design suitable for younger audiences.
Carvers can sketch curved lines radiating from a center point, then add a small spider figure using a pumpkin-carving tool for precise detail work on medium-sized pumpkins.
The Very Hungry Caterpillar
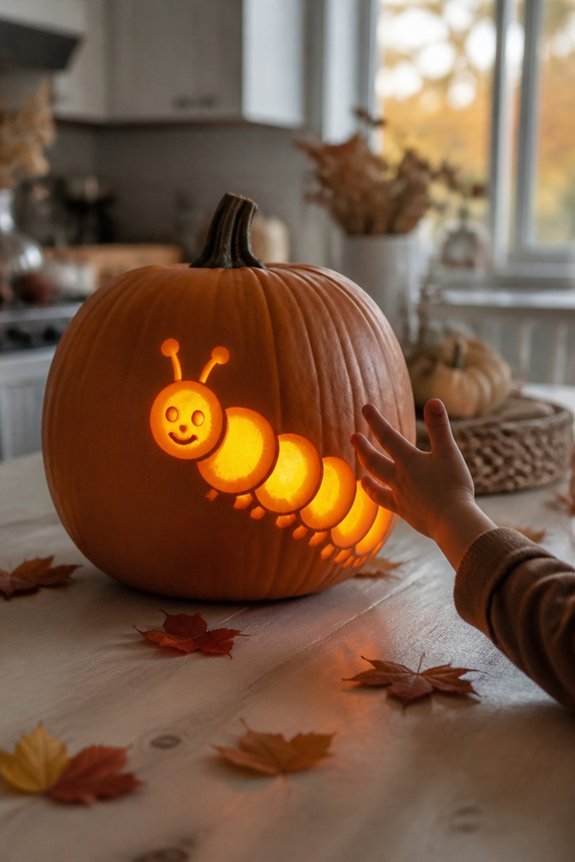
This beloved children’s book character translates effectively into pumpkin carvings through its simple, segmented body structure.
Carvers can stack multiple small pumpkins to form the caterpillar’s rounded sections, then add carved details like eyes, antennae, and a smiling mouth to the largest pumpkin serving as the head.
Paint or marker can define individual segments, creating visual distinction between body parts without extensive carving work.
Where The Wild Things Are
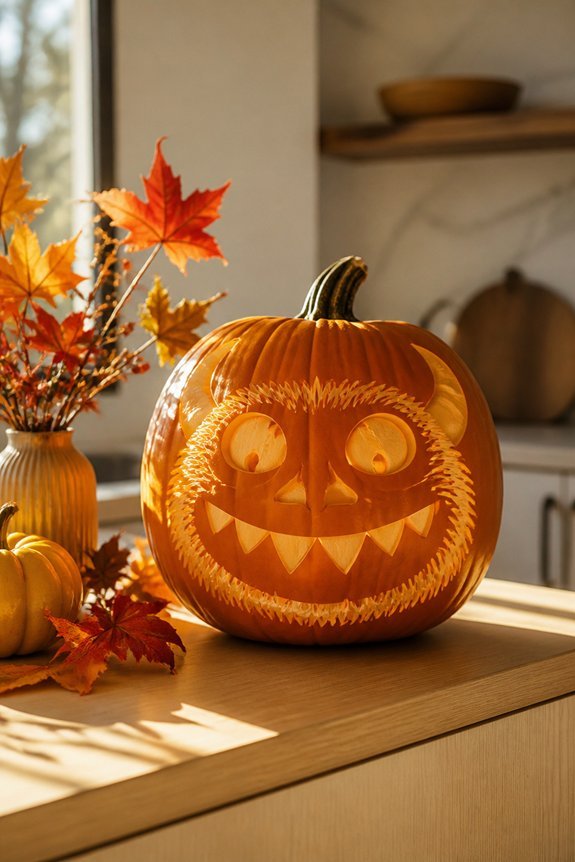
Where The Wild Things Are presents a practical pumpkin carving option through its distinctive crown-wearing creatures with exaggerated features. The design requires carving pointed teeth, large round eyes, and prominent horns or spikes.
Carvers can simplify the creatures by focusing on basic shapes, reducing detail requirements.
The book’s monsters work well for medium-sized pumpkins, allowing adequate space for characteristic facial elements without excessive complexity.
Cheerful Pumpkin Pals
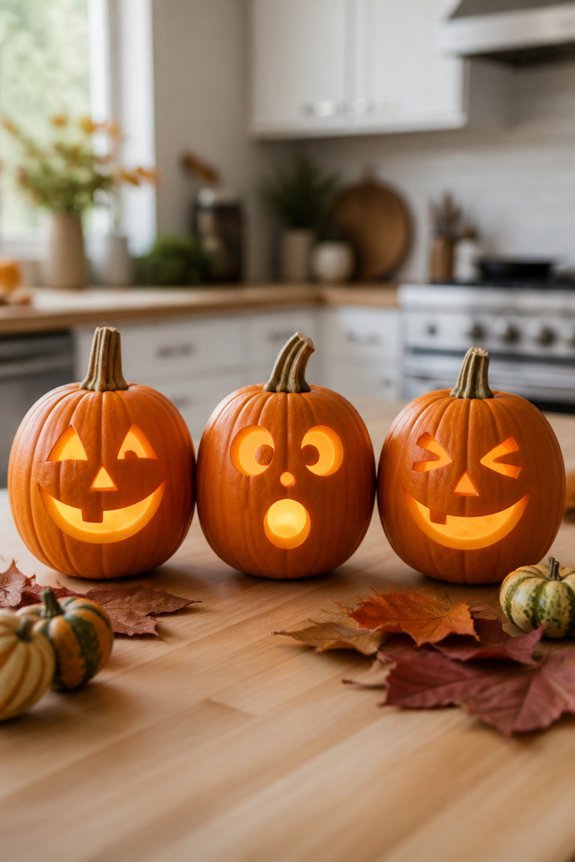
A collection of smiling faces carved into pumpkins creates the “Cheerful Pumpkin Pals” design, featuring multiple characters displayed together on a front porch or windowsill.
Carvers can combine simple expressions like dots for eyes, curved lines for mouths, and triangular noses across several pumpkins.
Different sizes work well together, with larger pumpkins serving as focal points.
This arrangement provides visual interest through variety while maintaining cohesive charm through consistent carving style and placement groupings.
Sweet Woodland Creatures
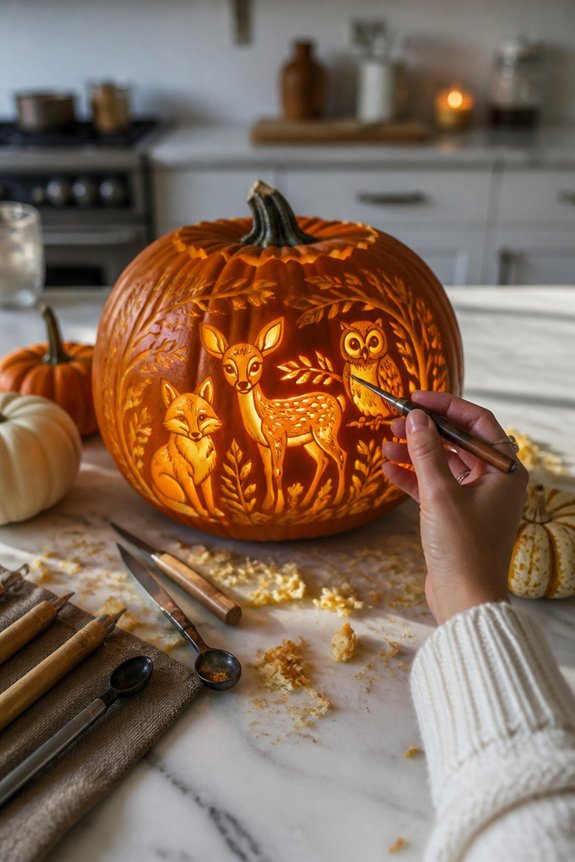
Instead of arranging multiple cheerful faces, carvers can shift focus to forest animals for a different visual approach. Owls, deer, raccoons, and foxes serve as effective pumpkin designs.
These creatures require moderate carving skill, involving curved lines and distinct features. Carvers should sketch templates beforehand, identifying eye placement, ear shapes, and facial markings.
Forest animal designs offer variety while maintaining manageable complexity levels for most skill ranges.
Storybook Character Designs
Beloved literary figures offer another carving direction for pumpkins, providing recognizable subjects that appeal to various age groups.
Characters like Winnie the Pooh, Charlotte the spider, and Dr. Seuss creations work well for carving projects.
These designs feature distinctive visual elements: round shapes, simple facial features, and memorable accessories. Selecting characters with clear outlines simplifies the carving process.
Love-Struck Pumpkin Faces
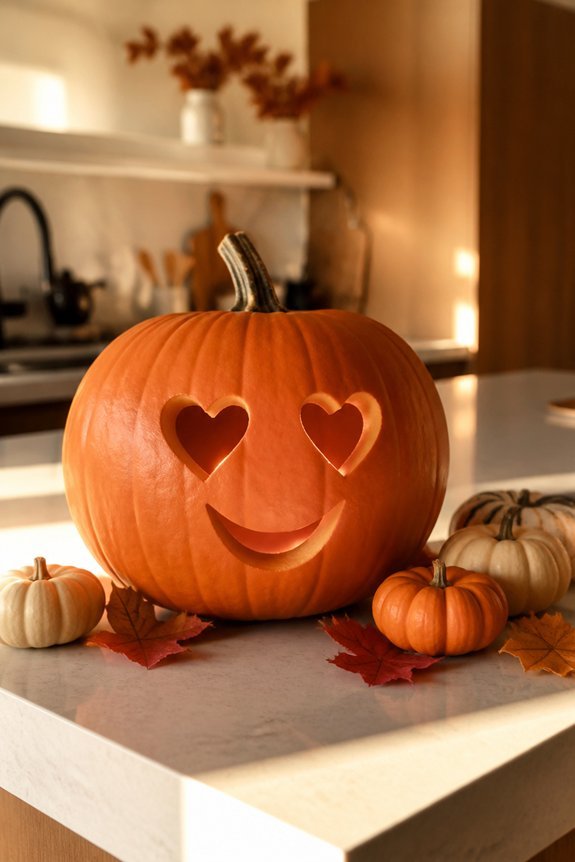
Moving beyond the distinct outlines of literary characters, romantic themes provide another carving option for pumpkin decorations.
Love-struck faces feature hearts for eyes, cupid’s arrows, or intertwined initials. These designs work well for couples or Valentine’s Day displays.
Carvers can add rosy cheeks, smiling mouths, or blushing expressions. Simple heart shapes, when repeated across the pumpkin’s surface, create effective romantic patterns requiring minimal technical skill.
The Gourd-Geous Punny Pumpkin
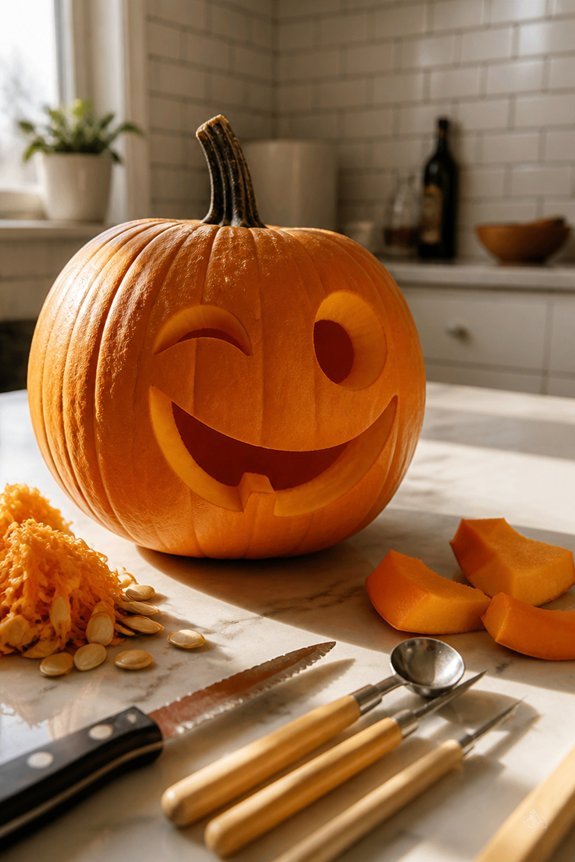
Pun-based pumpkin carvings offer a straightforward approach to Halloween decoration through wordplay and visual humor.
Common examples include carving gourd-geous designs, which combine the words gourd and gorgeous. Other options feature phrases like pumpkin spice or orange you glad. These designs require standard carving tools and templates.
The approach appeals to those preferring clever text elements over traditional monster faces.
Adorable Mummy Wrap Design
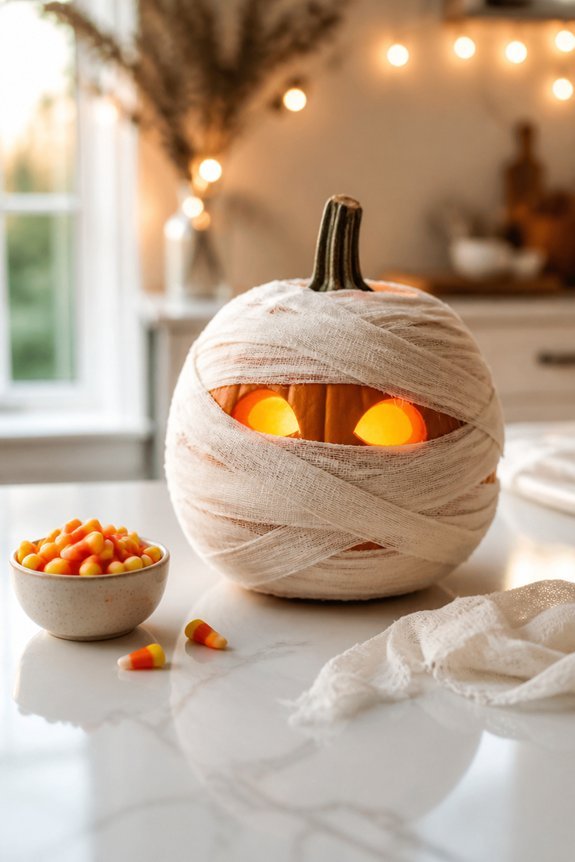
While traditional jack-o’-lantern faces dominate Halloween pumpkin displays, mummy wrap designs offer an alternative decorative approach using gauze, tape, and minimal carving.
Creators wrap white gauze or strips of white cloth around pumpkins, leaving gaps to expose the orange surface beneath.
Small carved holes or painted details suggest eye sockets. This method requires no carving skill and produces a recognizable Halloween character.
Whimsical Unicorn Head
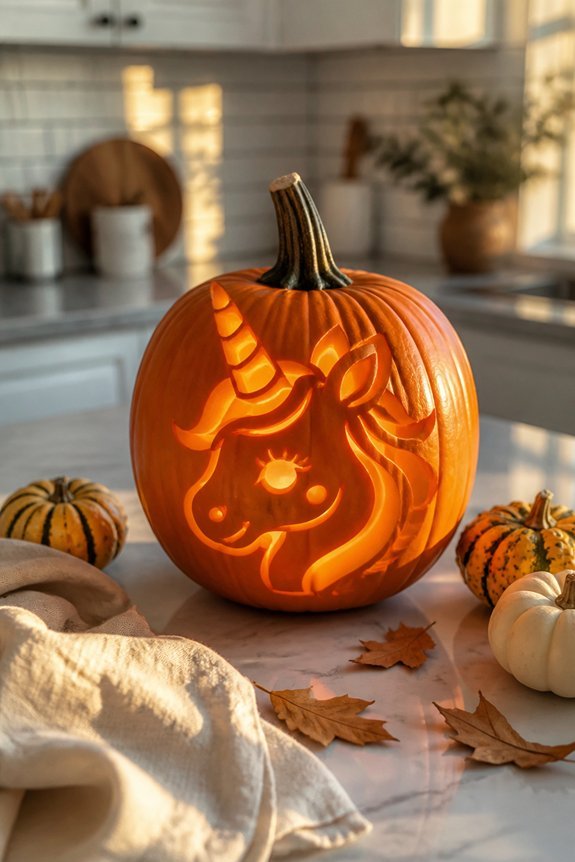
For those seeking a more whimsical pumpkin design, the unicorn head offers a creative alternative to wrapping-based approaches.
Carvers can sketch a pointed horn, triangular ears, and a simple face onto the pumpkin surface.
Using a saw or carving knife, they remove sections to create the horn and facial features.
Paint or marker adds details like eyes, nose, and a mane if desired.
Witch Hat And Stars
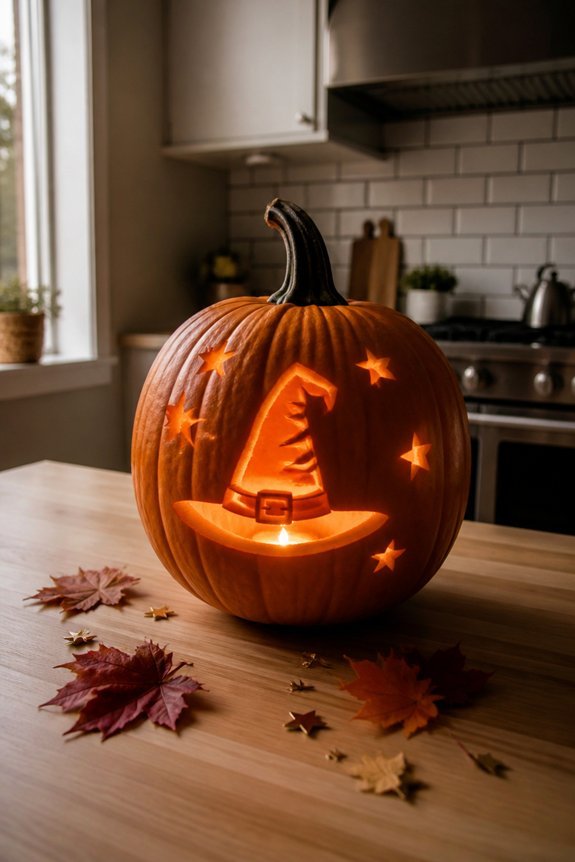
A classic Halloween image, the witch hat and stars design combines two recognizable symbols into one pumpkin carving. The design features a pointed hat silhouette positioned at the top, with scattered stars of varying sizes surrounding it.
Carvers can sketch the pattern beforehand, using stencils or freehand drawing techniques. The hat’s outline requires careful cuts, while stars offer flexibility in placement and sizing options.
Baby Ghost With Boo Sign
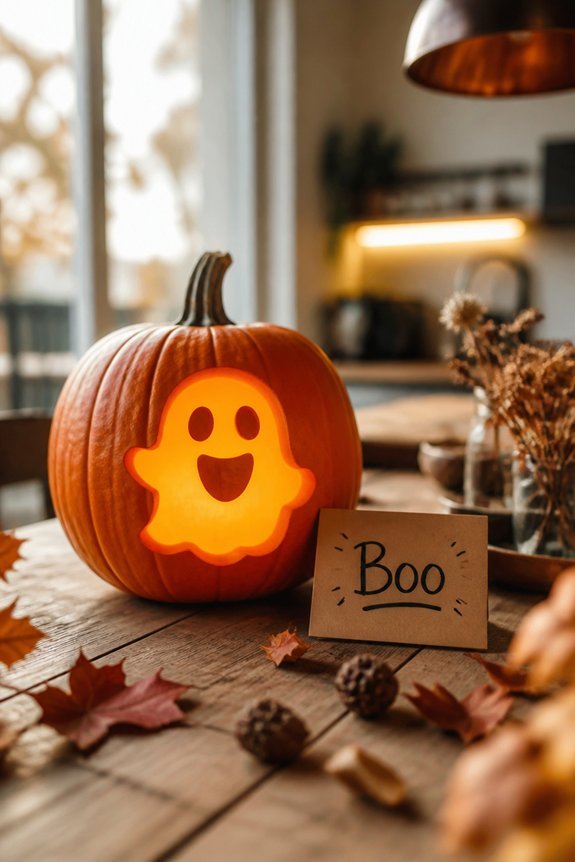
Moving from geometric designs to character-based carvings, the baby ghost with boo sign offers a simpler alternative for less experienced carvers.
The design requires basic shapes: a round head, small oval eyes, and a rectangular sign.
Carvers should sketch the pattern first, then remove the outer rind carefully, leaving inner flesh for the ghost’s white appearance and sign details.
Smiling Jack-O’-Lantern With Gentle Expression
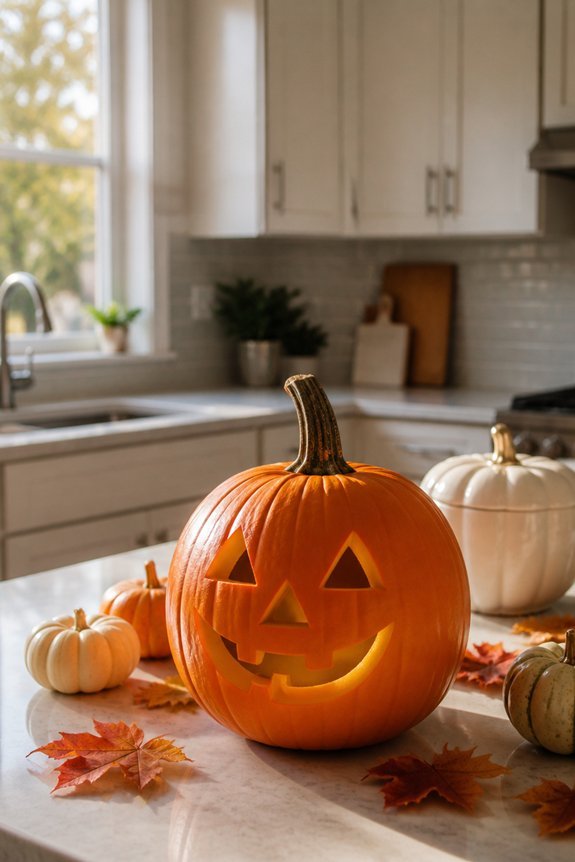
While the baby ghost design emphasizes simplicity, the smiling jack-o’-lantern with gentle expression presents a classic approach that balances approachability with moderate carving skill.
This design features curved eyes, an upturned mouth, and rounded cheeks.
Carvers should sketch the pattern first, use a serrated saw for smooth cuts, and scoop seeds completely.
The gentle expression works well for front-porch displays.
Cozy Autumn Leaves Design
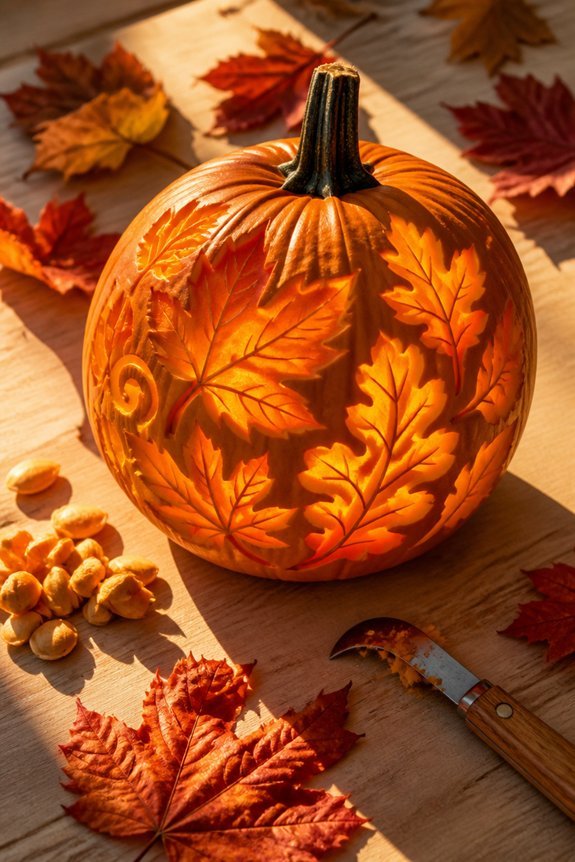
For carvers seeking patterns beyond traditional face designs, the cozy autumn leaves design offers a seasonal alternative that requires different technical skills than the gentle jack-o’-lantern.
This pattern involves carving leaf shapes, such as maple, oak, and birch varieties, around the pumpkin’s surface. Carvers can arrange leaves in clusters or scattered formations, using small chisels and detail tools for precise edges and veins.
Celestial Moon And Stars
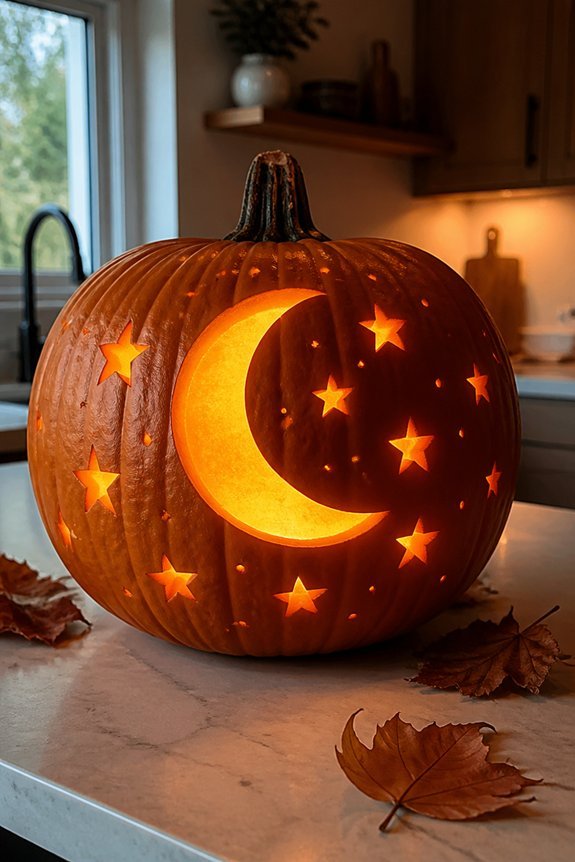
Many carvers choose celestial designs to create a nighttime atmosphere on their pumpkins, combining crescent moons, stars, and planets in various arrangements. This theme works well for displaying pumpkins after dark, since the carved sections allow light to shine through effectively.
Carvers can use templates featuring constellations, shooting stars, or Saturn with rings.
Small stars scattered across the pumpkin surface complement larger moon designs.
Beginner-Friendly Carving Tips And Tools
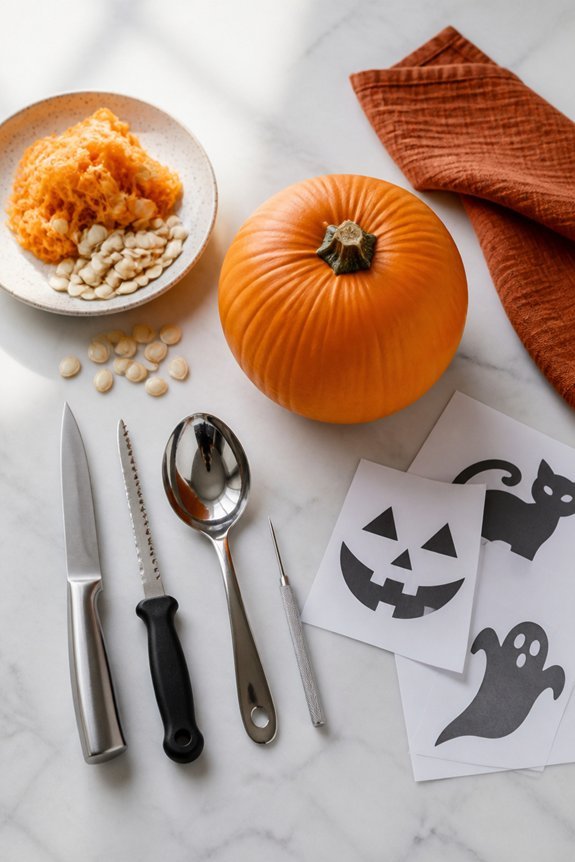
Starting a pumpkin carving project requires selecting the right tools and preparing the workspace properly. Essential items include a serrated carving knife, scoop, and small detail tools. A pumpkin with thick walls works best for beginners.
Newspaper or a drop cloth protects surfaces from pulp and seeds. Proper lighting guarantees visibility during carving.
These preparations make the process safer and more manageable for novice carvers.
Frequently Asked Questions
How Long Do Carved Pumpkins Typically Last Before They Start to Rot?
Carved pumpkins typically last between three to eight days before deterioration becomes noticeable. The lifespan depends on environmental factors such as temperature, humidity, and sunlight exposure. Cooler conditions extend longevity, while warm weather accelerates rotting and mold growth considerably.
What’s the Best Way to Preserve a Carved Pumpkin for an Extended Period?
One must treat a carved pumpkin like a delicate flower wilting in sunlight. The best preservation method involves coating cut surfaces with petroleum jelly or vegetable oil, refrigerating it overnight, and storing it in cool conditions away from direct sunlight to extend its lifespan considerably.
Can I Carve Pumpkins a Few Days Before Halloween Without Them Deteriorating?
One can carve pumpkins several days before Halloween, though deterioration becomes noticeable. Applying petroleum jelly to cut surfaces slows decay considerably. Storing carved pumpkins in cool environments and misting them daily helps preserve their appearance until the holiday arrives.
What Tools Are Safest for Children to Use When Carving Pumpkins?
A ten-year-old safely carved an intricate jack-o’-lantern using a plastic pumpkin saw. Children should use child-safe carving kits featuring plastic or rounded metal tools, avoiding sharp knives. Supervision remains essential regardless of tool selection.
How Do I Prevent My Carved Pumpkin From Attracting Insects and Pests?
One prevents carved pumpkins from attracting insects by applying petroleum jelly or cooking oil to exposed surfaces, replacing water frequently, keeping the pumpkin in cool temperatures, and removing it promptly after Halloween to eliminate decay that draws pests.
Conclusion
As darkness falls and carved pumpkins flicker to life, each design transforms ordinary gourds into glowing focal points. Whether selecting the Adorable Ghost Family, Kawaii Cat Face, or Celestial Moon and Stars, carvers hold tools that reshape autumn’s harvest. The pumpkin awaits its metamorphosis. With proper techniques and appropriate instruments nearby, beginners and experienced hands alike can create designs that captivate trick-or-treaters and passersby, revealing the potential hidden within every pumpkin’s exterior.