

A DIY canopy bed frame offers a practical alternative to expensive retail options, often costing a fraction of the price with the right planning.
Materials like 4×4 posts, 2×4 boards, and basic hardware are widely available and simple to work with.
Choosing the right style, whether four-poster, two-poster, or a minimalist hoop, depends largely on room size and ceiling height.
Careful measurement and planning at the outset prevent most of the common mistakes builders encounter.
The result is a sturdy, customizable frame built to fit the space and budget available.
The Basics That Make Everything Else Work
Pick your style based on your room, not your Pinterest board. A four-poster needs real ceiling height, while a hoop frame works in almost any bedroom.
Spend the extra money on lag bolts and carriage bolts instead of small screws. Weak fasteners are the fastest way to end up with a wobbly frame down the road.
Measure your ceiling height and mattress size before you buy a single board. Skipping this step is the single biggest reason builds go sideways.
Why DIY Beats Buying a Canopy Bed Frame
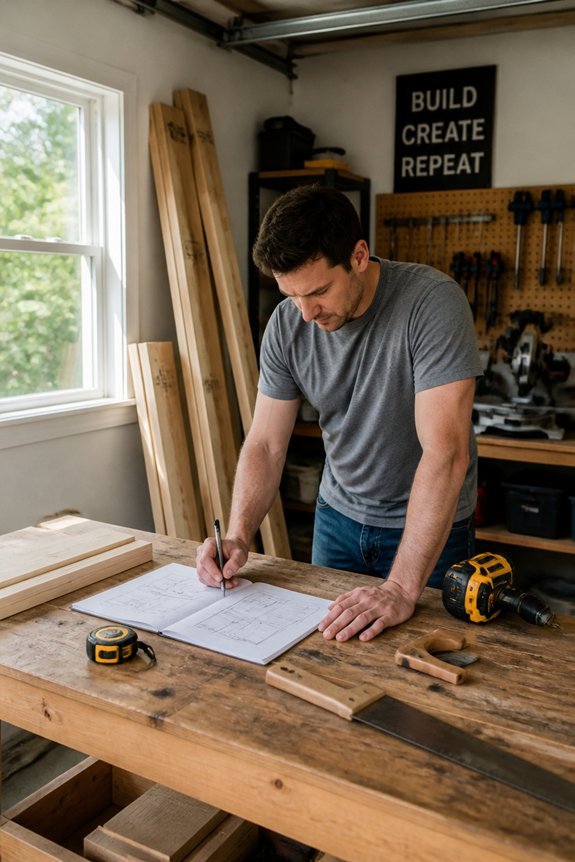
Many people find that building a canopy bed frame costs considerably less than buying one from a retailer. A store-bought canopy bed can range from $500 to over $2,000, depending on the brand and materials. A DIY version using pine lumber, basic hardware, and standard tools often costs under $200.
Beyond cost, building a custom frame allows for precise size adjustments, material choices, and finish options that retail products rarely offer. A builder can select oak over pine, or adjust post height to fit low ceilings, for example.
DIY construction also produces a more durable result in many cases, since the builder controls joint quality and wood selection. Retail frames often use particleboard or weak fasteners that reduce long-term stability.
Also read: 15 Patio Canopy Ideas on a Budget That Look Expensive
Choose the Right Canopy Bed Style for Your Space
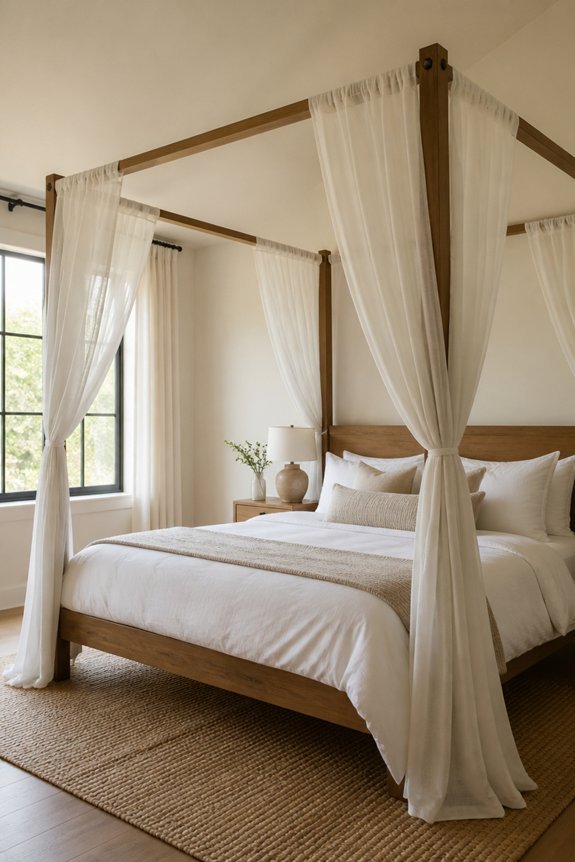
Before choosing materials or cutting any lumber, a builder should decide which canopy bed style fits the room’s size, ceiling height, and overall design. Three common styles work well for most spaces.
A four-poster frame uses tall vertical posts at each corner, connected by horizontal rails across the top. This style suits larger rooms with high ceilings, typically eight feet or more.
A two-poster frame attaches only to the headboard wall, using two rear posts and a ceiling-mounted crossbeam. This option works in smaller rooms where floor space is limited.
A minimalist hoop or arch canopy uses curved or straight PVC pipe, mounted above the headboard without full posts. This style fits low ceilings and compact bedrooms, requiring fewer materials and less structural support overall.
Wood, Hardware, and Fabric: What You Actually Need
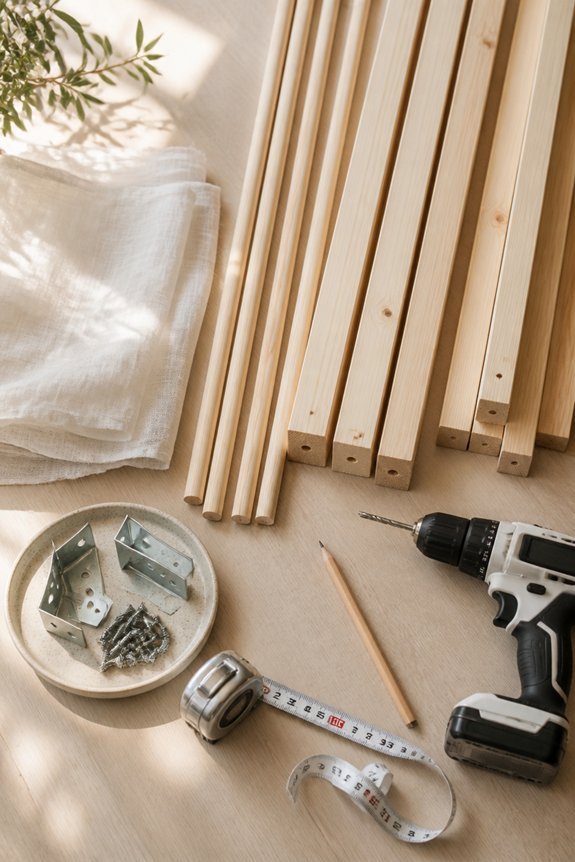
Once the canopy style is chosen, gathering the right materials becomes the next priority. Most DIY canopy bed frames require basic lumber, such as 4×4 posts for corners and 2×4 boards for the overhead frame. Builders typically need wood screws, corner brackets, and lag bolts to secure joints properly.
For fabric, lightweight options like sheer voile, muslin, or linen work well for draping. Heavier fabrics add weight and can stress the frame over time. A standard queen-size canopy uses roughly 10 to 15 yards of fabric, depending on the draping style chosen.
Additional supplies often include sandpaper, wood stain or paint, curtain rings, and ceiling hooks if wall mounting is planned. Buying materials in bulk or from discount lumber yards keeps overall costs manageable.
The Tools You Need Before You Start Building
Having the right tools on hand saves time and prevents mistakes during the building process. Most canopy bed frames require a standard set of tools that many builders already own.
A power drill with multiple bit sizes handles most of the fastening work. A miter saw or circular saw cuts lumber to accurate lengths. A tape measure, carpenter’s square, and level guarantee proper alignment throughout assembly. Sandpaper or an orbital sander smooths rough edges on cut wood.
Clamps hold pieces steady while drilling or gluing. A rubber mallet assists with fitting joints without causing damage. Wood glue, a pencil for marking measurements, and safety glasses round out the basic toolkit. Having all tools gathered before starting prevents unnecessary interruptions during the build.
How to Measure and Plan Your Canopy Bed Frame
Accurate measurements form the foundation of any successful canopy bed frame build. Builders should start by measuring the mattress size, whether twin, full, queen, or king, and recording the exact length and width. The frame must extend several inches beyond the mattress on each side for proper fit and stability.
Next, ceiling height determines post length. Standard posts range from 84 to 96 inches, but low ceilings may require shorter cuts. Builders should measure floor-to-ceiling height before purchasing lumber.
A simple sketch or grid drawing helps visualize the final structure, showing post placement, crossbeam positions, and overall dimensions. Noting wood quantities, joint locations, and hardware counts during the planning stage prevents material shortages later.
Accurate plans reduce waste, save money, and keep the build on schedule.
Step-by-Step Instructions for Building Your Canopy Bed Frame
With measurements recorded and a plan in hand, builders can move into the physical construction phase. The frame typically consists of four vertical posts, two long side rails, and two shorter end rails. Builders should cut all lumber pieces first, then sand edges before assembly begins.
Common construction steps include attaching side rails to the headboard and footboard posts using wood screws and corner brackets, securing the top canopy frame by connecting horizontal crossbars between the four vertical posts, checking each joint with a level to confirm stability and alignment, and adding a center support beam beneath the mattress platform for added strength.
Wood glue applied at each joint, combined with screws, creates a stronger hold. Final sanding smooths rough areas before painting or staining begins.
Common DIY Canopy Bed Frame Mistakes to Avoid
Even experienced builders make avoidable mistakes when constructing a canopy bed frame, and recognizing these errors early can save time and materials.
One common mistake is skipping measurements before cutting lumber, which leads to misaligned joints and wasted wood. Another frequent error is using weak fasteners, such as small screws or finish nails, where lag bolts or carriage bolts are needed. Builders sometimes neglect to check that posts are level and plumb, causing the canopy frame to lean or wobble.
Selecting low-grade pine for structural posts is also problematic, as it splits under weight. Finally, many builders forget to account for ceiling height, leaving insufficient clearance between the canopy rails and the ceiling, which limits fabric draping options and reduces the overall finished appearance.
How to Drape and Style Your Canopy Bed Frame on a Budget
Fabric choice sets the tone for a canopy bed frame, and budget-friendly options like sheer curtain panels, muslin, and voile are widely available at fabric or discount home goods stores. Thrift stores and clearance sections often carry full-length curtain panels at reduced prices, making them a practical source.
Fabric can be draped over corner posts, gathered at a central ceiling hook, or hung in straight panels along each side. Clip rings, zip ties, or simple knots can secure fabric without permanent attachment. Neutral tones like white, ivory, and light gray work across most bedroom styles.
Adding string lights behind sheer fabric creates a layered effect without significant cost. Keeping the fabric simple and the hardware minimal helps maintain a clean, intentional appearance on a limited budget.
Simple Ways to Customize Your DIY Canopy Bed Frame
Customizing a DIY canopy bed frame can be as simple as swapping out hardware, adding decorative elements, or changing the finish on the wood or metal. Decorative finials, crown molding, or carved wood trim can be attached to the frame’s corners or top rails.
Painting the frame in a bold color, applying a wood stain, or using metallic spray paint changes the overall look without major rebuilding. Adding string lights, fabric wraps around corner posts, or macramé accents introduces texture and visual interest.
For a more structured look, installing curtain rods along the top frame allows heavier drapes to hang cleanly. Simple hardware swaps, such as replacing basic bolts with brass or matte black alternatives, update the frame’s style with minimal effort and low cost.
How to Make Your Canopy Bed Frame Last for Years
With proper care, a DIY canopy bed frame can remain sturdy and attractive for many years. Regular maintenance is key to preserving the structure’s integrity and appearance over time.
Wood frames benefit from occasional sanding, light staining, or reapplication of polyurethane sealant to prevent moisture damage and cracking. Metal frames should be checked for rust spots, which can be treated with rust-inhibiting primer and touched up with matching paint.
Joints and connections should be tightened periodically, as bolts and screws loosen with regular use. Checking the frame every six months helps catch small problems before they worsen.
Fabric canopies should be washed according to material guidelines and stored properly when not in use. Keeping the frame away from excessive humidity also reduces long-term wear considerably.
Frequently Asked Questions
Can a Canopy Bed Frame Support a Ceiling Fan Above It?
No, your canopy frame isn’t built for that kind of weight.
A ceiling fan needs to be mounted directly into a ceiling joist or electrical box. Hanging one from the canopy structure instead creates a real safety risk.
Is a Canopy Bed Frame Safe for Young Children or Toddlers?
This is worth thinking through carefully before you build one for a kid’s room.
Draped fabric, tall posts, and climbing opportunities can create real entrapment and fall risks for younger children. Pediatric safety experts generally caution against this style in a toddler’s room.
If you do want the look, keep the fabric minimal and the posts low until your child is older.
Can You Build a Canopy Bed Frame in a Rental Apartment?
Yes, renting doesn’t rule this out at all.
A freestanding design needs no wall drilling or ceiling attachments, so your security deposit stays safe. You still get that dramatic bedroom look without any permanent changes to the space.
Does a Canopy Bed Frame Work With an Adjustable Mattress Base?
It can, though it really depends on how your frame is built.
Freestanding canopy frames tend to work best here, since they let the base move freely without any structural interference. Check your frame’s design before assuming compatibility.
Can a Canopy Bed Frame Be Disassembled and Moved Easily?
Most DIY frames come apart without much trouble.
Since they’re held together with bolts and screws rather than glue or nails, disassembly is usually straightforward. Keep your hardware organized in labeled bags and reassembly at your next place will go a lot faster.
Conclusion
A DIY canopy bed frame rewards patience more than it rewards perfection.
My own first attempt was far from flawless, with a slightly uneven crossbeam I still notice every time I walk past it, but it’s never once wobbled in the years since.
Good materials and the right fasteners matter more than fancy tools or woodworking experience. A steady hand and a level go a long way here.
Take your time with measurements before you touch a saw, since that single step prevents most of the mistakes beginners run into.
Whatever style you build, a well made frame becomes one of those pieces you’re genuinely proud of every time you walk into the room.
I’d love to hear how your build turns out. Leave a comment below and let me know which style you’re planning to tackle.