
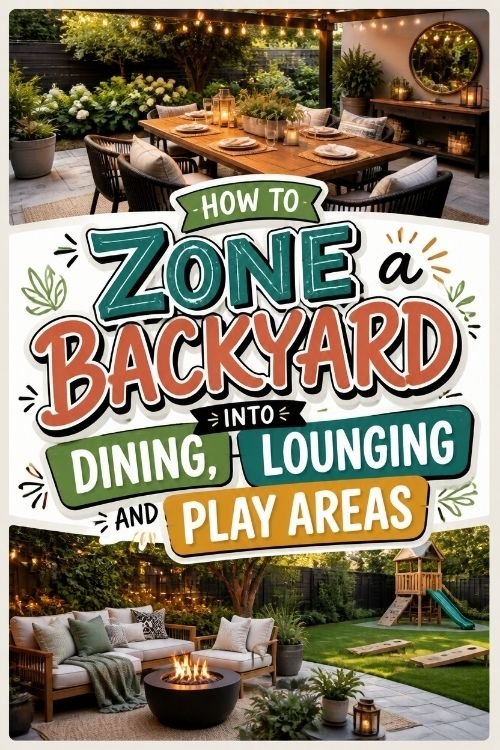
There is a table in the middle of your grass. Maybe a trampoline off to one side. A couple of chairs somewhere near the fence, moved there last summer and never moved back. The yard is not small and it is not ugly, but nobody stays out there for long, because no part of it feels like a place to be. It feels like a lawn with furniture on it.
Backyard zoning ideas fix that by giving every activity its own address. Dining here. Lounging there. Kids over there, in your sightline. Once each zone has a floor, an edge, and a light, the yard stops being one open field and starts working like three small outdoor rooms.
Nearly all of this happens before you buy anything. You will measure, sketch, watch where the sun lands, and lay a garden hose on the grass to test the shapes at full size. Only then do you spend money.
Honest timing: about 3 hours of planning on paper and on the ground, then a few weekends of physical work you can spread out however you like. No construction, no concrete, and nothing here is permanent.
Grab graph paper and a tape measure.
Also read: 17 Beautiful Fence and Deck Railing Ideas to Transform Your Outdoor Space
Measure your yard and sketch it on paper
Graph paper saves you from guessing, and one square per foot keeps the math out of it. Run your tape along each boundary, write the numbers down as you go, then draw the outline to scale. A 20 by 30 foot yard becomes a 20 by 30 square block of grid. Seeing the real proportions is what stops you from planning a dining zone that would swallow half the lawn.
Mark everything that cannot move
Your yard has a skeleton, and it decides more than your taste does. Walk the whole space with your sketch and add every fixed thing you find:
- Gates, doors, and the path between them
- Mature trees and their shade footprint
- The AC unit, hose spigot, and any utility box
- The shed, the grill spot, the compost bin
- Any low ground where water pools after rain
That soggy patch matters most. A lounge chair on wet ground stays empty all season, so mark it now and plan around it later.
Track where the sun falls across one full day
Stand at the back door and photograph the yard at 9 am, noon, 3 pm, and 6 pm. Four photos, one ordinary day. Then shade in the sunny and shady areas on your sketch with a pencil. Most people misremember their own yard by a wide margin.
Place the dining zone nearest the kitchen door
Count the steps between your kitchen and where you want the table. Every one of those steps gets walked four or five times per meal, carrying plates, drinks, condiments, and everything you forgot. 20 feet is a comfortable limit. Past 30 feet, people stop eating outside by mid summer without ever deciding to.
Size it from the table you own or plan to buy, plus 3 feet on every side so chairs can push back.
Put the play zone where you can see it from inside
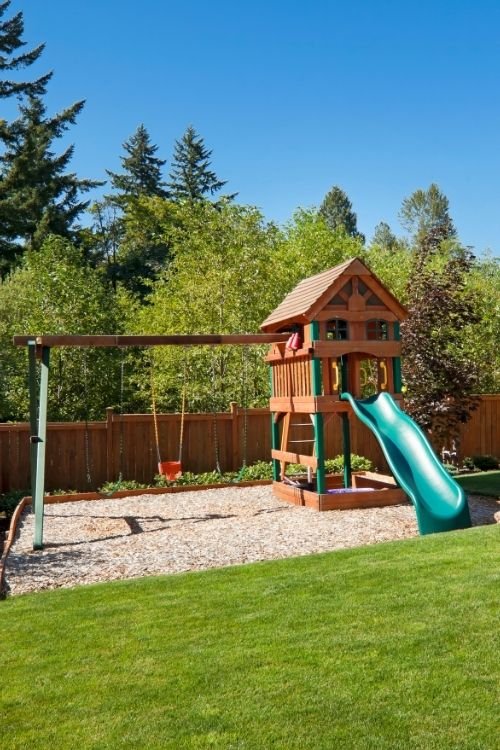
Stand at your kitchen sink and look out. Whatever patch of yard you can see from there is where the play zone goes, because supervision from indoors is the difference between a play area that gets used on a Tuesday and one that only works when you go out and sit with them.
Check the spot against four things before you commit:
- Visible from the kitchen or main living window
- Away from the grill and the dining table
- Soft ground, not the hard packed corner
- Room for equipment to grow with the kids
Leave 6 feet of clear space around swings and slides in every direction.
Tuck the lounge zone into the quietest corner
What is left over is usually the right answer here, and that is fine. Lounging wants the opposite of dining: distance from the door, a bit of enclosure, and something to look at other than the house. A back corner with a fence on two sides already does half the work of defining the zone for you.
Face the seating toward the garden or the trees, never back at your own patio door. Two chairs and a small table is a real lounge zone. It does not need a sofa.
Draw walking paths at least 3 feet wide
3 feet is the width where one person walks comfortably. 4 feet lets two people pass, or one person carrying a tray. Draw those paths on your sketch as real corridors with edges, not as arrows, and check that every zone connects to the back door without cutting through another zone. Nobody should walk between someone’s lounge chair and the view to reach the grill.
Test your backyard zoning ideas with a garden hose
Paper lies about scale. A zone that looks generous on graph paper often turns out to be the size of a bath mat once you see it on the grass, which is why nothing gets bought until you have walked it.
Lay a garden hose or a length of rope on the lawn in the outline of each zone, one at a time. Then run through this:
- Set your real chairs inside the shape
- Walk each path carrying something with two hands
- Open the gate and the back door fully
- Sit down and look at what you face
- Leave the hose out overnight and look again in the morning
Adjust the hose, not the sketch, until it feels right. Then mark the final shapes with stakes or a dusting of flour.
Give each zone a different floor surface
Underfoot is where zoning becomes real. Your eye reads a change in surface as a change in room, and it does that instantly, long before it notices a planter or a screen. Grass everywhere means one zone no matter what furniture sits on it.
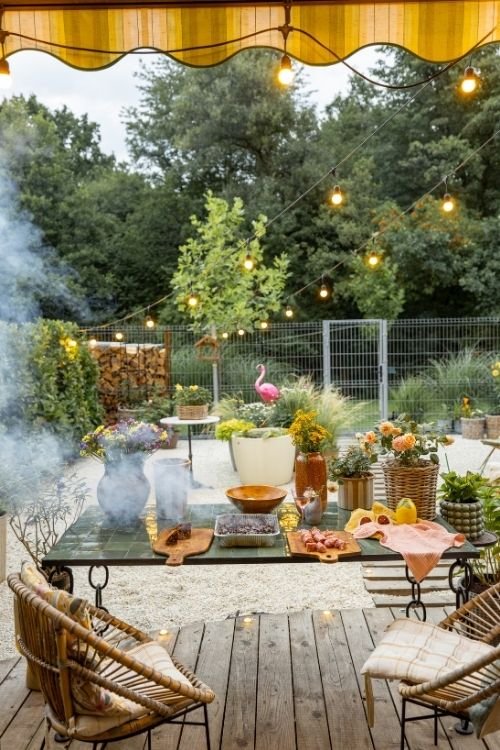
Keep it to three surfaces so the yard stays calm. An outdoor rug or a small deck under dining, pea gravel or flagstone with grass between for lounging, and soft playground mulch under the play equipment. Stepping stones then link all three.
Define the edges with plants and low screens
Edges do not need to be walls. Waist height is the sweet spot, roughly 3 feet, because it separates the zones visually while still letting you see the kids and talk across the yard. Anything taller starts chopping a normal suburban yard into corridors.
Three or four large planters in a loose line reads as an edge. So does a row of tall grasses, a single trellis panel, or a bench turned sideways. Leave a clear gap where your path crosses, so the edge has a doorway instead of forcing people around it.
Anchor each zone with one heavy piece
Every zone needs one thing too heavy to casually move: the dining table, the play structure, a bench or a fire bowl in the lounge corner. That piece is what stops the zone from drifting back into open lawn by August, because everything else gets rearranged around it and it never moves.
Set the anchor first in each zone, before the chairs, the side tables, or anything decorative.
Light each zone at a different height
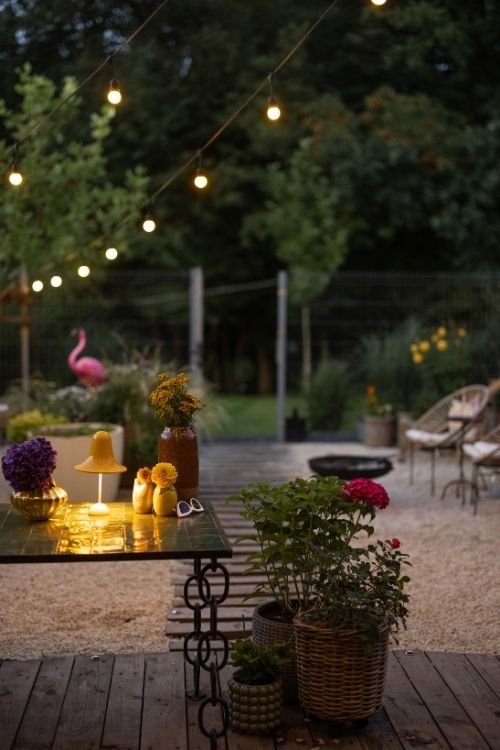
One floodlight on the house wall flattens the whole yard into a single bright rectangle and kills the zoning you worked for. Split the light between three levels instead: string lights overhead across dining, a table lamp or lantern at seat height in the lounge, and low path lights or stake lights along the walkways.
Warm bulbs rated 2700K or lower across all three. Put them on a timer set to sunset, since a yard that lights itself gets used and a yard that needs a switch does not.
Live with the layout for a week before you commit
Nothing is permanent yet, and that is deliberate. Use the yard normally for seven days before you order gravel, plant a hedge, or pour anything. Eat out there twice. Let the kids run it. Sit in the lounge corner after dark.
You will find the two or three things a sketch cannot tell you: the chair that catches the wind, the path everyone ignores, the play zone that turned out to be too close to the table. Move what is wrong now, while moving it costs nothing.
Frequently Asked Questions
How small can a yard be and still have three zones?
Around 400 square feet is the realistic floor for three, and even then they will be tight. Below that, combine dining and lounging on one surface with a table that works for both, and give the play zone its own separate corner. Three cramped zones feel worse than two comfortable ones.
Can I do this if I rent?
Yes, and this whole guide was written to stay movable. Rugs, gravel laid on landscape fabric, potted plants, freestanding screens, and stake lights all lift out on moving day. Skip the planted hedges and anything that needs digging or drilling.
Should the zones be the same size?
No, and equal zones are what makes a yard look like a diagram. Give the most space to whatever your family actually does most. If you eat outside three nights a week and lounge once a month, the dining zone should be visibly the largest.
How do I keep the play zone from taking over the whole yard?
Give it a hard edge and hold that line. A low border of timber or a ring of planters around the mulch tells everyone, including the kids, where the zone ends. Toys still migrate, but a defined edge makes a nightly reset take five minutes instead of twenty.
Do I have to change the ground surfaces, or is furniture enough?
Furniture alone rarely holds a zone. The eye reads a floor change instantly and reads a furniture group much more slowly, which is why an outdoor rug does more for a lounge corner than two extra chairs. Change the floor first, then arrange the furniture on it.
Three Rooms, One Yard
Your yard has a shape now. Somewhere to eat, somewhere to sit, and somewhere the kids can be loud without being underfoot.
The best part is that none of it is locked in. Rugs roll up, planters slide, gravel moves. These backyard zoning ideas grow with your family instead of freezing the yard in place.
Next season, plant something permanent along the edge you liked best. That is when it starts to feel settled.
Pin this so the measurements are with you while you are out there with the hose, and come back and tell me how you split your yard.