

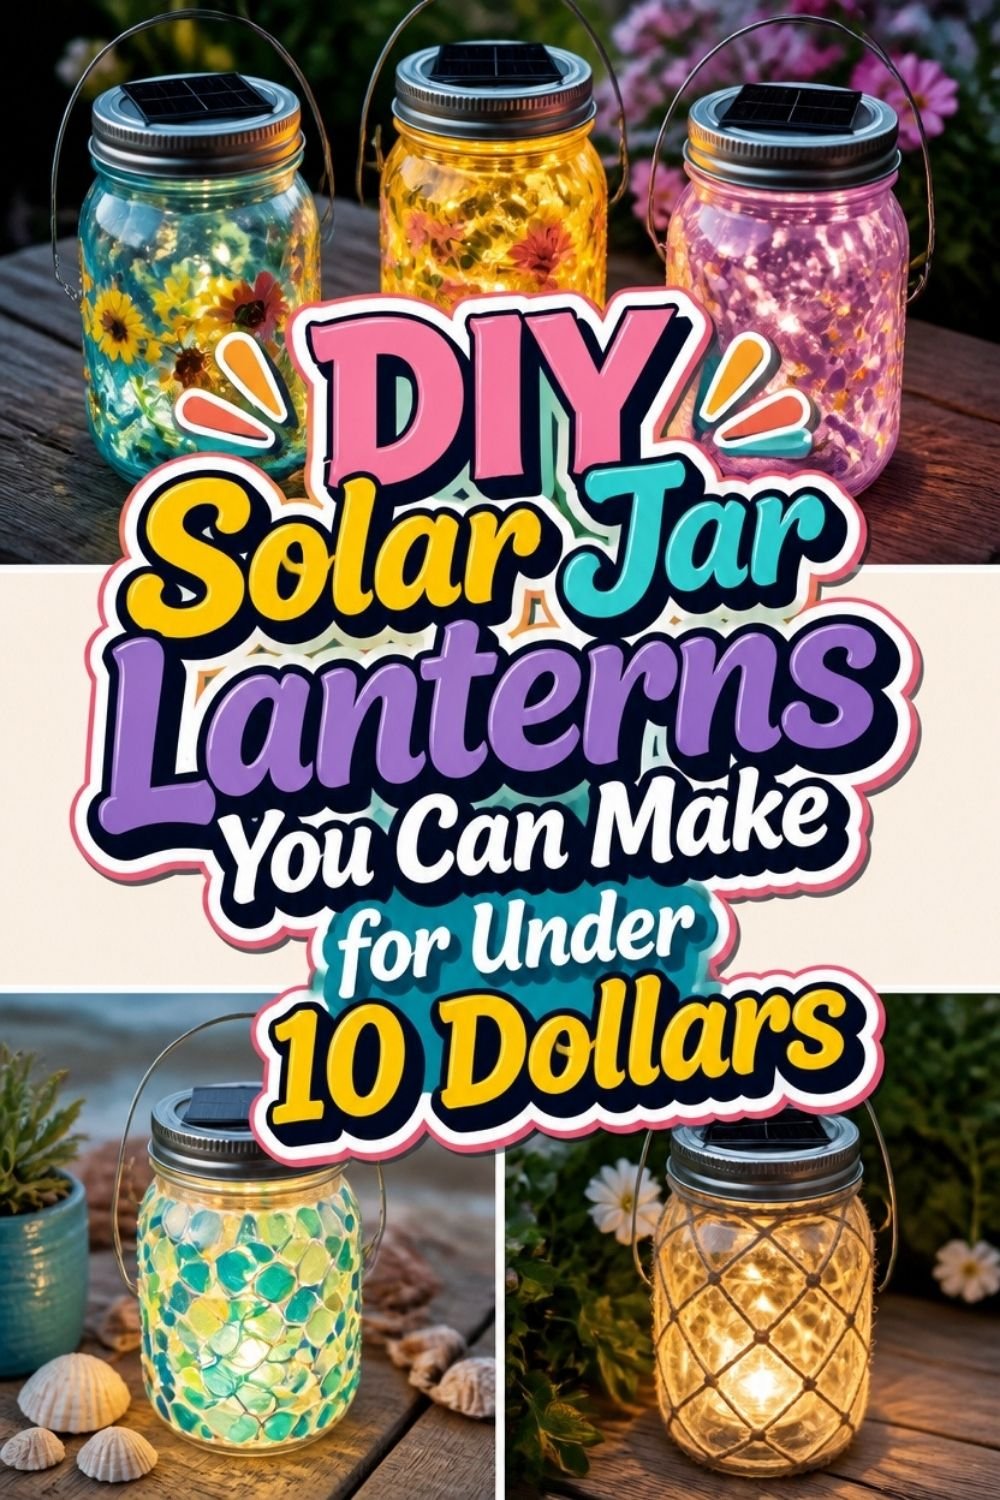
You already priced the real ones. Twenty five dollars apiece at the garden center, and you need six of them to line a path. That math is why you are here. DIY solar lanterns cost about three dollars each to make, and the finished ones look better than the plastic versions because the light comes through glass instead of a molded shade.
The whole trick is that you are not building a solar light. You are buying the cheapest solar path light on the shelf, twisting the top off the plastic stake, and dropping that top into a jar. The solar panel, the LED, the battery, and the light sensor all come as one sealed piece. Nothing gets wired. Nothing gets soldered. If you can twist open a jar lid, you can do this.
Hands-on time is about 30 minutes for a set of four. Then there is a 2 hour drying wait for the frosting, and a full day of sun before the first lantern glows properly. Start this in the morning and you will be hanging them at dusk.
Grab your jars. The ones in the back of the cupboard are fine.
Also read: 31 DECORATIVE TRAY IDEAS Organize With Style!
Pick jars with a mouth wide enough for the solar top
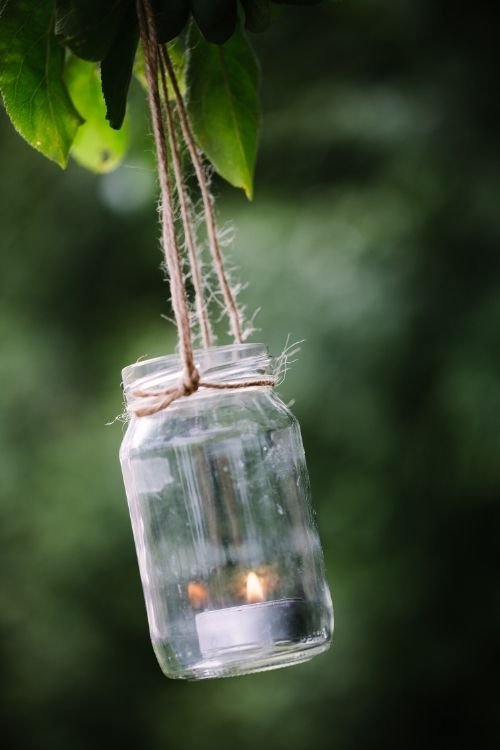
Wide mouth jars are the ones that work. Most solar path light tops measure 2.5 to 3 inches across, and a regular mouth canning jar opening is only 2.4 inches, which leaves the top sitting proud of the rim or falling through. Measure your jar opening before you commit to it.
Wash the jars and dry them completely inside
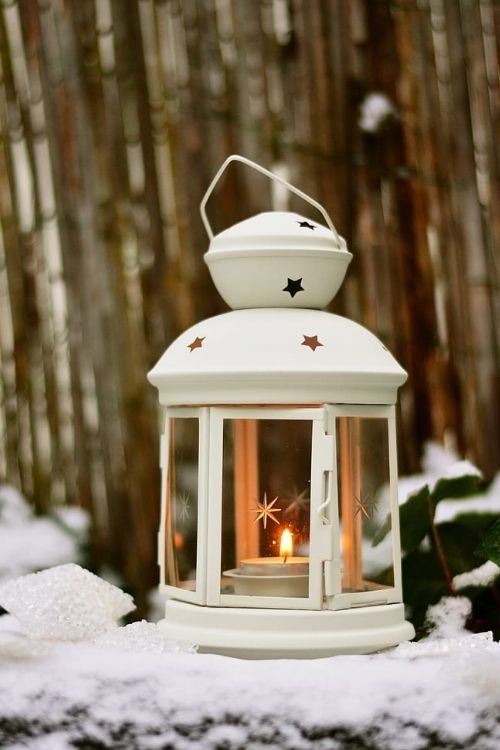
Old labels, jam residue, and a dusty film all show up once a light shines through the glass. Warm soapy water and a bottle brush handles the inside. Then wipe the inside walls with rubbing alcohol on a paper towel, which strips the last of the grease so frosting will stick evenly instead of beading up.
Dry matters more than clean here. Set the jars upside down on a towel for 20 minutes in a warm spot, then check the inside with a fingertip.
Buy the cheapest solar path lights you can find
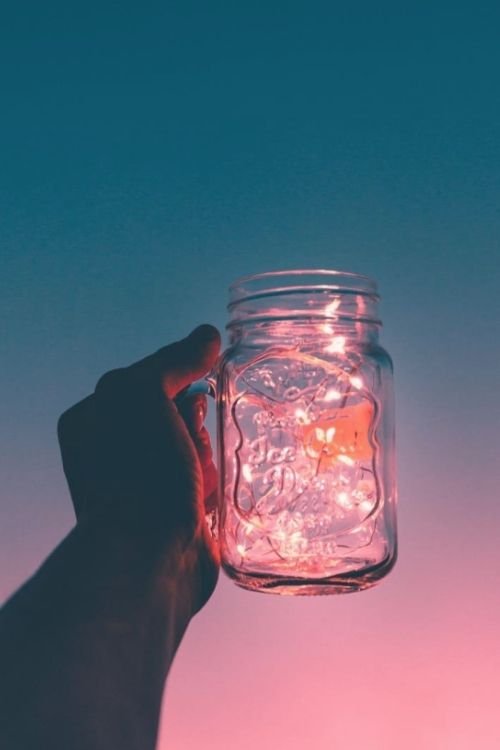
Price does not help you here. A $2 dollar store path light and a $15 garden center one use the same size solar panel and the same single LED. You are throwing away the stake and the plastic shade either way.
Check four things on the box or the light itself:
- The round solar top is 3 inches across or less
- The LED reads warm white, not blue white or color changing
- There is a small on and off switch underneath
- The battery is a standard AA you can replace later
Skip anything with a fixed sealed battery. When it dies in two seasons, the whole lantern dies with it.
Twist the solar top off the stake
Nearly all of these separate with a quarter turn counterclockwise, the same motion as a jar lid. The plastic shade and the stake come off as one piece and go straight in the bin. If yours will not budge, look for two small tabs on the underside of the collar and press them inward while you turn. Nothing here needs force, and forcing it cracks the plastic collar you are about to sit in the jar mouth.
Charge and test each light before you build
Six hours on a sunny windowsill or outside gets a new light to a usable charge, and you can test at four in a pinch. Flip the switch underneath to on first, because most of these ship switched off and a light that seems dead is usually a light that was never turned on.
To check one without waiting for dark:
- Switch it on
- Cup your palm tightly over the solar panel
- Count to five in full shade
- Watch for the LED to come up
Any light that stays dark, flickers, or glows faint after a full charge goes in the return pile. Sort out the duds now while the jars are still empty.
Frost the inside of the jar for a softer glow
Bare glass throws a hard bright dot instead of a glow, and you can see the LED itself from across the yard. Frosting scatters that light across the whole jar. Do it on the inside so rain, sun, and scuffs never touch the finish.
Frosted glass spray goes on in short bursts aimed through the opening while you rotate the jar, three light coats rather than one wet one. If you would rather not spray, pour a spoonful of matte Mod Podge into a dry jar, swirl it until the walls are coated, then tip the excess back out.
Let the frosting dry for 2 hours
Touch dry happens in about 20 minutes, but the finish stays soft underneath for far longer, and a solar top pressed into a tacky jar mouth leaves a permanent smudged ring right where you look at it. Stand the jars upright somewhere with moving air and walk away for 2 hours. Mod Podge needs closer to 4 hours in humid weather.
Seat the solar top in the jar mouth
Most tops drop in and rest on the rim with the panel sitting flush, which is all you need. Test the fit dry before you reach for glue, then pick your gap fix:
- Snug fit, panel level with the rim: leave it loose so you can pull it out to swap the battery
- Slightly small, wobbles or sinks: wrap the collar once with clear packing tape or a rubber band
- Too small, drops through: wrap twine around the collar until it grips
A loose top that lifts out beats a glued one every time. You will be changing that AA in a year or two.
Bend a wire hanger around the jar neck
Cut about 20 inches of 16 gauge wire for a quart jar. Wrap it once around the neck, right under the threaded ring where the glass steps in, and twist the two ends together tightly with pliers on one side. That step in the glass is what stops the whole thing sliding off, so keep the wire below it, not on the threads.
Then cut a second piece around 12 inches, hook one end through the collar on each side, and bend a handle. Squeeze every cut end flat with the pliers so nothing catches a finger later.
Wrap the neck with twine to hide the wire
Galvanized wire looks like what it is. A layer of jute over it reads handmade instead of improvised. Start with about 3 feet of twine, tuck the tail under your first pass, then wrap tightly around the neck over the wire, keeping each turn snug against the last so no gaps show through. Six to eight passes covers a standard neck. Tie off with a double knot on the back side and trim the ends short.
Charge the finished lanterns in full sun for 8 hours
A finished jar charges slower than a bare light did, because the panel now sits down inside a glass rim that shades it part of the day. Set the lanterns out somewhere open by mid morning and leave them until late afternoon.
Do not skip this on the first day. A partial first charge gives you 20 minutes of glow at dusk and a set of lanterns you assume are broken. Fully charged, expect 6 to 8 hours of light on a summer night.
Hang the DIY solar lanterns and space them out
Dusk is when these switch on, so hang them while there is still light to see by. Spacing does the work: 4 to 6 feet apart along a fence, a branch, or a pergola beam, all at roughly the same height, reads deliberate. Clustered at random heights reads like leftovers.
Keep every jar clear of doorways and walking paths, and hang each one high enough that nobody walks into glass in the dark.
Frequently Asked Questions
Can I leave these outside in the rain?
Yes. Solar path light tops are built for weather, and a jar hanging upright sheds water fine. Bring them in before a hard freeze, since water pooling in the bottom of a jar can crack the glass when it expands.
How long do the batteries last?
About one to two seasons of nightly use. Pull the old AA out, put a fresh rechargeable one in, and the lantern works like new for a few dollars. This is exactly why the top should lift out instead of being glued down.
Can I use jars I already have instead of buying mason jars?
Any glass jar with a wide mouth works. Pasta sauce jars, pickle jars, and large salsa jars all take a standard solar top. Soak the labels off in warm soapy water and give the inside a wipe with rubbing alcohol.
Do I have to frost the glass?
No, and clear jars look sharp with a bulb-style LED. Plain glass throws a harder, brighter point of light, so frost them if you want a soft glow and leave them clear if you want more usable light on a path.
Will these work in winter?
They work, but the nights are longer than the charge. Expect 2 to 4 hours of light on a short winter day instead of a full evening. Cold also cuts battery performance, so runtime drops even with good sun.
Can I put them on a table instead of hanging them?
Set them straight down on any flat surface and skip Steps 9 and 10 entirely. Standing jars still need the panel to see the sky, so avoid spots under a table umbrella or a covered roof.
Are these safe around kids and pets?
The lights themselves run on a single AA and get barely warm, so there is no flame or burn risk. The glass is the only real concern. Hang the jars above head height or set them where they cannot be knocked over.
Wait Until Dark
Four jars, one afternoon, and less than the price of a single store-bought lantern.
The best part comes at dusk on day one, when they switch themselves on without you doing anything. That is when the whole cheap little project pays off.
Once you have the method down, DIY solar lanterns scale to whatever you need. Six along a fence, a dozen for a party, a row down the driveway.
Pin this so the sizing numbers are with you at the dollar store, and come back and tell me where you hung yours.


