
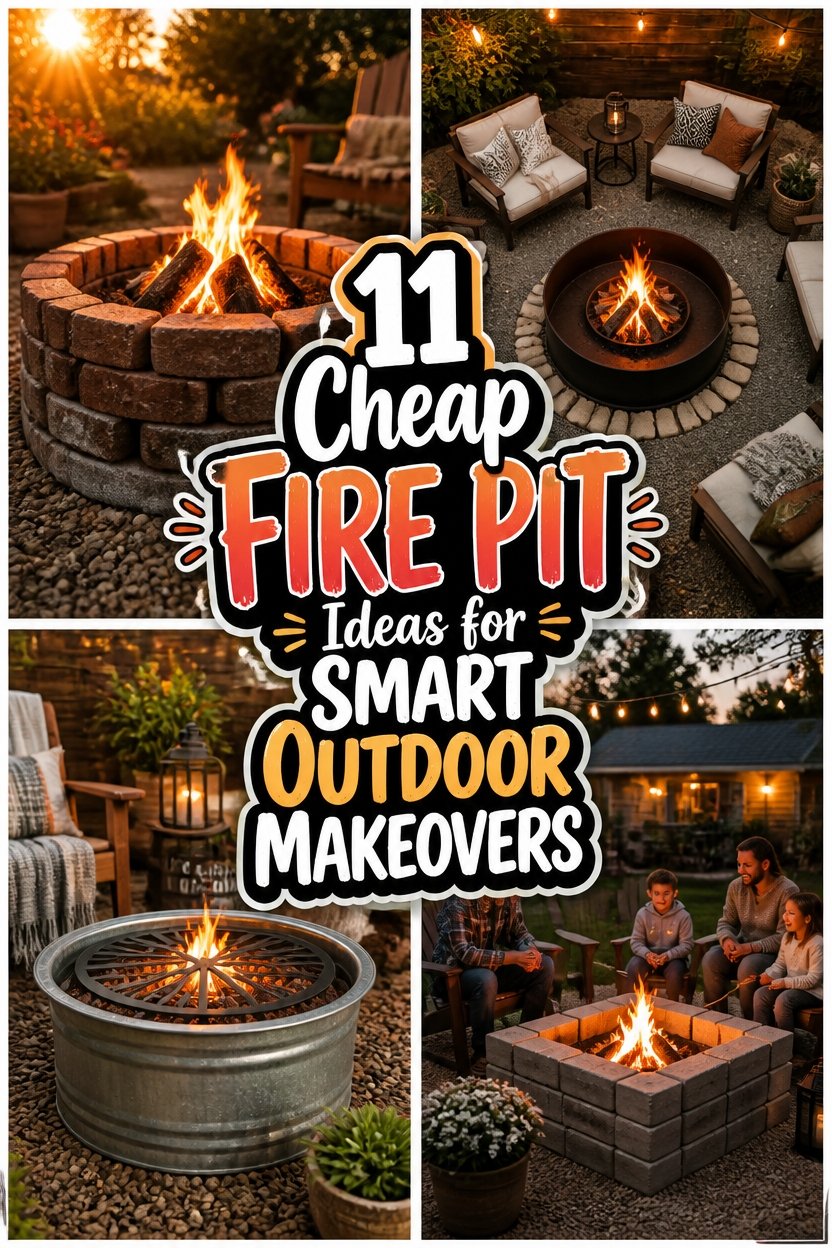
Ask anyone with a backyard fire pit and they’ll tell you the same thing, people just show up and stay longer once the flames are going.
My neighbors built theirs out of a stock tank one weekend, and it’s turned into the unofficial gathering spot for our whole street.
You don’t need a big budget or a contractor to get there. Old drums, cinder blocks, galvanized troughs, even a hole in the ground can all become the centerpiece of your backyard.
Think about how you’ll actually use the space before you pick a method. Portability matters if you rent, durability matters if it’s staying put through every season.
Safety comes first no matter which route you choose, especially with kids or pets running around nearby.
A Few Things Worth Knowing First
Before you commit to a design, walk your yard and figure out where a fire pit actually makes sense. Distance from your house, fences, and any overhanging trees matters more than most people think going in.
Check your local fire codes too. Some areas have real restrictions on open flames, and it’s a lot easier to find that out before you build than after.
Ventilation and drainage deserve some thought as well, since a fire pit that traps water or smothers airflow won’t last nearly as long.
10 Budget-Friendly Fire Pit Ideas Anyone Can Build
These builds range from a quick weekend project to something you can finish in an afternoon with tools you probably already own.
Some rely on salvaged materials, while others use basic supplies from the hardware store, so there’s an option here no matter what you’ve got on hand.
Pick the one that matches your yard and your patience level, then get building.
Budget-Friendly Stock Tank Fire Pit
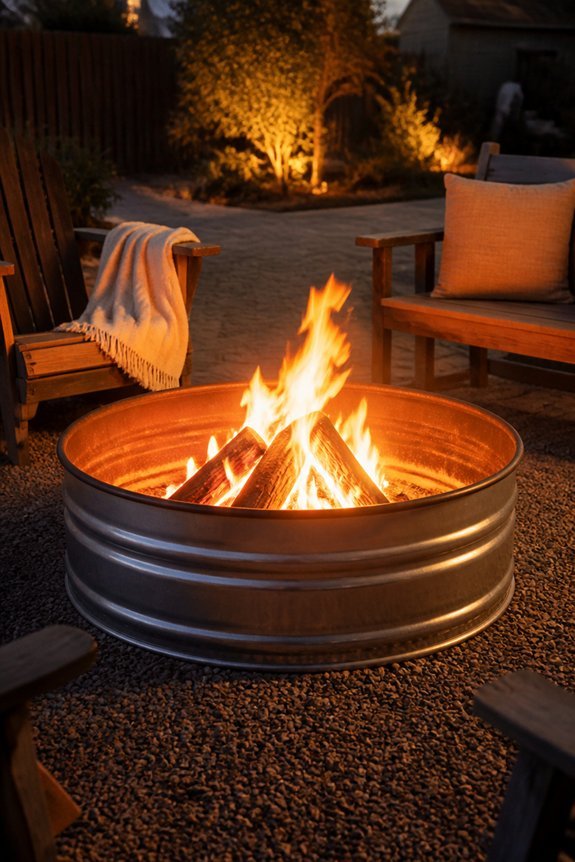
Stock tanks make excellent fire pit bases for budget-conscious homeowners. These galvanized metal containers normally water livestock. They cost $50 to $150. This beats custom options.
A standard 100-gallon tank spans 30 inches across and 24 inches deep. It handles wood burning with room to spare.
Basic Setup
Place the tank on flat ground. Add a metal grate for wood support. Top it with a spark screen.
Keep the tank clear of buildings, trees, and combustible items. Drill ventilation holes near the bottom for airflow.
This simple setup gives you outdoor warmth without breaking the bank.
Stack Your Own Cinder Block Fire Ring
Why Cinder Blocks Work
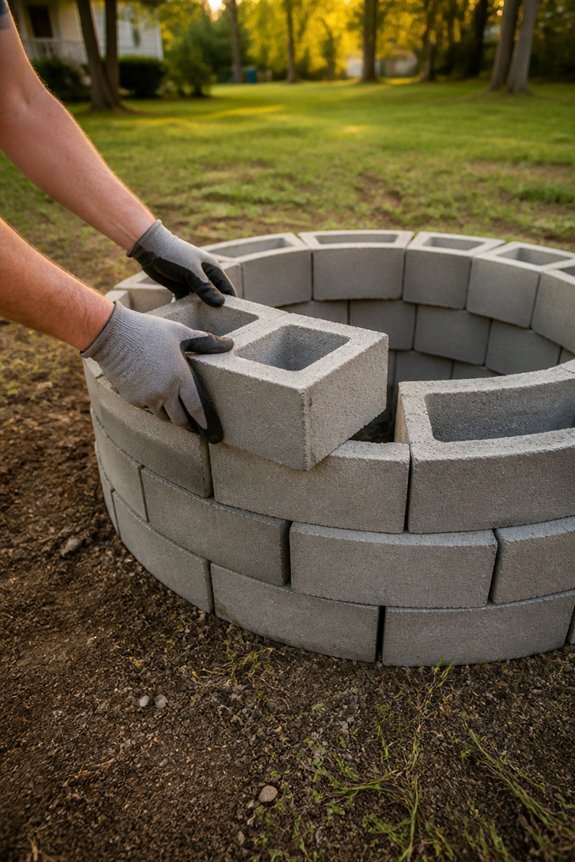
Cinder blocks stack with ease. They cost very little, too. This makes them perfect for building your own fire ring.
Builders arrange them in a circle. The ring contains flames and heat. Standard 8-by-8-by-16-inch blocks fit this project well. You need no mortar or special tools.
Building Your Ring
Pick a level spot of ground first. Arrange the blocks in rows. Stack them until you reach your desired height.
Most fire rings stand two to three blocks high. You can customize the diameter and shape. Base this on your space and personal preference.
Practical Benefits
Water drains naturally through the hollow centers. This prevents pooling. The blocks resist cracking from heat exposure. They stay durable for many seasons.
If damage happens, replacement costs remain low. Repairs stay simple and affordable.
Galvanized Metal Trough Conversion
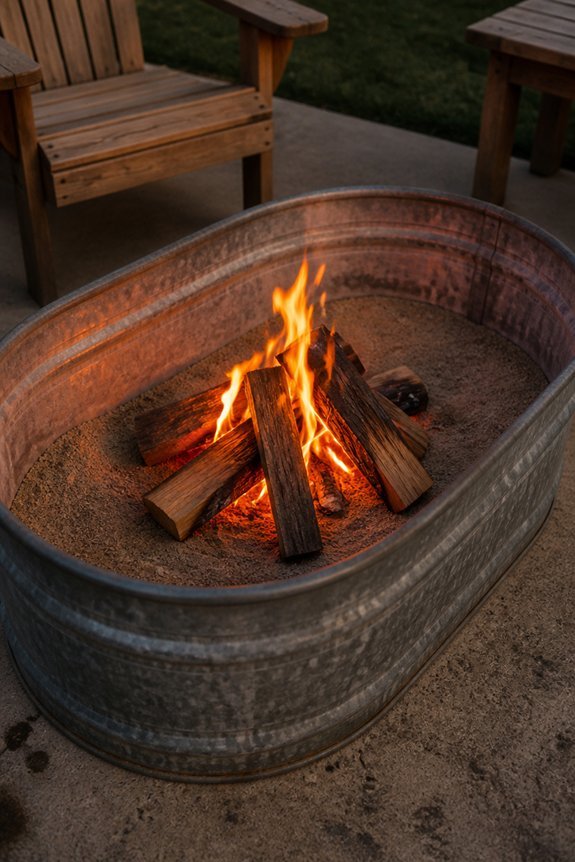
What if an old farm trough became your new fire pit? These sturdy metal containers show up everywhere. Check farm supply stores or online marketplaces. You will find affordable options that beat traditional fire pit costs.
Most troughs hold 50 to 100 gallons. That size gives you enough depth for safe burning. The rectangular shape works well for seating arrangements too.
Start by drilling drainage holes in the bottom. This stops water from pooling inside. Set your trough on level ground or a gravel bed. This protects the grass underneath from scorching.
Line the bottom with sand or fire-resistant material. This simple step helps the metal last longer. The trough sides heat up nicely. You will feel that warmth spreading on cool evenings.
The whole project needs just basic tools. No concrete pouring required. No permanent installation either. Budget about $40 to $80 for materials. You could be gathering around your new fire pit by tonight.
Gravel and Landscape Timber Base
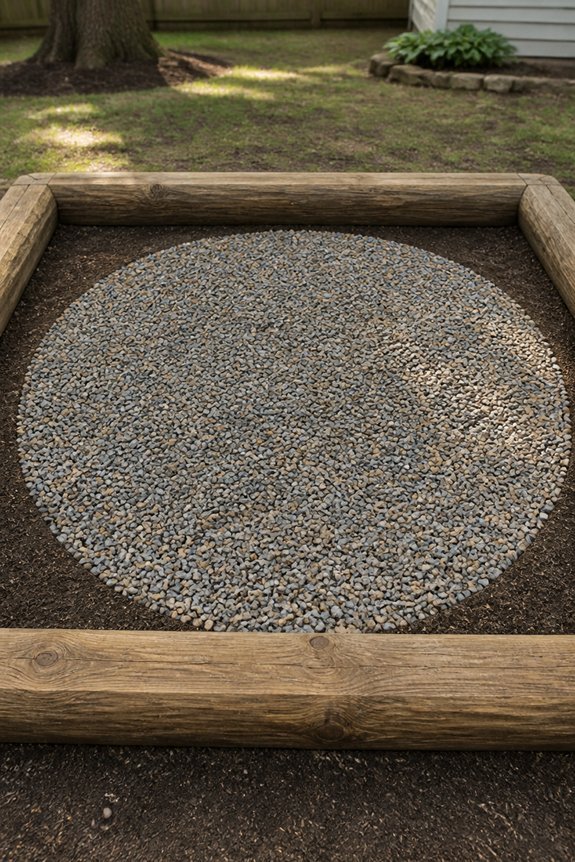
A simple foundation makes any fire pit safer. It also makes it more durable.
Landscape timbers create a sturdy base. Stack 6×6 or 4×4 inch boards and secure them. This wooden frame contains materials. It also stops fire from spreading to nearby grass.
Gravel fills the interior with purpose. The stones allow drainage. Water won’t pool underneath. Heat spreads evenly across the base too. Pea gravel works well here. It offers a smooth surface for seating areas.
Installation needs few tools. Level the ground first. Arrange timbers in your chosen shape. Add landscape fabric under the gravel. This stops weeds from growing through.
This approach costs less than metal fire pit rings. You get similar function and lifespan without the high price.
Dig a Sunken Fire Pit (No Mortar Needed)
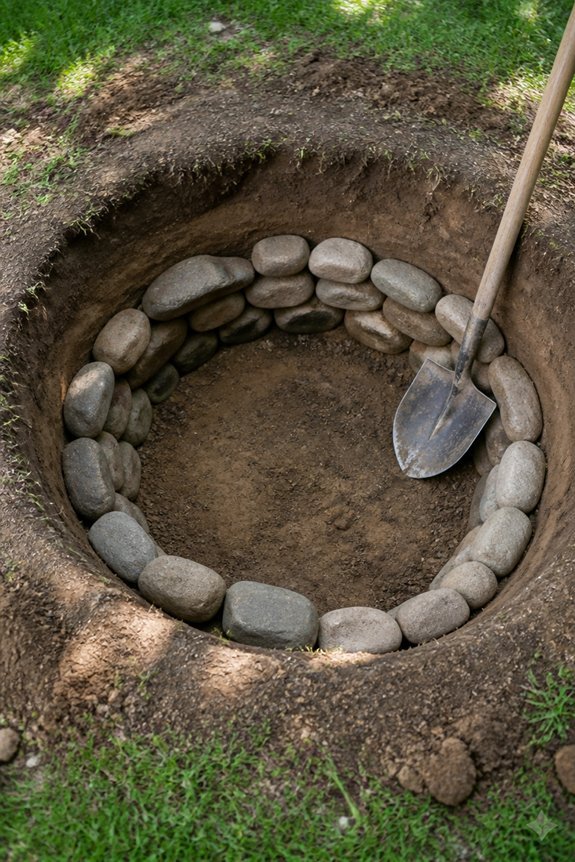
A sunken fire pit offers an affordable way to add warmth to your yard. You dig down instead of building up. This keeps costs low and materials simple.
No mortar is needed for this project. You only need basic supplies and some elbow grease.
Start by marking a circle about two to three feet wide. Dig down one to two feet deep. This size works well for most gatherings.
Line the bottom with sand or gravel. This step helps water drain away. Dry conditions make for safer, easier fires.
Arrange stones, bricks, or pavers around the edge. These contain the flames and add a finished look. Stack them snugly without adhesive.
The sunken shape blocks wind naturally. Ash stays put instead of blowing around. Cleanup takes less effort too.
Check your pit now and then. Remove built-up ash when it gets deep. Watch for soil erosion after heavy rains.
Most soil types handle this design fine. Sandy or clay soils need extra support. Consider a buried metal ring or thicker stone walls in those cases.
Upcycled Metal Drum Fire Pit
Finding Your Drum
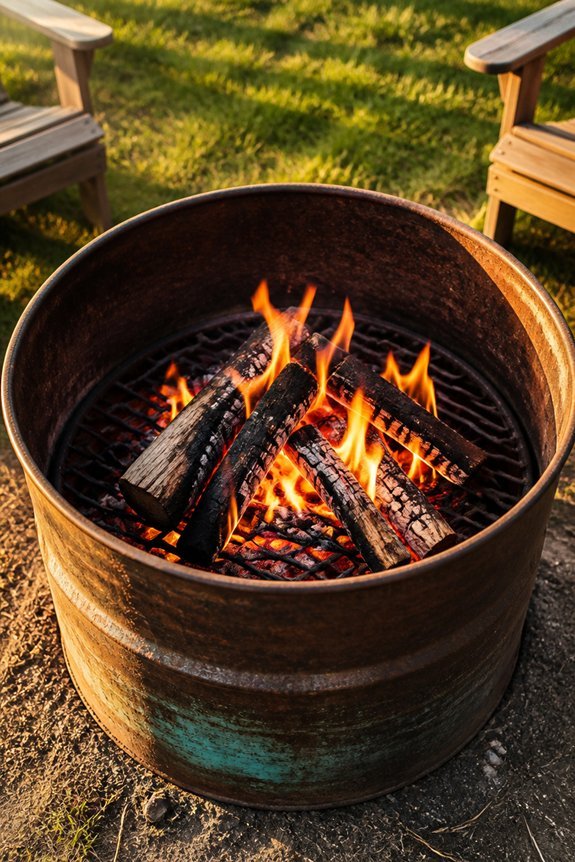
Salvage yards and industrial suppliers are great starting points. Look for 55-gallon steel drums in good condition. These containers need little work to become functional fire pits.
Verification matters. Check that drums are clean and free of chemical residue. Only proceed with drums marked safe for fire use.
Basic Modifications
Drill ventilation holes near the bottom. Airflow sustains combustion and prevents ash buildup. Space holes evenly around the drum’s circumference.
The top can stay open. Add a removable grate if you plan to cook over the fire.
Building the Base
Attach legs to the exterior using metal pipes or angle iron. Elevate the drum above ground level. This simple step protects grass and soil from heat damage.
Longevity and Cost
Steel drums handle high temperatures well. Expect several seasons of use with basic maintenance. This DIY approach costs far less than store-bought alternatives.
Dry-Stacked Stone Ring Option
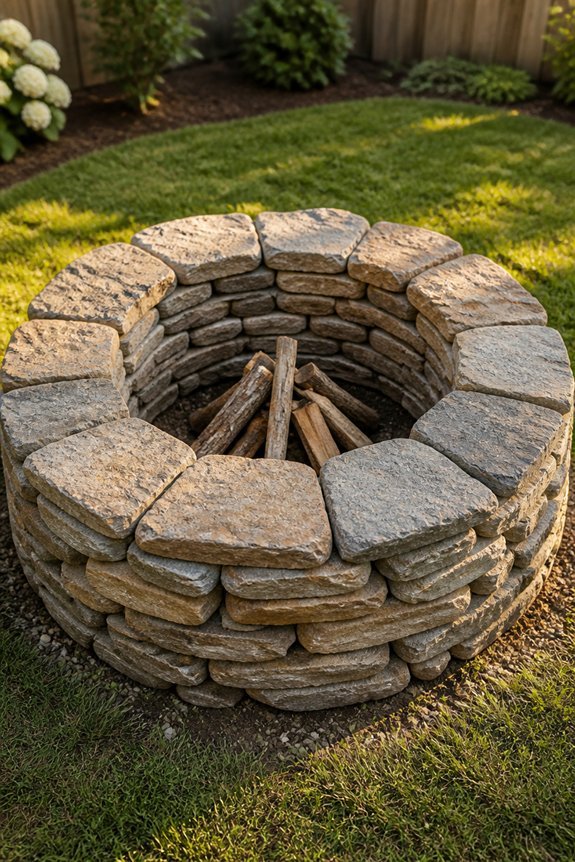
Stone rings provide a simple alternative to metal drums. No welding, drilling, or salvage hunting needed. You just stack stones or concrete blocks in a circle. No mortar or adhesive required.
The stones rest on level ground. Their own weight and careful arrangement keep everything in place.
Common materials include granite blocks, limestone, or locally gathered fieldstone. Most rings span 3 to 4 feet across. This size handles standard firewood well.
Clear the interior of debris first. Check that the ground is fairly flat before you begin stacking.
You can take the ring apart anytime. Cleaning and relocation stay easy. Stone rings hold up to repeated fires with little upkeep needed.
Affordable Brick Fire Pit (No Experience Required)
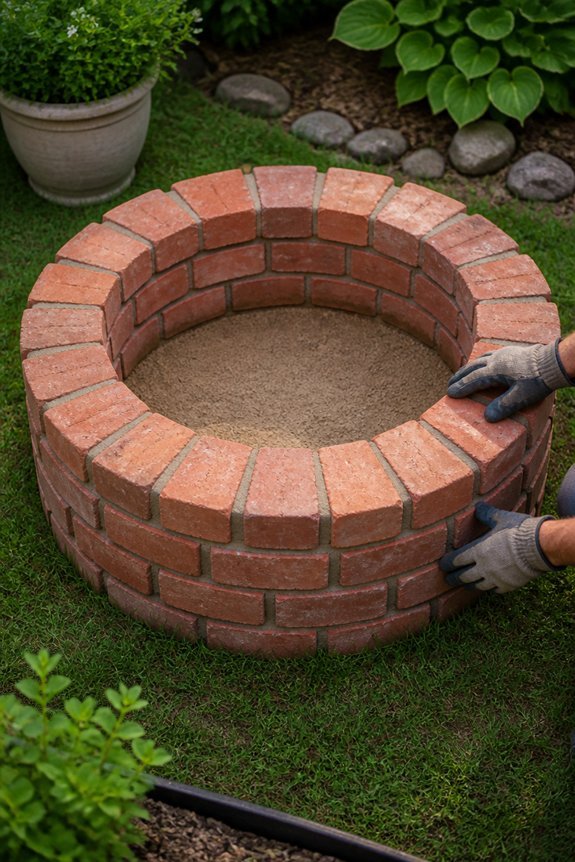
A brick fire pit offers an accessible option for those without construction experience or specialized tools. Simply stack standard clay bricks in a circular pattern, then secure them with outdoor mortar or leave them dry-stacked.
Homeowners can purchase bricks from hardware stores. This keeps costs low compared to decorative stone options. The circular design typically ranges from three to four feet in diameter. This size accommodates medium-sized fires comfortably.
Bricks withstand high temperatures effectively. This makes them practical for frequent use throughout the seasons. The pit’s depth should measure approximately two feet. This allows adequate space for wood and proper airflow.
Once complete, the pit functions immediately. No curing time is necessary. Bricks can be repositioned if adjustments become necessary. This provides helpful flexibility for future design modifications.
Portable Tabletop Fire Bowls for Small Yards
Warmth Without the Commitment
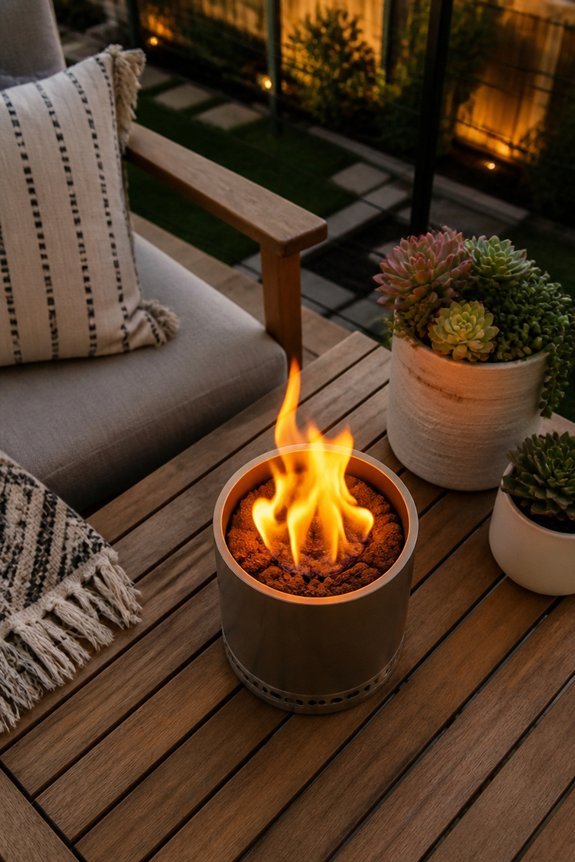
Tabletop fire bowls fit perfectly on small patios, decks, or balconies. They bring real flames without permanent installation.
Two popular fuel types stand out. Ethanol fire bowls burn clean fuel with genuine flames. Gel fuel bowls work similarly and need little upkeep.
Built to Last
Stainless steel and ceramic models handle outdoor conditions well. They also look great on any table. Prices typically run from thirty to two hundred dollars based on size and materials.
Simple Safety Steps
Place your fire bowl on a stable, flat surface. Keep it away from anything flammable. Always follow the safety guidelines from the manufacturer.
These portable units heat your space and add visual charm. No landscape changes required.
Repurposed Chimney Flue Build
Salvaged Chimney Flue Build
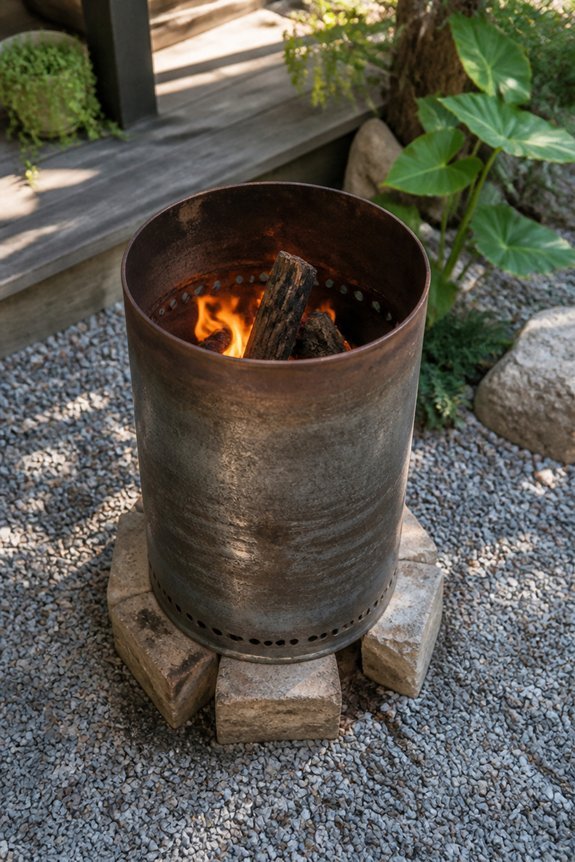
Salvaged chimney flues make an inexpensive foundation for fire pits. These cylindrical tubes need minimal modification for backyard use. You can find metal or ceramic flues eight to twelve inches wide at salvage yards and online marketplaces. Prices typically run fifteen to fifty dollars each.
Basic Setup
Start with a level ground surface. Place the flue section on a metal grate or brick base. Some builders add an exterior metal ring for extra stability. Put sand or gravel underneath to prevent ground contact and improve drainage. Height usually ranges from two to four feet. Choose based on your seating distance and how much flame you want to see.
Upkeep
Clear out interior debris before each use. Check for cracks or damage that could weaken the structure. A quick inspection keeps your fire pit safe and ready for the next gathering.
Which Option Is Right for You?
Your choice depends on budget, space, and what matters most to you.
Chimney flue fire pits cost less than store-bought versions. They need few materials and fit small yards nicely. You will need a sturdy base and good ventilation.
Store-bought fire pits cost more but install quickly. They come in standard sizes that work right away.
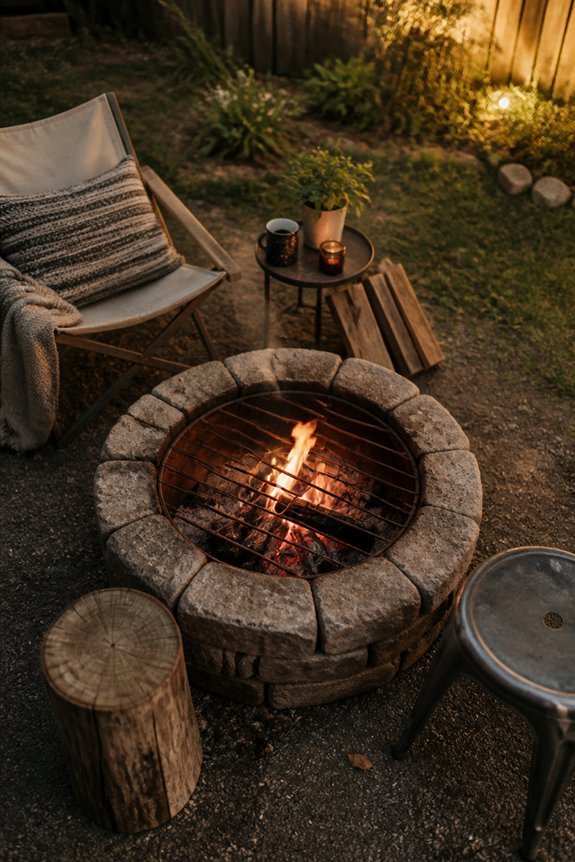
Concrete blocks offer a middle path. They cost less than commercial pits and you can size them to your space.
Check your lot size and local fire codes first. Think about how much upkeep you want to handle.
Have scrap materials and basic tools? A salvaged flue build could work well. Need something fast? Commercial products save time. Tight on money and space? Chimney flue conversions balance cost and function.
Frequently Asked Questions
What Safety Precautions Should I Take Before Building Any Fire Pit?
Check your local regulations before you start digging or stacking anything. Some areas require permits, and it’s a lot easier to find that out early.
Clear the area of anything flammable and keep a safe distance from your house, fences, and trees.
Good drainage matters too, and it’s worth checking that the ground underneath is stable enough to hold up over time.
Do I Need Permits or Inspections for Residential Fire Pit Construction?
In most places, yes, though the specifics vary quite a bit depending on where you live.
Your local building department can tell you exactly what codes apply, along with any setback requirements you’ll need to follow.
It’s a quick call that can save you from having to redo something later.
How Do I Properly Maintain and Clean My Fire Pit Regularly?
Keeping up with maintenance really extends how long your fire pit lasts. Clear out the ash weekly so it doesn’t build up and trap moisture.
Give the metal a look for rust once a month, and do a deeper clean with a wire brush every few months.
A simple cover goes a long way toward protecting it from the weather when you’re not using it.
What Types of Wood Are Safe to Burn in Fire Pits?
Stick with hardwoods like oak, maple, and ash. They burn cleaner and more efficiently than most alternatives.
Avoid softwoods, treated lumber, and anything wet, since all three tend to produce excess smoke and can release chemicals you don’t want to breathe in.
Choosing the right wood makes a bigger difference in your experience than people usually expect.
Can I Use a Fire Pit in Areas With Fire Restrictions?
Generally, no. Fire restrictions typically mean open flames are off limits, fire pit included.
Check with your local fire department before you plan anything, since rules can shift depending on drought conditions or the season.
Ignoring a restriction can lead to fines, so it’s worth a quick check before you light anything up.
CONCLUSION
A fire pit doesn’t need to be expensive to become the best part of your backyard.
I’ve sat around plenty of fire pits over the years, and the fanciest one was never the one people wanted to linger at longest. It was always whichever one felt easiest and most comfortable to gather around.
Cinder blocks, stock tanks, chimney flues, landscape timbers, they all get the job done in their own way. What matters most is picking the option that fits your yard, your budget, and how much upkeep you actually want to deal with.
Most of these builds are forgiving enough for a first timer, so don’t let a lack of experience talk you out of trying.
Which build fits your yard best? Tell me in the comments, I’d love to hear what you end up going with.