

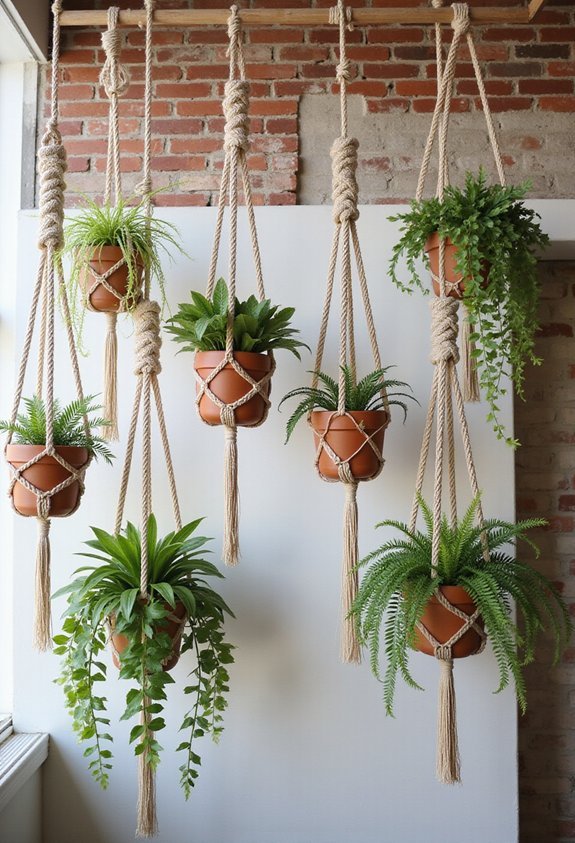
Knotting your own macrame plant hanger looks complicated until you actually try it. A roll of cotton rope, a metal ring, and a few hours are genuinely all you need.
Master the square knot and half hitch, and you have the foundation for almost everything here.
These fifteen patterns range from simple beginner builds to intricate statement pieces, whether you want a clean minimalist look or a boho, tassel-heavy design with plenty of texture.
A Few Things Worth Knowing First
Cotton rope is the easiest material to work with when you are learning. It is soft on your hands, holds knots well, and comes in neutral tones that work with almost any decor. A 4mm or 5mm thickness is the sweet spot for most of the patterns in this list.
Before you cut a single cord, decide where the hanger will live. Ceiling height, pot weight, and whether the spot gets direct sunlight all affect which pattern and which rope material make the most sense for your situation.
A small tip that saves real frustration: always cut your cords longer than you think you need. You can trim down at the end, but you cannot add length back once you have started knotting.
15 Macrame Plant Hanger Patterns
Every project in this list was chosen because it teaches you something useful, whether that is a foundational knot, a new structural technique, or a finishing detail that elevates the whole piece.
Some patterns here lean minimal and quick, perfect for filling empty corners or gifting. Others are slower builds designed to become a genuine focal point in a room. A few can be adapted in rope weight or cord color to completely change their personality.
Scroll through, find the one that matches where you are right now, and give it a try this weekend.
Simple Four-Strand Basic Hanger for Beginners
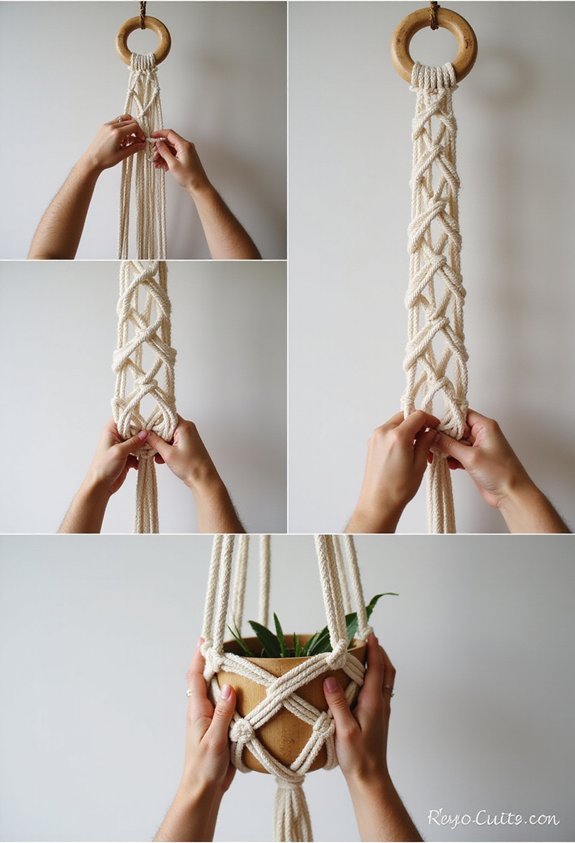
Since macrame can seem intimidating at first glance, this four-strand pattern serves as the perfect entry point for your plant hanging journey.
You’ll need just four 10-foot cords of 4mm cotton rope. Start by folding them in half over a 2-inch metal ring, creating eight working strands. Divide these into four pairs, then tie square knots every 3 inches down each pair. At 18 inches, gather all strands and secure them with a simple gathering knot.
This creates a basket shape that’ll cradle a 4-inch pot perfectly. “Beginners should practice their square knots on scrap cord first,” advises textile artist Maria Chen. “Consistency matters more than speed.” The entire project takes roughly 45 minutes, and you’ll have a functional hanger ready for your favorite trailing pothos.
Also read: 3 Quick Elf on the Shelf Ideas You Can Set Up in 5 Minutes
Classic Spiral Knot Plant Hanger
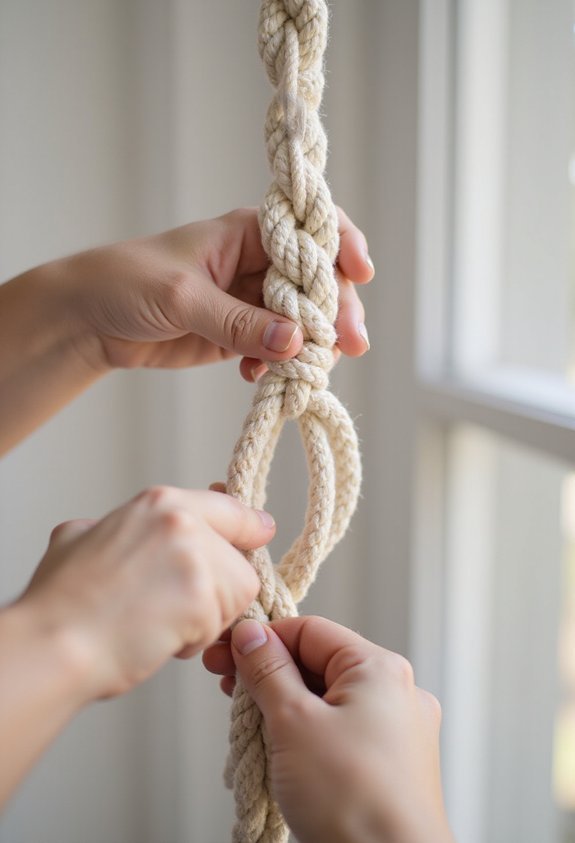
Once you’ve mastered the square knot, the spiral knot opens up a world of textured, dynamic designs that literally twist as they descend. You’ll create this effect by tying half square knots consistently in one direction, never alternating your working cords. The resulting spiral naturally rotates every four to five knots, creating visual movement.
For your first spiral hanger, use four 20-foot strands of 5mm cotton rope. Mount them at your ring, giving you eight working cords. Divide into pairs and begin your spirals about 6 inches below the mounting point. Designer Maria Chen notes, “The spiral’s organic twist complements trailing plants like pothos beautifully.” Space your spirals evenly, creating gathering points every 8 inches before forming your basket cradle.
Square Knot Single Tier Design
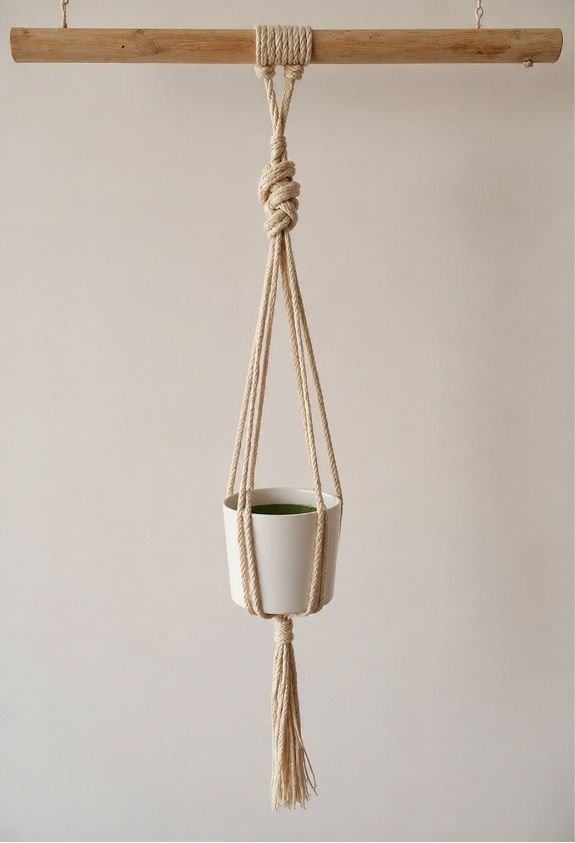
The square knot single tier design serves as the foundational pattern every macrame artist should perfect before attempting more complex variations. You’ll need four 8-foot cords in 4mm cotton rope, creating a clean basket that sits 18 inches below your mounting ring.
Start by folding each cord in half over a 2-inch brass ring. The working cords wrap around two center filler cords in an alternating left-over-right, then right-over-left sequence. We can’t get enough of how this simple repetition builds structure. Space your knots 1 inch apart for the first 4 inches, then alternate cord groupings to form the basket cradle.
Designer Sarah Chen notes, “Square knots provide unmatched stability for 6-inch pots.” Finish with gathered ends at 24 inches total length.
Double-Tiered Alternating Square Knot Hanger
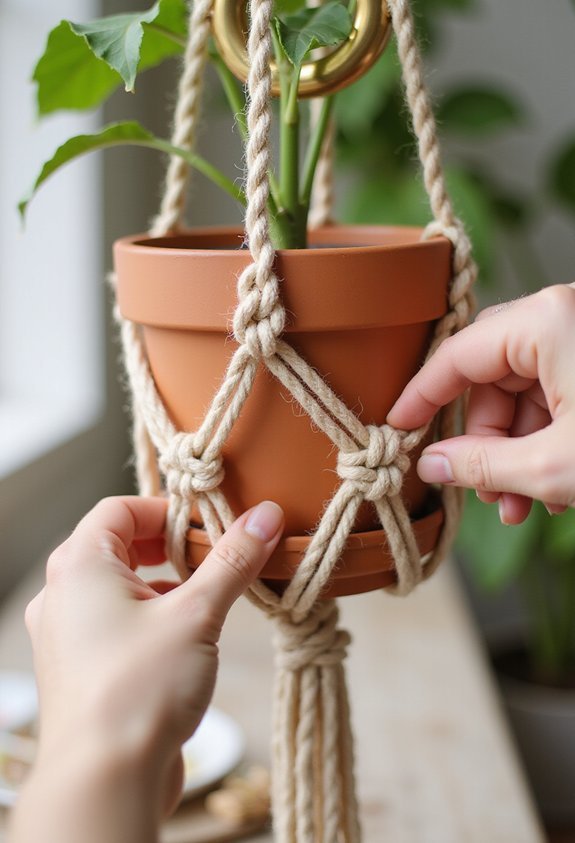
Building on single-tier fundamentals, this intermediate pattern adds architectural dimension with two distinct basket levels that accommodate multiple plant sizes. You’ll create the upper tier first, working alternating square knots in 3-inch intervals. Leave 8 inches of cord between tiers for visual breathing room.
The lower basket forms when you regroup your working strands, offsetting the pattern to create that signature diamond effect we can’t get enough of. This technique works beautifully with 5mm cotton rope in natural cream or dusty sage. Position a 6-inch pothos above and trailing string-of-pearls below for cascading drama.
“The alternating structure distributes weight evenly across both levels, supporting up to 15 pounds total,” notes fiber artist Rebecca Chen. Space your square knots consistently—precision matters here.
Twisted Rope Minimalist Style

For those craving clean lines without complex knotwork, twisted rope hangers deliver maximum impact through simple spiral construction. You’ll twist four cords around a central axis, securing the pot with strategic knots at top and bottom.
This technique works beautifully with 5mm natural cotton rope, creating elegant 36-inch hangers that complement Scandinavian interiors.
Start with eight 10-foot strands folded in half. The gathering knot sits 8 inches from your loop, followed by continuous twisting for 24 inches. Interior designer Sarah Mitchell notes, “The twisted section should feel firm but not overwrought—about two rotations per inch creates ideal visual rhythm.”
We can’t get enough of how these showcase trailing pothos and string-of-pearls. Finish with a wraparound knot, leaving 4-inch tassels for subtle texture.
Diamond Pattern Wall-Mounted Hanger
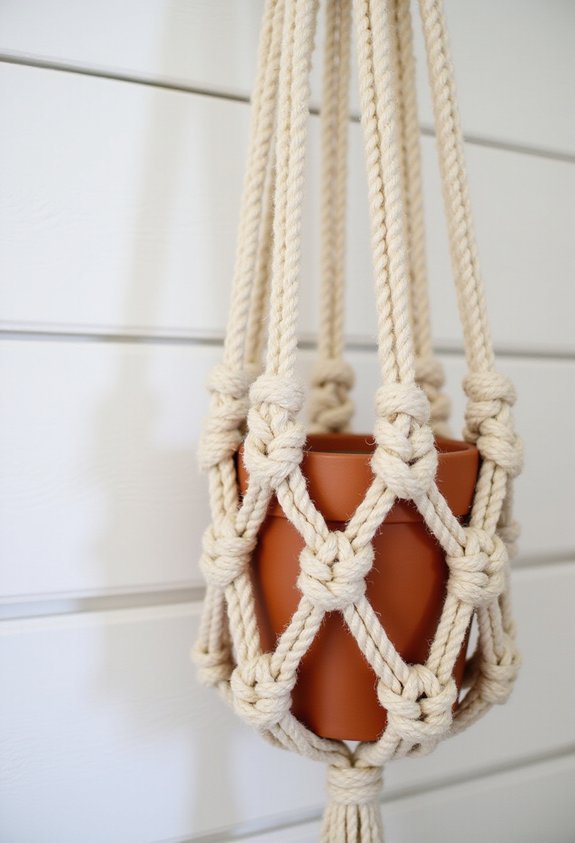
Wall-mounted designs change the game when floor space runs tight or you’re styling a gallery wall arrangement. The diamond pattern creates geometric interest through alternating square knots that form distinctive open shapes, typically measuring 18-24 inches in total length. You’ll start with eight 10-foot cords doubled over a mounting ring.
Create your first row of square knots, spacing them two inches apart. In the next row, you’ll combine adjacent cord pairs to form diamond shapes—this alternating technique builds the signature pattern. We can’t get enough of how these hangers complement midcentury modern spaces.
Interior designer Clara Morton notes, “Diamond patterns add architectural dimension without overwhelming smaller walls.”
Finish with a simple gathering knot, then trim cords to your preferred tassel length for clean lines.
Beaded Accent Single Plant Holder
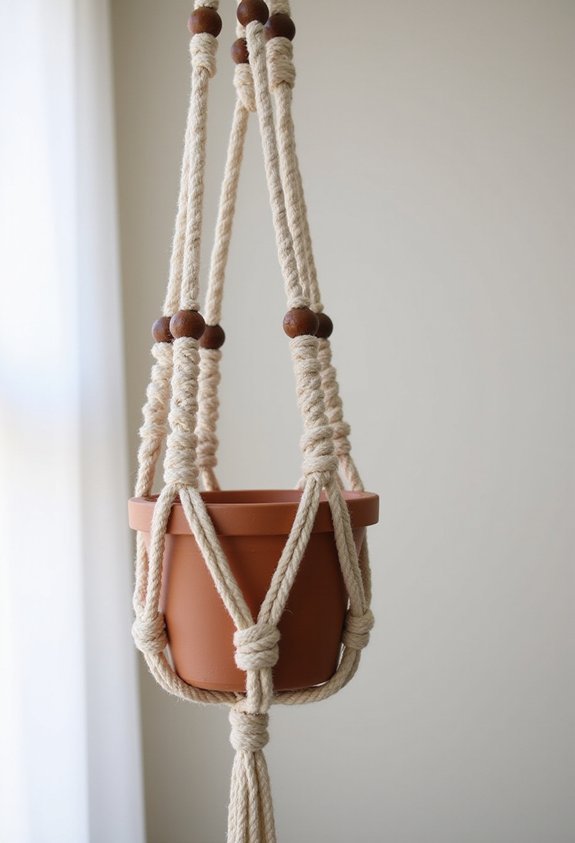
Why settle for plain macrame when wooden beads instantly elevate your plant hanger into a bohemian statement piece? This single-holder design features 3mm cotton cord and incorporates 20mm natural wood beads at strategic intervals. You’ll create a 36-inch hanger that holds pots up to 6 inches wide.
Start with eight 10-foot cords folded in half. Thread three beads onto paired strands before beginning your square knot sequence. The beads act as focal points, drawing the eye downward.
Interior designer Maria Chen notes, “Beaded accents transform basic macrame into curated decor without complicated knotwork.”
We can’t get enough of the textural contrast between smooth wood and twisted fiber. Space your beads 4 inches apart for balanced visual weight. Try Bochiknot’s pre-drilled beads—they’re perfectly sized for standard macrame cord and won’t snag delicate plant leaves.
Triple-Tiered Cascading Design
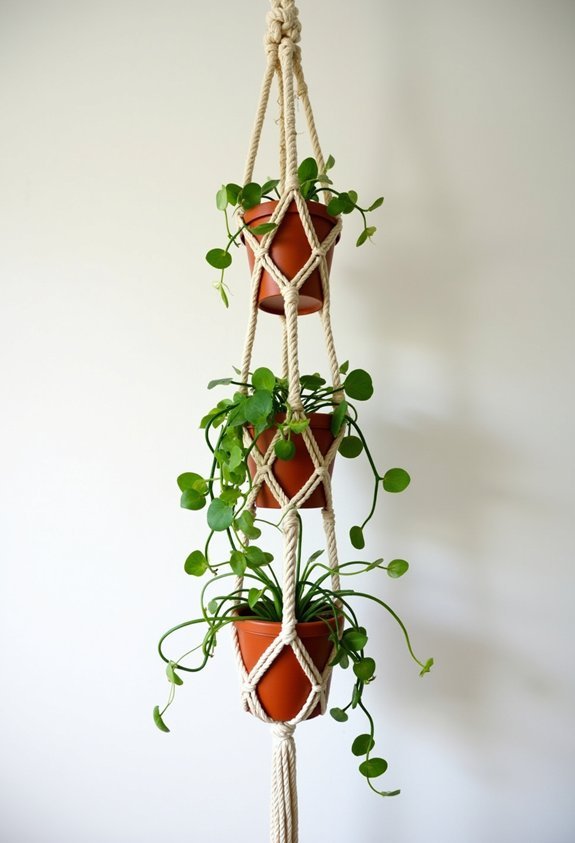
Ready to display multiple plants in vertical harmony? This cascading design transforms any corner into a living gallery wall. You’ll need approximately 180 feet of 5mm cotton cord for a 48-inch finished piece.
Start with eight 22-foot strands, creating three separate cradle sections at staggered heights. Position your first basket at 12 inches, the second at 24 inches, and the final at 36 inches from your mounting ring. Each tier features alternating square knots for structural integrity.
“Cascading hangers work brilliantly in rooms with 9-foot ceilings or higher,” notes interior stylist Marina Chen. “They maximize vertical real estate while maintaining visual flow.”
We can’t get enough of how succulents look in the top tier, trailing pothos in the middle, and ferns at the bottom. This arrangement creates natural dimension through varied textures.
Chevron V-Pattern Plant Hanger
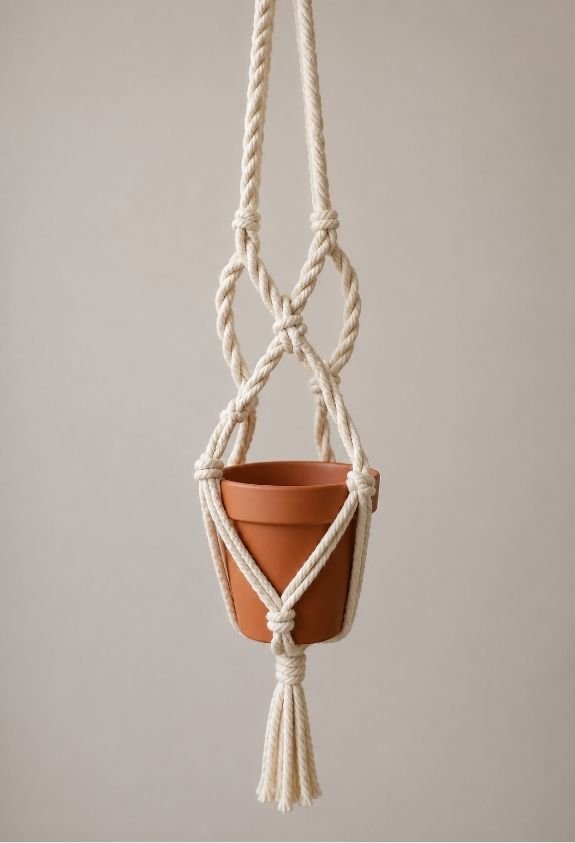
When you’re craving geometric interest, the chevron V-pattern delivers striking visual impact through its distinctive zigzag structure. You’ll create dramatic angles by alternating diagonal double half hitches across eight cords. Start with four 12-foot strands folded at the mounting ring.
Work downward in V-formations, switching direction every two inches to form sharp chevrons. The pattern naturally draws eyes upward toward your trailing pothos or spider plant. We can’t get enough of how this design complements mid-century shelving units.
“The chevron creates movement that makes static walls feel dynamic,” notes textile artist Marina Chen.
Finish your 36-inch hanger with a wrapped gathering knot. This structured approach works beautifully in entryways where architectural details matter. The geometric precision suits modern farmhouse aesthetics perfectly.
Josephine Knot Decorative Hanger
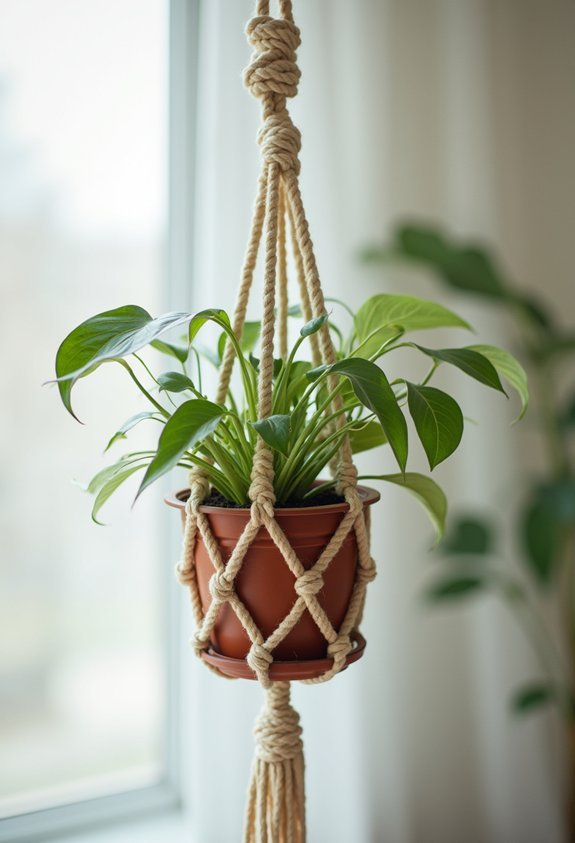
If you’re drawn to ornamental elegance, the Josephine knot transforms your plant hanger into wearable-quality jewelry for walls. This figure-eight weave creates sculptural loops that catch light beautifully. You’ll need eight 10-foot cords of 4mm cotton rope to achieve proper dimension.
Start by mastering the basic Josephine knot before incorporating it into your hanger structure. Position knots at 8-inch intervals down the length for balanced visual rhythm. Interior designer Maria Chen notes, “The Josephine knot adds architectural interest without overwhelming smaller spaces—it’s sophisticated restraint.”
Pair this technique with Boho Traders macrame cord for consistent texture throughout your piece. The resulting hanger works perfectly in dining rooms or entryways where decorative detail matters. We can’t get enough of its refined presence.
Wrapped and Gathered Top Design
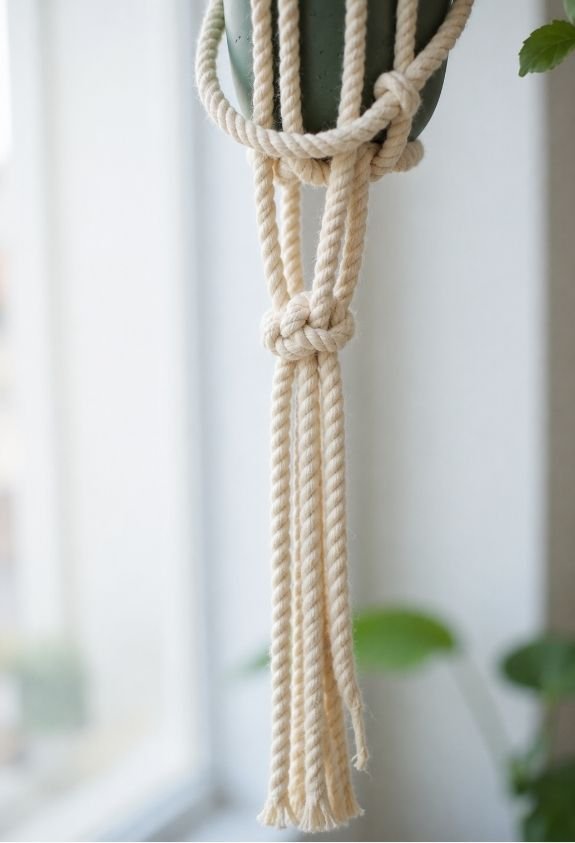
Although intricate knotwork captures attention, sometimes streamlined construction delivers the most striking impact. The wrapped and gathered top design eliminates complex crown knots entirely.
You’ll bundle eight 12-foot cords at their midpoint, then wrap a separate 3-foot cord tightly around the gathering point for approximately 2 inches. This creates a sleek suspension loop while concealing all starting points beneath decorative wrapping.
Macrame designer Linda Chen notes, “Wrapped tops offer beginner-friendly assembly with professional-looking results.” Secure the wrapping cord with a square knot, tucking ends upward into the wrap. We can’t get enough of how this technique complements minimalist interiors. The clean lines work beautifully with ceramic planters in neutral tones. Divide your cords into four groups of four for basket construction below.
Alternating Half Hitch Spiral Hanger
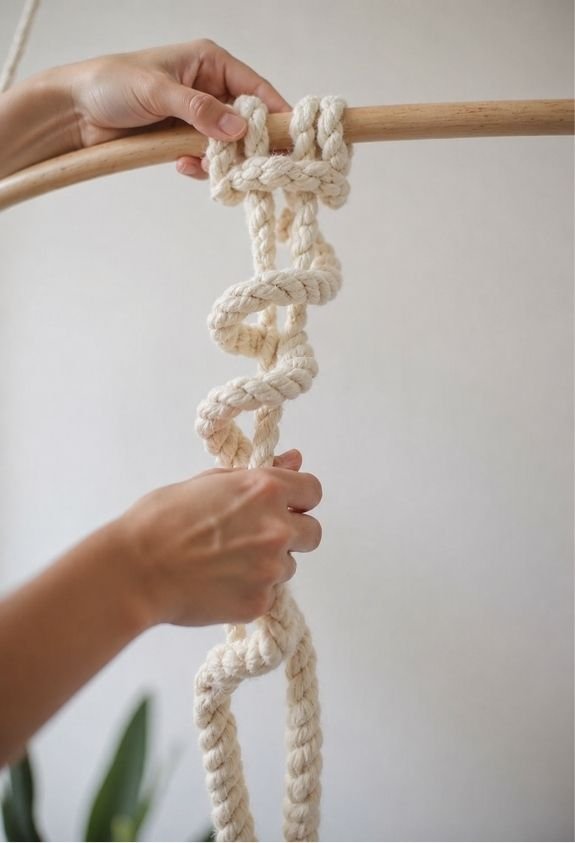
While wrapped tops provide elegant simplicity, the alternating half hitch rotation introduces dynamic texture through continuous rotation. You’ll create this mesmerizing pattern by consistently working half hitches in the same direction around a central core cord.
Start with four 12-foot cords folded at your mounting ring. Designate one outer cord as your working strand and the three remaining as your stationary core. Wrap the working cord around the core, threading it through the loop you’ve created. Pull tight and repeat, maintaining consistent tension throughout.
The spiral naturally emerges after 15-20 knots—we can’t get enough of this satisfying transformation. For a 36-inch hanger, complete approximately 8 inches of spiral work before shifting to your basket weave. This technique works beautifully with 4mm cotton rope in natural or terracotta tones.
Tassel Bottom Statement Piece
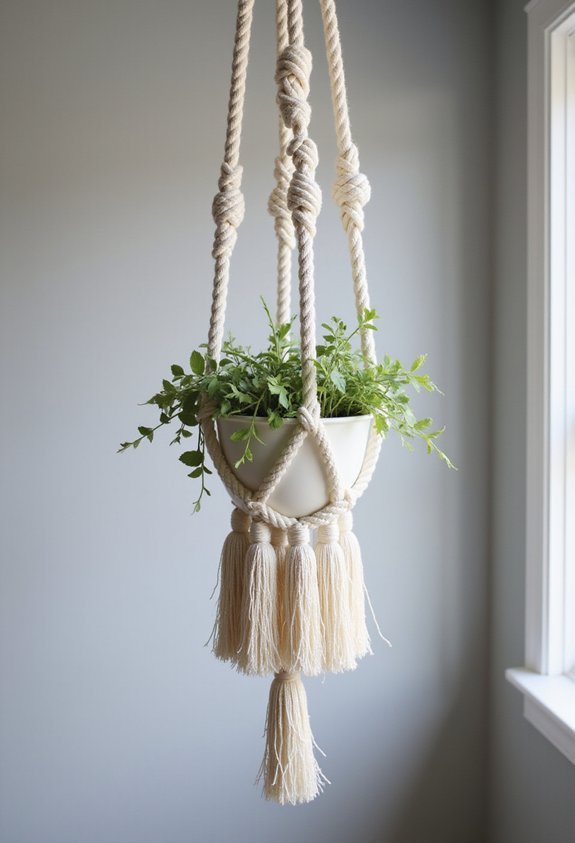
Because every macrame hanger deserves a dramatic finish, the tassel bottom transforms your piece from functional holder into gallery-worthy art. You’ll need eight 36-inch cords in 4mm cotton rope for maximum visual impact.
Start by gathering all working cords together at your desired length. Wrap a 24-inch binding cord tightly around the bundle, creating a 2-inch collar that anchors everything securely. Designer Maria Chen notes, “The binding should be firm enough to hold but loose enough to allow fringe movement.”
Trim your tassel ends at varying lengths—we can’t get enough of the layered, dimensional effect this creates. For bohemian flair, unravel the bottom inch of each cord. The result? A showstopping focal point that elevates any room’s aesthetic.
Double Plant Side-by-Side Hanger
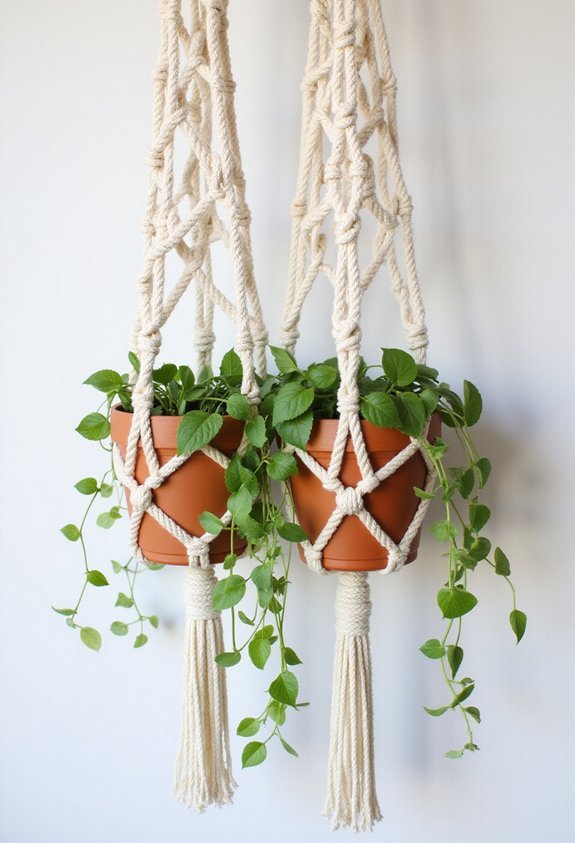
Most crafters stick with single hangers, but doubling up creates stunning visual symmetry that fills empty corners with balanced greenery. You’ll need sixteen 12-foot cords and two 18-inch dowels positioned parallel. Start by mounting both dowels 8 inches apart on your workspace.
Attach eight cords to each dowel using lark’s head knots. Work identical square knot patterns down both sides simultaneously—this keeps your tension even. Create gathering points at 24 inches, then split each section into basket formations. “Matching your knot count between hangers prevents that lopsided look,” notes textile artist Marina Chen.
Space your gathering knots 6 inches apart for medium pots. We can’t get enough of pairing trailing pothos with upright succulents. Finish with coordinating tassels for cohesive appeal.
Crown Knot Advanced Showcase Design
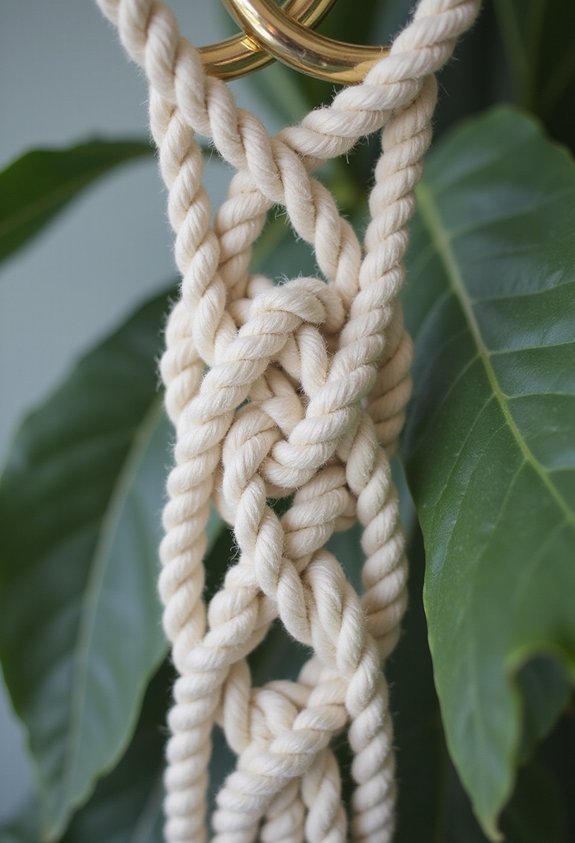
Though intimidating at first glance, crown knots transform ordinary hangers into gallery-worthy statement pieces that command attention in any room. You’ll create dimensional texture by working four cords in circular rotation. Start with 12-foot strands of 5mm cotton rope for a 36-inch finished hanger.
The crown knot sits perfectly beneath gathering rings, adding architectural interest before the main body begins. Form each rotation by looping one cord over its neighbor, creating that distinctive braided crown appearance. We can’t get enough of how this elevates simple designs.
Designer Emma Chen notes, “Crown knots signal craftsmanship—they’re your signature detail.” Practice three consecutive crowns for maximum impact. Pair with jade pothos or trailing philodendron in 8-inch ceramic pots. The structured top beautifully contrasts flowing foliage below.
Frequently Asked Questions
What Type of Cord Material Works Best for Outdoor Plant Hangers?
Synthetic materials like nylon or polyester are your best options for outdoor use. They resist moisture, hold up in changing weather, and do not break down under UV exposure the way natural fibers do.
Cotton rope is wonderful indoors, but it will deteriorate quickly if it gets rained on or sits in humidity. If you love the look of natural rope, jute can work in a sheltered outdoor spot, but it is not a great choice for anything fully exposed to the elements.
How Do I Calculate the Correct Cord Length for My Project?
A good general rule is to multiply your desired finished length by eight to ten, and that gives you the length to cut per cord. It sounds like a lot of rope until you realize how much disappears into knotting.
Always round up generously. Running out of cord halfway through a pattern is a genuinely miserable experience, and extra cord at the end is easy to trim.
Can Macrame Plant Hangers Support Heavy Ceramic Pots Safely?
Yes, absolutely, as long as you are using the right cord thickness and knotting correctly. For heavier pots, go with 5mm or thicker rope and make sure your knots are pulled tight and consistent throughout.
Your ceiling hook matters just as much as the hanger itself. Test the whole setup before you walk away, give it a gentle tug, and make sure the mounting point feels solid.
How Do I Properly Wash and Maintain My Finished Plant Hanger?
Hand washing is the way to go. Use lukewarm water and a small amount of mild detergent, gently work through the rope, and then squeeze out the water without wringing or twisting.
Reshape the hanger while it is still damp and hang it to air dry completely before putting your plant back in. Putting a wet hanger back into use before it dries can cause mildew to develop in the thicker knotted sections.
What Ceiling Hooks Are Recommended for Hanging Macrame Planters Securely?
Choose a ceiling hook rated for at least 35 pounds, even if your planter is lighter than that. Swivel hooks are a great option because they let the hanger rotate without the cord twisting over time.
For drywall, use toggle bolts rather than standard screws. For wood ceiling joists, a screw-in hook works perfectly and gives you a very secure anchor point. Always verify you are hitting solid material rather than just drywall before you trust it with a heavy pot.
Conclusion
Getting into macrame plant hangers is one of those things that quietly takes over your home in the best possible way. You make one, hang it up, and within a week you are already planning the next three.
What I love most about this craft is that your skill actually shows in the finished piece. You can see the tension improve, the knots get more even, and the design choices get bolder the more hangers you make. That progression is genuinely satisfying in a way that buying something from a shop never really matches.
If I had to suggest a starting point, I would say try the four-strand basic hanger first, even if you are tempted to jump straight to the diamond pattern or the crown knot design. Getting your square knot tension consistent on a simple build will make every more complex pattern after it feel much easier.
One thing I noticed early on is that the length of your tassel finish changes the whole personality of a piece. A clean, trimmed end reads as modern and minimal. A long, unraveled fringe reads as boho and relaxed. Neither is wrong, it just depends on what your room is asking for.
Keep your off-cuts and your scraps. Even short pieces of cord are useful for practicing new knots before you commit them to a proper project, and they come in handy for binding wraps and finishing details.
If you try any of these patterns, I would genuinely love to hear how it went. Drop a comment below and tell me which one you started with, or share a photo of what you made. Nothing makes my day quite like seeing a finished hanger in someone else’s home.


