Simple outdoor kitchens require minimal equipment and straightforward setup creating functional cooking spaces easily. Basic grill, small prep surface, and cooler storage provide adequate outdoor cooking capability without excessive complexity. This stripped-down approach proves outdoor cooking needn’t demand expensive installations or complicated infrastructure for genuine enjoyment.
Start with essential equipment: quality grill handles primary cooking, folding table provides prep workspace, cooler stores ingredients safely. Minimal seating accommodates guests comfortably while maintaining functional cooking zones without crowding. These basic elements create surprisingly functional outdoor kitchens supporting casual entertaining and family meals effortlessly throughout seasons.
Your straightforward outdoor kitchen becomes genuinely useful through practical simplicity and honest functionality. Choose durable basics, position strategically for workflow efficiency, and avoid unnecessary complications. This unpretentious approach proves outdoor cooking succeeds through practical essentials rather than elaborate installations or expensive equipment rarely justifying investment.
Start With a Simple Outdoor Grill
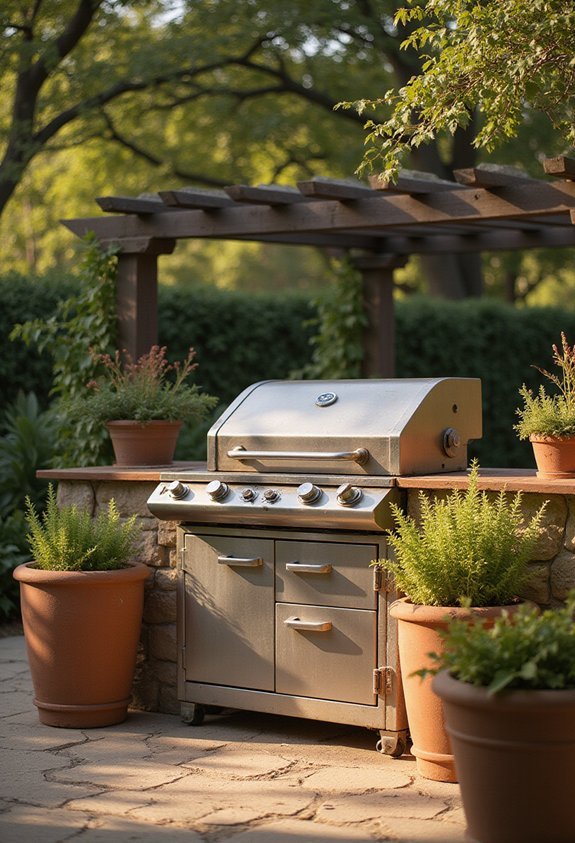
If you’re new to outdoor cooking, a basic grill is your best starting point. You don’t need expensive equipment or complicated setups to enjoy delicious meals outside.
A simple charcoal or gas grill provides everything you need to get started. Charcoal grills offer authentic flavor and cost less upfront, while gas grills heat faster and require minimal cleanup. Both options work exceptionally well for beginners.
Consider your space and cooking frequency when choosing between them. A small portable grill suits apartment balconies, while a larger freestanding model works better for spacious yards.
Start with quality basics: a reliable thermometer, sturdy tongs, and a grill brush. These tools guarantee even cooking and easy maintenance.
Once you’ve mastered grilling fundamentals—temperature control, timing, and proper food placement—you’ll gain confidence to expand your outdoor kitchen gradually.
Also read: 11 Open Cabinet Kitchen Ideas
Protect Your Space With Shade
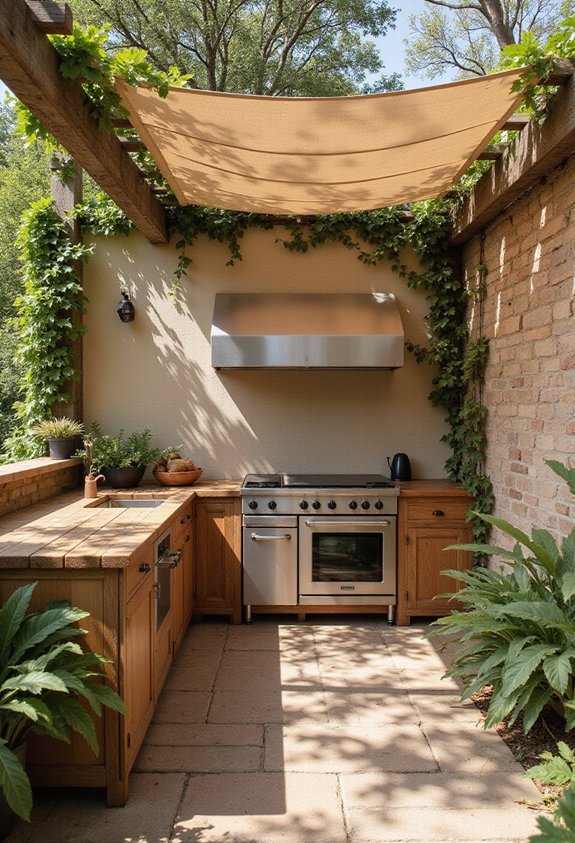
As you become more comfortable grilling, you’ll want to spend extended time in your outdoor kitchen, which means protecting yourself from the sun’s intense heat. Without proper shade, you’ll find yourself uncomfortable and unable to enjoy your cooking space fully.
Consider installing a retractable awning that you can adjust based on the sun’s position throughout the day. Alternatively, a sturdy pergola provides partial shade while maintaining an open aesthetic. For maximum coverage, install a shade sail—these fabric structures offer flexibility and modern appeal.
Position your shade structure strategically over your cooking and dining areas. This protects you from UV rays while keeping food from spoiling in direct sunlight. Adequate shade transforms your outdoor kitchen into a genuinely usable space during peak daylight hours, extending your cooking season considerably.
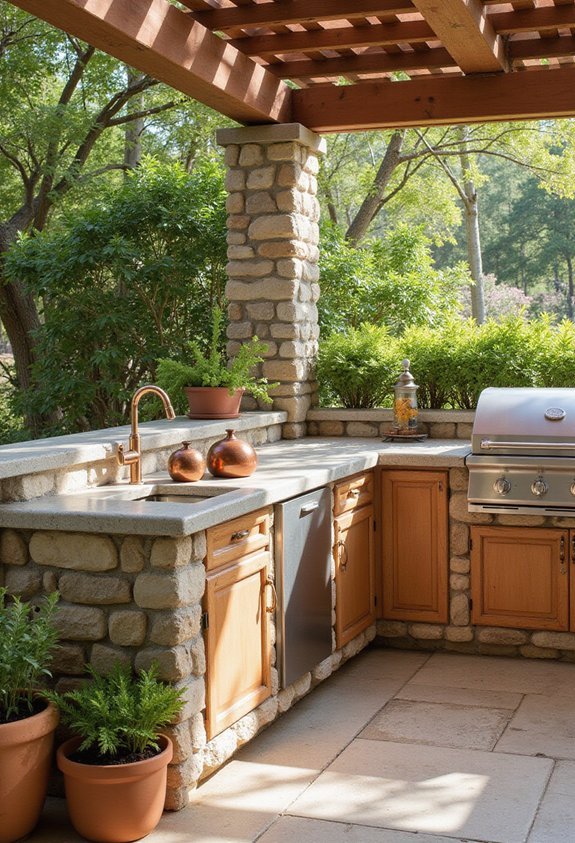
Build a Basic Outdoor Countertop
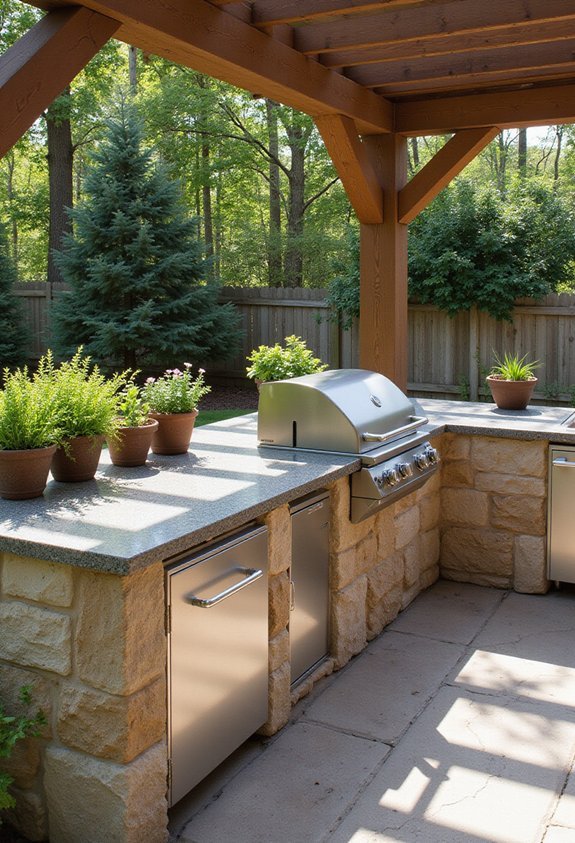
Once you’ve established your shade structure, you’ll need a functional countertop where you can prep ingredients, plate dishes, and organize cooking tools. You can build a basic countertop using concrete, tile, or stone materials that withstand outdoor weather conditions. Start with a sturdy base frame constructed from treated wood or metal studs. Pour concrete as your foundation, then add your chosen surface material on top. Guarantee proper drainage by sloping the surface slightly away from your cooking area. Install an undermount sink for food prep and cleanup, positioning it conveniently near your grill. Add a small storage cabinet underneath for easy access to utensils and supplies. Your countertop should measure at least 24 inches deep and provide enough length to handle multiple tasks simultaneously.
Add a Prep Table for Storage
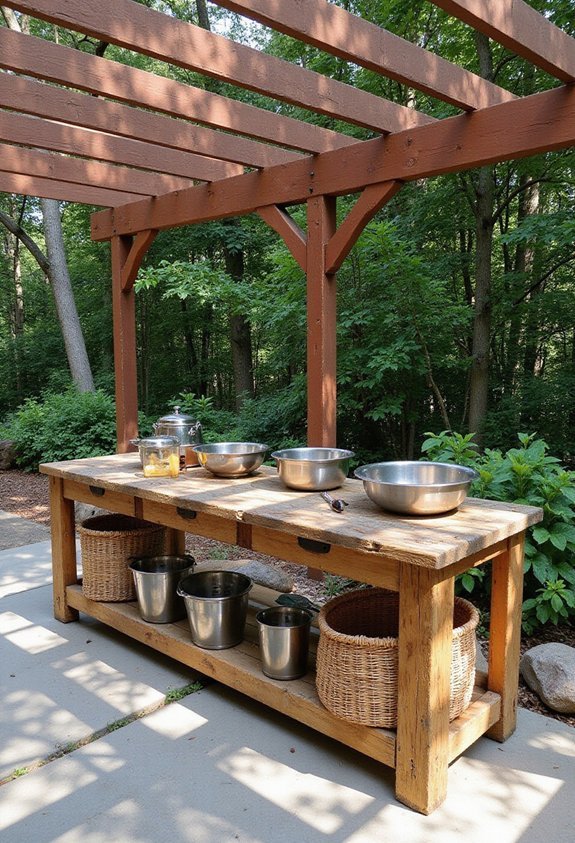
While your main countertop handles immediate food prep tasks, you’ll want a dedicated prep table to maximize your storage and workspace efficiency. A prep table gives you extra surface area for chopping vegetables, marinating meats, and organizing ingredients before cooking. You can choose a model with built-in shelving underneath to store serving dishes, utensils, and seasonings, keeping everything within arm’s reach. Consider a weather-resistant material like stainless steel or composite wood that’ll withstand outdoor conditions. Position your prep table near your grill or cooking station to streamline your workflow. This addition transforms your outdoor kitchen from cramped to functional, allowing multiple people to work simultaneously without crowding your main cooking surface.
Install a Sink for Cleanup
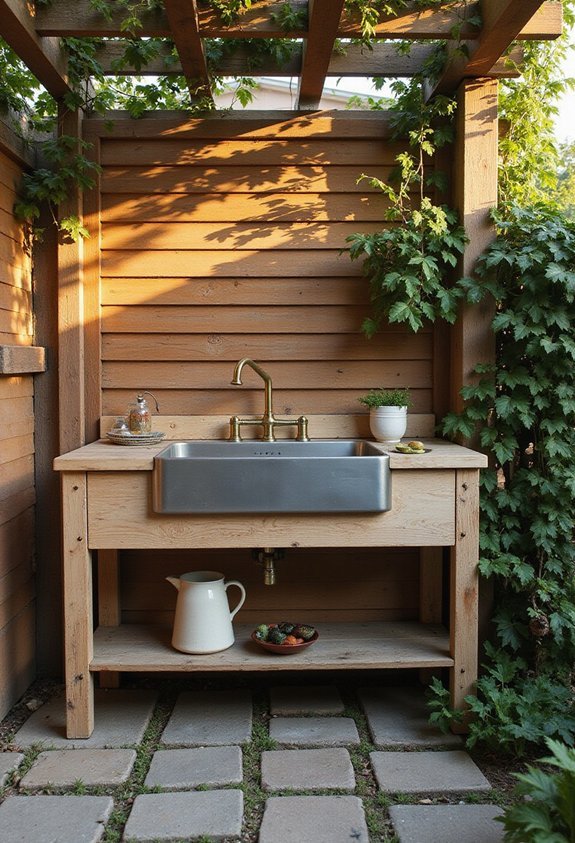
An outdoor sink transforms your cooking experience by eliminating trips inside for water and cleanup. You’ll appreciate the convenience of rinsing vegetables, washing dishes, and cleaning hands without leaving your cooking area.
Choose a sink that fits your space and budget. Portable options work well for smaller patios, while built-in models suit permanent installations. Guarantee you’ve got proper drainage—either connecting to existing plumbing or installing a greywater system.
Position your sink near your prep table and cooking station for maximum efficiency. Consider adding a spray nozzle for versatility. Stainless steel resists weathering and matches most outdoor aesthetics.
Don’t forget a reliable water supply. A hose connection works temporarily, but dedicated plumbing provides year-round functionality. Your outdoor kitchen becomes genuinely practical with a dedicated cleanup station.
Choose Lighting for Evening Cooking
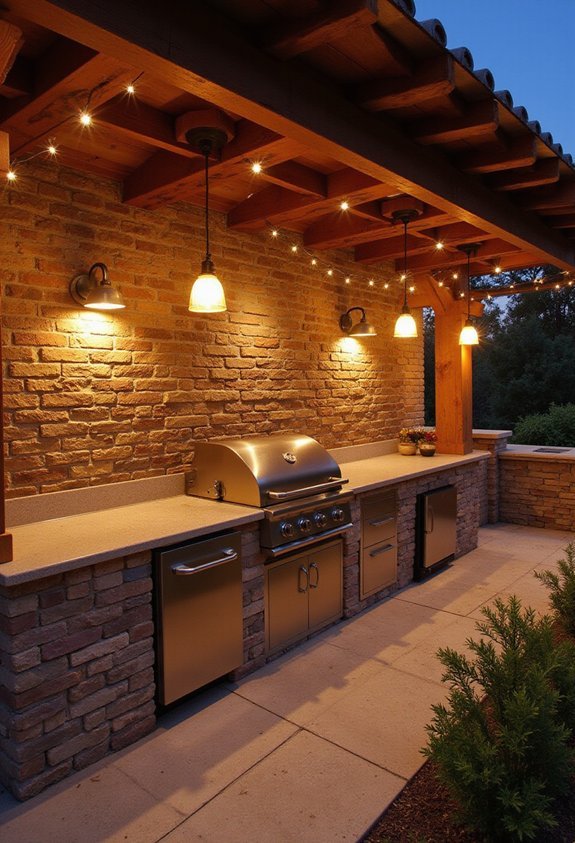
With your cleanup station in place, you’ll want to extend your cooking hours into the evening—and that requires proper lighting. Install overhead string lights or pendant fixtures above your cooking and dining areas to eliminate shadows on your work surfaces. LED lights are energy-efficient and provide bright, consistent illumination without excessive heat. Consider adding task lighting directly over your grill and prep stations for detailed work. Wall-mounted sconces offer ambient lighting while keeping fixtures out of the way. Solar-powered options reduce electricity costs and installation complexity. Include dimmable switches so you can adjust brightness for different moods and tasks. Proper lighting transforms your outdoor kitchen into a functional, inviting space you’ll genuinely use after sunset.
Add Seating Within Your Cooking Zone
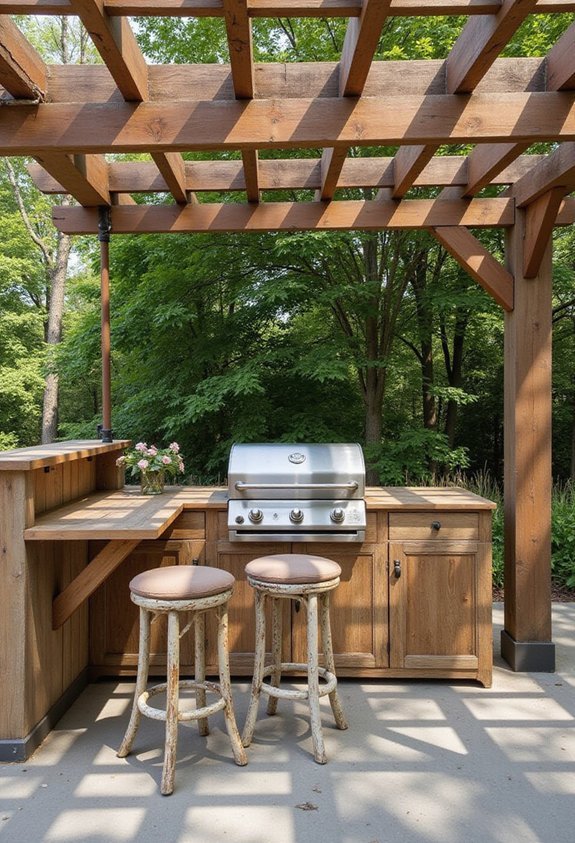
Your guests will naturally gravitate toward the kitchen, so you’ll want to create comfortable seating that doesn’t interfere with your workflow. Position bar stools along a kitchen island or counter to give visitors a front-row seat to your cooking. This setup keeps them engaged while you prepare meals without blocking your movement between stations.
Consider adding a small bistro table nearby for additional seating. Choose weather-resistant materials like teak, metal, or composite furniture that withstand outdoor elements. Guarantee seating heights complement your counter dimensions—standard bar stools work well with 36-inch counters.
Arrange seating to maintain clear pathways to your grill, prep area, and storage. This thoughtful placement encourages conversation while preserving your cooking efficiency.
Maximize Small Spaces With Portable Equipment
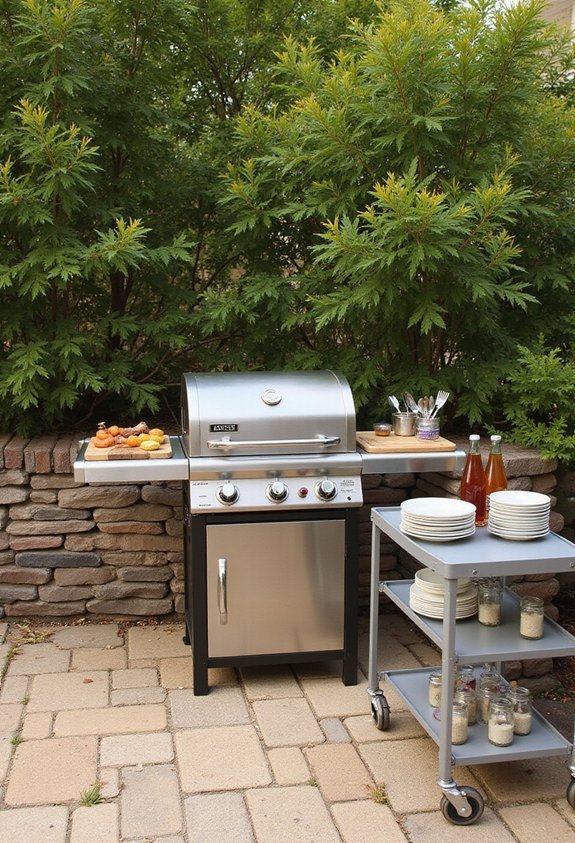
Even with limited square footage, you don’t need to sacrifice functionality or cooking capability. Portable equipment transforms small outdoor spaces into efficient cooking zones. Consider investing in a compact grill that you can easily move or store when not in use. Rolling carts provide flexible storage and prep surfaces that you’ll position exactly where you need them. Folding tables maximize workspace without consuming permanent real estate. Stackable containers keep your ingredients and tools organized and accessible. A portable cooler eliminates the need for built-in refrigeration, saving valuable space. These flexible solutions let you customize your setup based on your immediate needs. You’ll adapt your outdoor kitchen layout seasonally or for different entertaining styles, making portability your strategic advantage for small-space cooking.
Set Up a Beverage Cooler Station
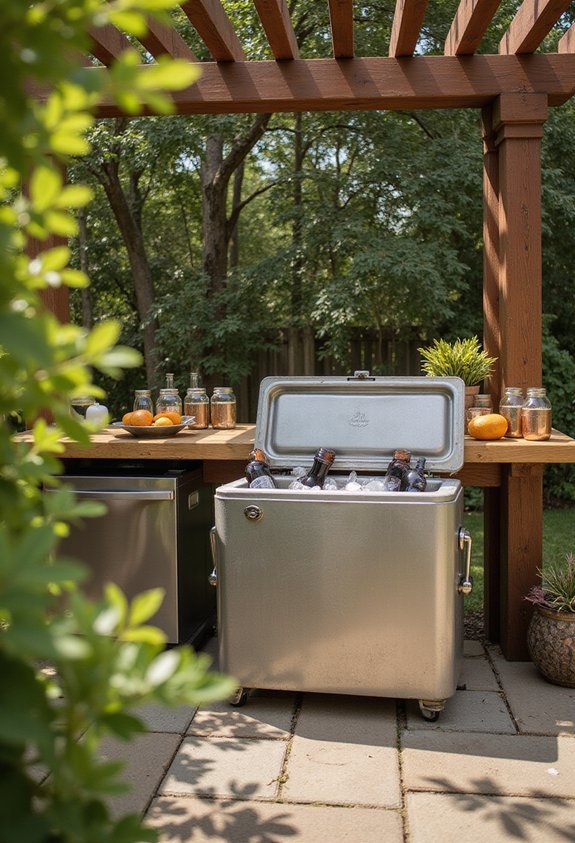
A dedicated beverage station keeps drinks cold and accessible without cluttering your prep areas. You’ll want to position your cooler strategically near your seating area for easy guest access. Consider investing in a high-quality cooler with excellent insulation to maintain ice throughout your gatherings. Stock it with ice, beverages, and fresh garnishes like citrus slices or herbs.
Add a small side table next to your cooler for glassware, napkins, and drink accessories. You can incorporate a mini-fridge if you’ve got space and electrical access available. Label different sections for beer, wine, water, and soft drinks to help guests find what they need quickly.
This setup keeps your main cooking and prep zones free while creating a self-service beverage hub that encourages mingling and entertaining.
Personalize Your Outdoor Kitchen’s Look
Once you’ve got the functional elements in place, it’s time to infuse your outdoor kitchen with personality. Start by choosing a color scheme that complements your home’s exterior and landscape. You can paint your cabinetry, add colorful tile backsplashes, or incorporate natural stone accents that reflect your style.
Consider adding decorative lighting fixtures like string lights or lanterns to create ambiance during evening gatherings. Display potted plants, herbs, or climbing vines to soften hard surfaces and add greenery.
Personalize with accessories that matter to you—weather-resistant outdoor rugs, throw pillows, or artwork. Don’t forget functional touches like custom cabinet hardware or a unique grill cover that showcase your taste.
These details transform your outdoor kitchen from a basic cooking space into an extension of your home’s character and yours.
Frequently Asked Questions
What Permits or Regulations Do I Need Before Building an Outdoor Kitchen?
You’ll need to check your local building codes and zoning regulations before starting. Contact your city’s building department to obtain necessary permits for electrical, plumbing, and gas installations. You’ll also need approval for setback requirements and property line restrictions.
How Much Does It Typically Cost to Construct a Basic Outdoor Kitchen?
You’ll typically spend between $3,000 and $5,000 constructing a basic outdoor kitchen. This budget covers a grill, counter space, and storage. You can reduce costs by using budget materials or increase them by adding premium appliances and finishes.
What Materials Are Most Durable and Weather-Resistant for Outdoor Kitchen Construction?
You’ll want stainless steel, natural stone, and concrete for your outdoor kitchen. They’re highly durable and weather-resistant. Stainless steel won’t rust, stone resists weathering, and concrete’s long-lasting. These materials’ll give you a kitchen that’ll withstand years of outdoor conditions.
How Do I Maintain and Winterize My Outdoor Kitchen Equipment?
You’ll maintain your outdoor kitchen by cleaning equipment regularly, covering it seasonally, and storing propane tanks safely indoors. Winterize by draining water lines, protecting surfaces with weatherproof covers, and inspecting for damage before spring use.
Which Appliances Are Essential Versus Optional for Outdoor Cooking Functionality?
You’ll need a grill and cooktop as essentials for outdoor cooking. You can add a refrigerator, sink, and storage for convenience, but they’re optional. You’ll maximize functionality by prioritizing what you’ll actually use regularly.
Conclusion
You’ve got everything you need to create an outdoor kitchen that works for your lifestyle. Start with a grill, add shade and seating, then build from there with countertops, storage, and a sink. Don’t forget lighting and a beverage station to complete your space. With these simple ideas, you’ll transform your backyard into an entertaining hub that reflects your personal style.
