
My first Christmas bow looked like a squashed napkin. I had bought good ribbon and watched a quick video, then ended up with three floppy loops, a back side flipped the wrong way, and a knot I couldn’t undo. If you have tried this and given up, you are in good company.
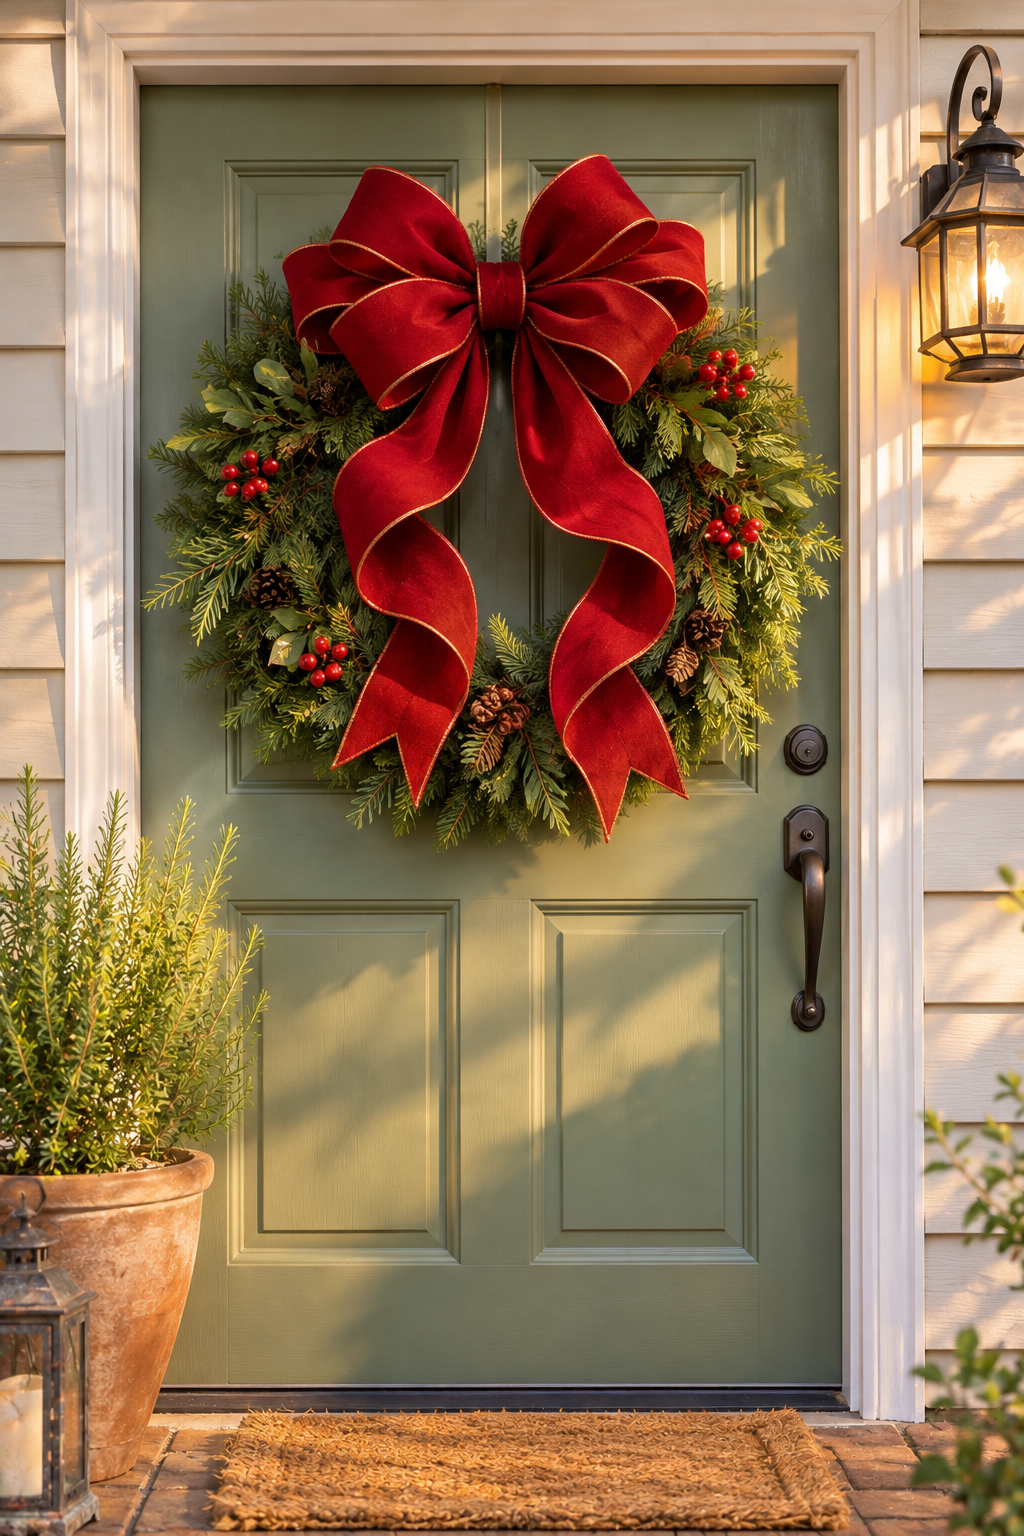
This guide shows you how to make Christmas bows with wired ribbon that sit full, round, and even, the kind you see on shop wreaths. By the end, you will have a 12- to 14-inch (30 to 35 cm) bow with six loops, two notched tails, and a hidden center. It will be ready to tie onto a wreath, garland, or tree.
The method works because of two habits. You twist the ribbon at the center after every loop, so the pretty side always faces out. And you let the wire in the ribbon’s edges do the shaping, so the loops hold their curve for the whole season.
Your first bow will take about 15 minutes, mostly spent getting the feel of the twist. By the third bow, you will be down to about 5 minutes. One 9 m (10-yard) roll makes about 3 bows, and most rolls cost $8 to $15 at craft or discount stores. Grab a roll, a pipe cleaner, and sharp scissors, and clear a spot on the table.
Pick 2.5-inch (63 mm) wired ribbon so the bow holds its shape
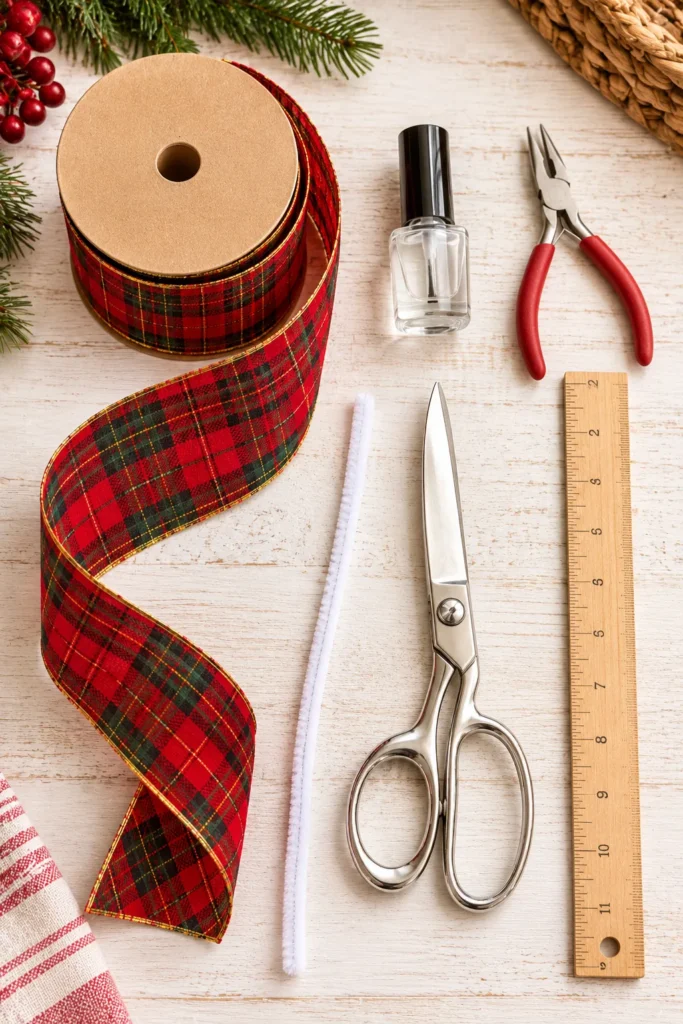
Run your fingers along both edges of the ribbon before you buy it. You should feel a thin wire inside each edge. That wire is what keeps the loops round instead of flat.
A width of 2.5 inches (63 mm) is full enough for a wreath and still manageable for beginner hands. For a first roll, double-sided ribbon is the most forgiving, since there is no wrong side to flip. Want the look of classic Ralph Lauren Christmas decor? A red tartan or buffalo-check plaid gets you there.
Set a 12-inch (30 cm) pipe cleaner within reach before you start
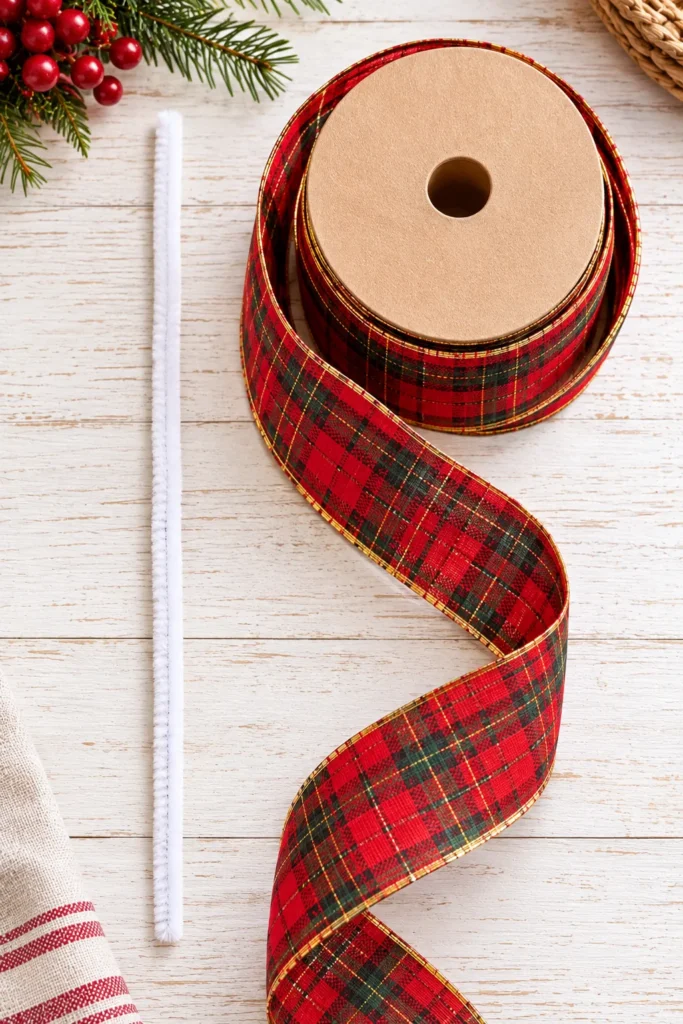
Once the loops are stacked, both hands will be busy holding them, with no free fingers to dig through a drawer. A standard pipe cleaner is already 12 inches long. Using floral wire instead? Cut a 12-inch piece with old scissors, not your good fabric pair. Lay it right next to your ribbon roll.
Pinch a 3-inch (7.5 cm) center loop around your thumb, face side out
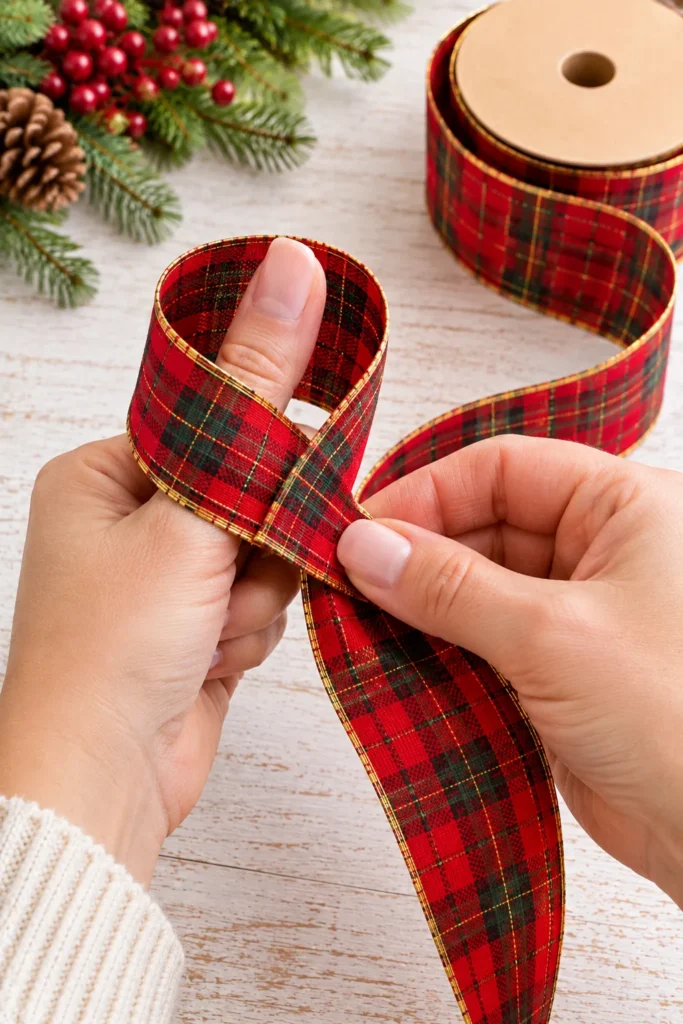
Leave the ribbon on the roll and work from the loose end. That way you never run short halfway through a bow. Hold the end face side up. Wrap it once around your thumb to make a small loop about 3 inches (7.5 cm) around. Pinch the ribbon tight where it crosses under your thumb, using your other fingers.
This little loop sits at the very middle of the bow. It hides the pipe cleaner later, so keep it small and round.
Twist the ribbon a half-turn at the pinch so the face side stays out
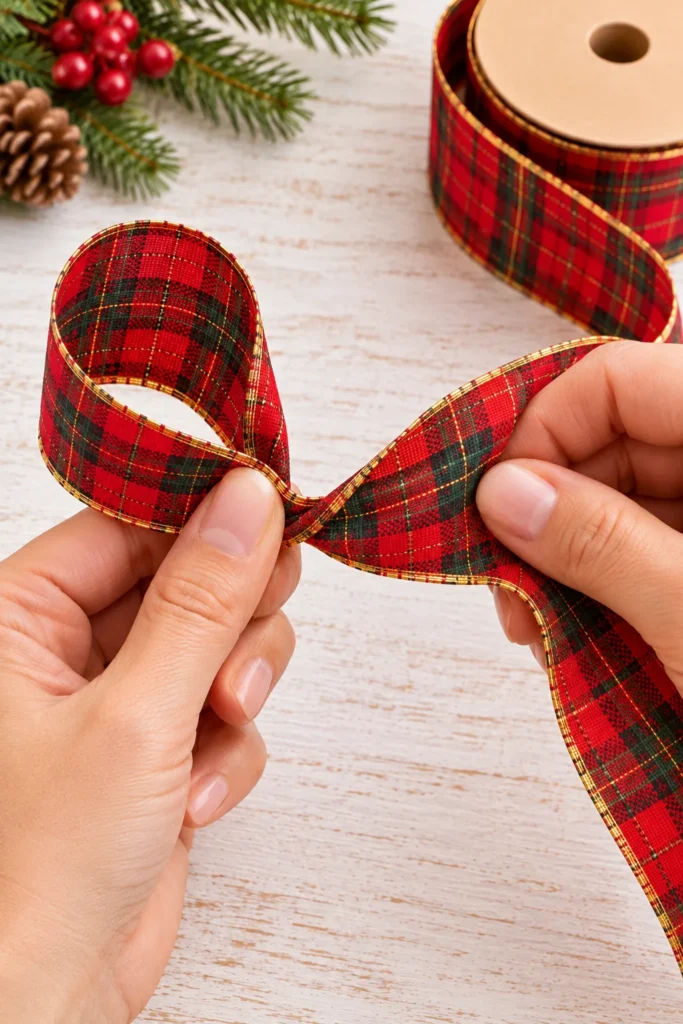
Wired ribbon has a front and a back. Without a twist, the next loop will show the back. Keep pinching the center loop with one hand. With the other, turn the ribbon coming off the roll one half-turn (180 degrees) right at your fingers, so the face side points up again.
Keep the twist tight against the pinch, not 1 inch down the ribbon. A loose twist makes a bulky center that the pipe cleaner can’t cinch flat later.
Check the Face Side Twice
Before you form each new loop, glance at the ribbon running off the roll. If you see the plain back, give it one more half-turn first. Using double-sided ribbon? Twist anyway, because it keeps the center flat and every loop pointing outward.
Form the first side loop 5 inches (13 cm) long and pinch it at the center
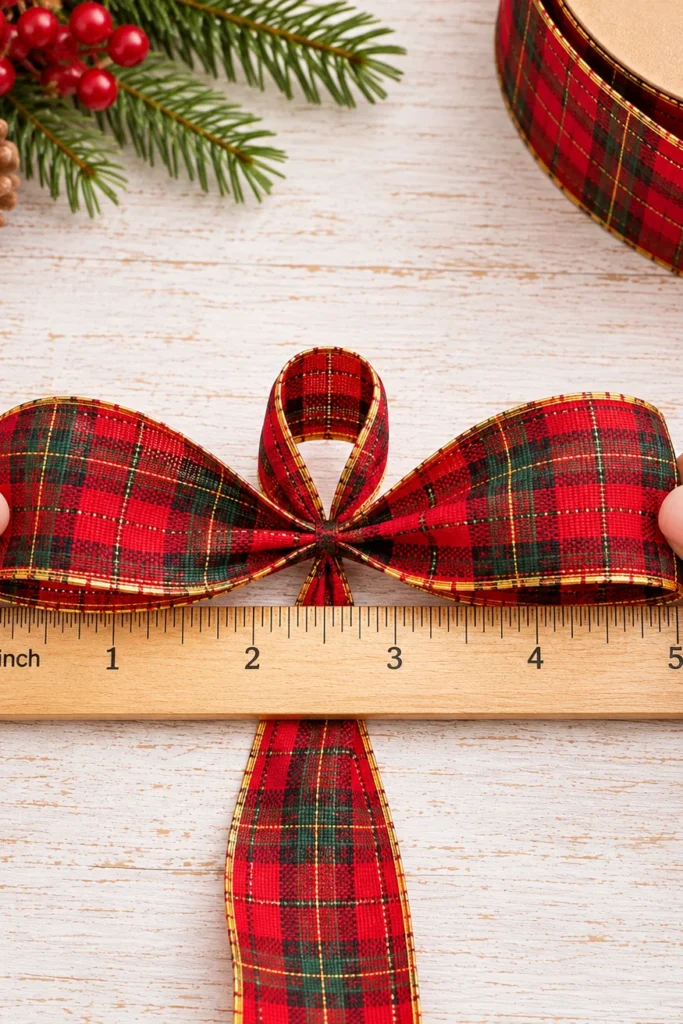
Five inches is about right for a wreath bow. Smaller loops look skimpy from across the room, and much bigger ones droop. Run the ribbon out to one side and fold it back toward your fingers to make a loop. Measure from the pinch to the tip of the loop. Squeeze the ribbon back into the same pinch, right behind the center loop.
For the first bow, lay a ruler on the table and hold the loop against it. After that, you can match each new loop to this one by eye.
Twist again and form the matching loop on the other side

If the two side loops don’t match now, the whole bow will lean. Work through these before moving on:
- Give the ribbon a half-turn at the pinch.
- Run it out the opposite side.
- Fold a second 5-inch (13 cm) loop and tuck it into the pinch.
- Hold the bow up and check that both loop tips sit level.
You now have three loops: one small one in the middle and two matching ones at the sides.
Build the Christmas bow with wired ribbon loops, three per side

Why make each pair bigger? The longer loops peek out from behind the shorter ones, and that is what gives the bow its round, full shape. Twist, then loop, then pinch, alternating sides each time. Make the second pair 6 inches (15 cm) long and the third pair 7 inches (18 cm).
Angle each new loop a little up or down from the one before it so the gaps fill in. Your pinch hand will tire around loop five. If the stack starts sliding, rest your wrist on the table edge and squeeze harder.
Cut the ribbon from the roll at the center pinch
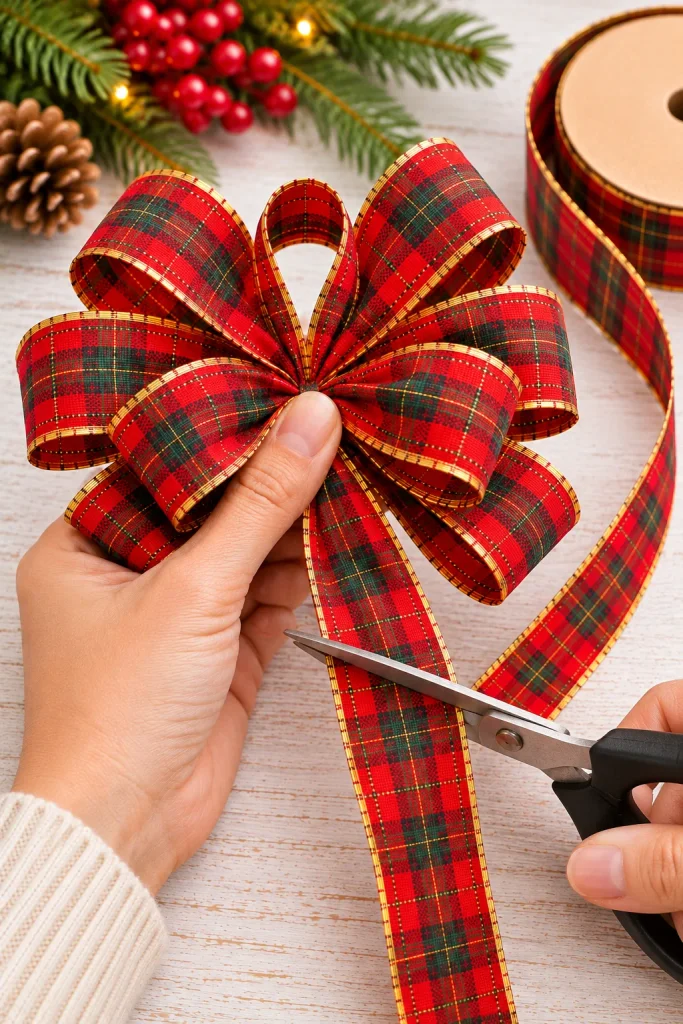
Keep your pinch hand still for this one. After the last loop, cut the ribbon about 1 inch (2.5 cm) past your fingers. Fold that short end under and into the pinch so it disappears behind the bow. The loops are only held by your grip right now, so don’t let go yet.
Thread the pipe cleaner through the center loop and twist it tight at the back
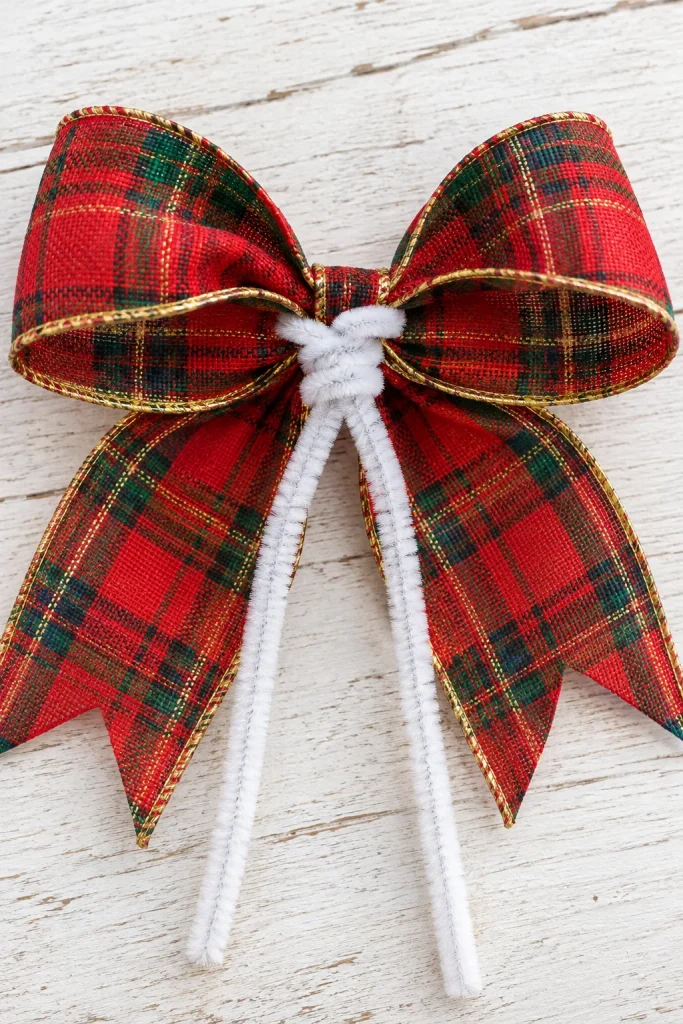
Two or three tight twists are all it takes. Slide the pipe cleaner through the small center loop so it wraps over your pinch, with both ends coming out the back. Pull the ends snug against the ribbon, then twist them together 2 to 3 times right at the back of the bow.
Now you can let go. If the loops spin around the center, the twist is loose. Pull the ends tighter and twist once more. Leave both ends long, because they will tie on the tails and hang the bow later.
Fold a 24-inch (60 cm) tail piece in half and tie it behind the bow
If the bow is going on a large door wreath, cut 36 inches (90 cm) instead, so the tails have room to drape. For most wreaths and trees, cut 24 inches (60 cm) from the roll.
Find the middle of the piece and cross the ribbon over itself there, like an upside-down V. Crossing instead of folding flat keeps the face side showing on both tails. Set the cross against the back of the bow. Wrap the pipe cleaner ends around it and twist 2 more times.
Notch each tail end into a V with sharp scissors
Sharp scissors matter here. Dull blades chew through the edge wire and leave a ragged cut. Trim the two tails to slightly different lengths, about 2 inches (5 cm) apart, which looks more natural than a perfect match. Pinch any poking wire ends flat with your fingertips.
Fold First, Then Snip
Fold each tail in half lengthwise, edge to edge. Cut at a slant from the open edges up toward the fold, then unfold it. You get a centered V every time, with no guessing.
Fluff every loop by pulling its top and bottom edges apart
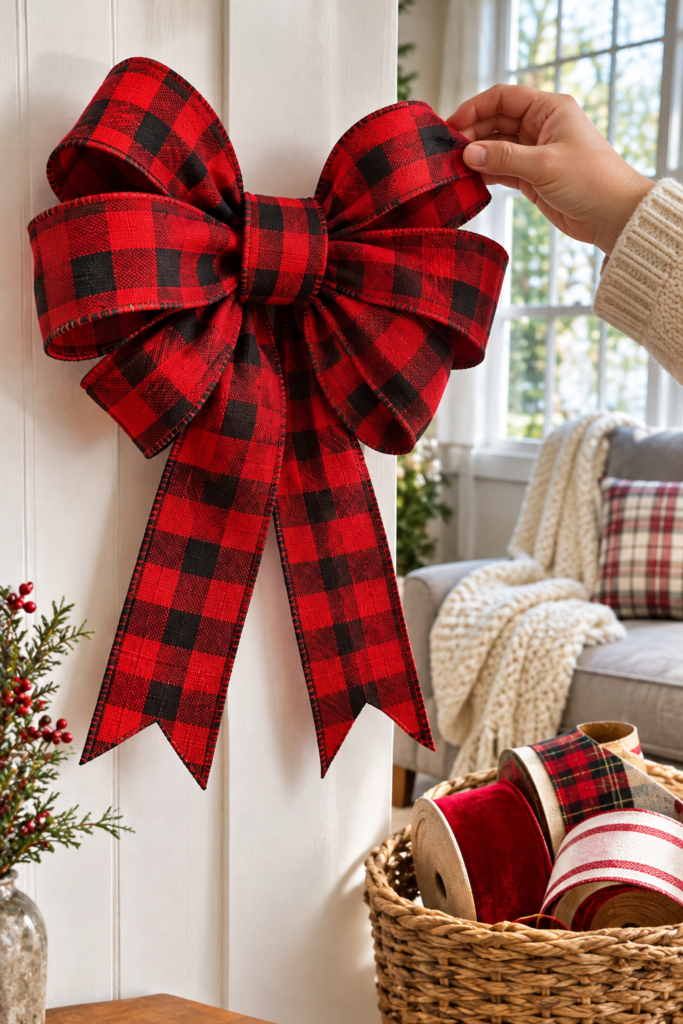
About 30 seconds per loop is all this takes, and it’s what turns a flat bow into a full one. Prop the bow upright against a wall so you see it the way it will hang. Start with the small center loop and work outward.
Slip 2 fingers inside each loop and press gently outward to round it. Then pinch the top edge and lift it up while pulling the bottom edge down. Turn each loop a little so its opening faces forward, not sideways.
Bend the tails into soft waves with the wire edges
Hold one tail near the bow and pinch both wire edges together. Work down the tail, bending it into a gentle S curve with a bend about every 4 to 5 inches (10 to 13 cm). Curve the second tail in the opposite direction so the two don’t mirror each other. Spread the tails apart at about a 45-degree angle so the V ends flare out.
Tie the bow onto your wreath, garland or tree with the pipe cleaner ends
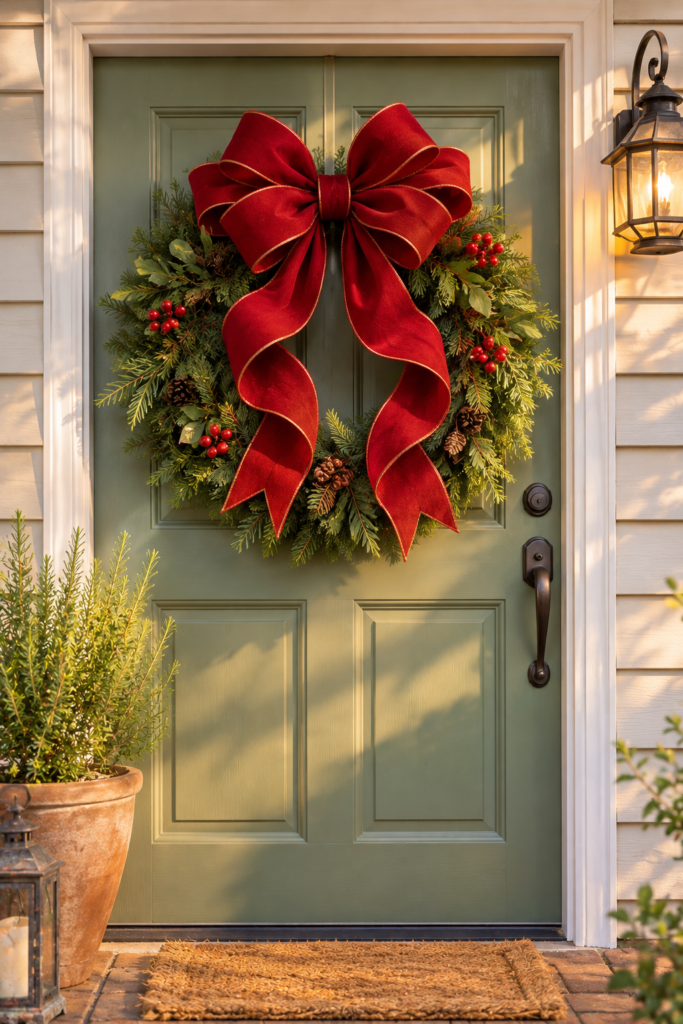
Where is your bow going? On a wreath, set it at the top center or low on one side, around the 5 o’clock spot. Along a banister or mantel, space bows every 3 to 4 feet (90 to 120 cm). You’ll find more ways to dress a swag in these garland Christmas decor ideas.
Wrap the pipe cleaner ends around a sturdy branch or the wreath frame. Twist 3 times and tuck the ends into the greenery. Hanging always squashes a loop or two, so give the bow one last fluff in place. Pipe cleaner too short to reach? Twist a second one onto the end.
When Your Bow Won’t Behave
Frequently Asked Questions
How much wired ribbon do I need for one bow?
Plan on about 3 yards (2.7 m) for a 12- to 14-inch bow with 24-inch tails. A 9 m (10-yard) roll makes about 3 bows.
Can I make these bows with non-wired ribbon?
You can tie the same loops, but without wire edges they flatten within a day or two. For anything that hangs on a wreath, door, or tree, wired ribbon is the better pick.
How do I make smaller bows for gifts or chair backs?
Use 1.5-inch (38 mm) ribbon. Make 2 pairs of loops at 3 and 4 inches (7.5 and 10 cm), with 12-inch (30 cm) tails. Small bows look sweet tied to chair backs, like the ones in these Christmas dining table decor ideas.
How do I store bows so they keep their shape?
Stuff each loop with a little tissue paper and lay the bows in a single layer in a shoebox or bin. Next year, pull out the tissue and fluff each loop again.
Your Bow Is Ready to Hang
You just made a full, florist-style bow from one roll of ribbon and a pipe cleaner. Now that you know how to make Christmas bows with wired ribbon, the second one will go twice as fast. Make a few more and carry them across a cozy Christmas mantel or the stair rail. Save this pin for your next holiday refresh, and follow for more Christmas decor ideas.