
Last year my garland lasted four days. I hung it with a few thumbtacks on a cold Saturday. By Wednesday, one side had slid halfway down the frame and the top drooped like a hammock. The wind did the rest.
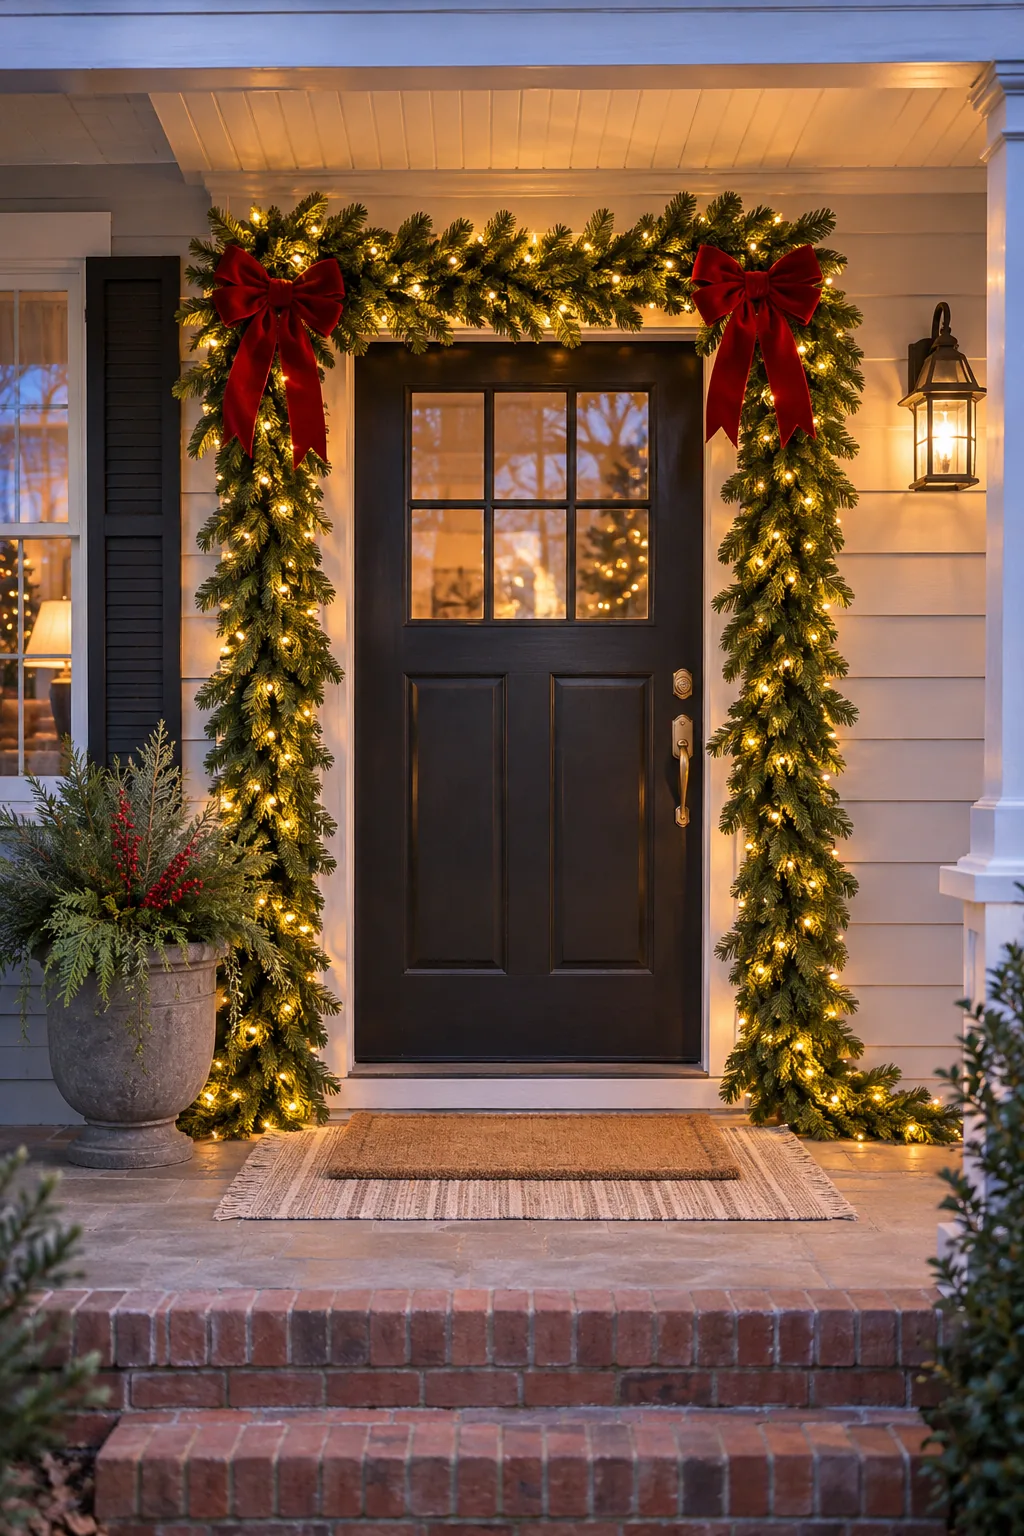
If you have been searching for how to hang Christmas garland around your front door without it sagging, sliding, or scraping your coat every time you walk in, this guide is for you. By the end, you will have a full, even garland framing the whole door. It will stay put until you take it down in January.
The method works because the garland gets a hook about every foot, and every hook gets a wire tie. The weight spreads out, so no single spot pulls loose. You will also test and fluff everything on the floor first, where a fix takes seconds instead of a ladder trip.
Plan on about 2 hours of hands-on work, plus at least 1 hour for the hook adhesive to set. Expect to spend $40 to $90 on garland and hooks. Every hook in this guide comes off without leaving a hole, so renters can follow along too. Grab a tape measure, and let’s get your door ready for the season.
Measure the door frame from the ground up, across, and back down
Put the end of your tape on the ground at the hinge side. Run it up the outer edge of the trim, across the top, and down to the ground on the other side. A standard front door comes out around 17 feet.
Add 2 to 3 feet so the ends can drape or pool at the bottom. Two 9-foot garlands cover most doors. Buy a third if you want a thick pile at the base.
(No tape measure? Run a piece of string along the frame, then measure the string against a ruler.)
Pick hooks that match the surface around your door
The material around your door decides your hooks, not the garland. Look closely at the trim and the wall beside it:
- Painted wood or metal trim: outdoor-rated adhesive clips
- Brick: brick clips that grip the top and bottom edges of a brick, with no drilling
- Vinyl siding: siding hooks that slide under the lip of a panel
- You own the home: small brass cup hooks screwed into the trim
Count on 13 to 17 hooks for a standard door. Check the weight limit on the package against your garland’s weight, which is usually printed on its box.
Heads Up
Renting? Nail and screw holes in exterior trim can come out of your deposit, so stick with adhesive, brick, or siding hooks. Adhesive can also peel old or chalky paint, so test one hook on a hidden spot of trim for a day before you commit.
Plug in the lights before you fluff a single branch
A dead strand takes 2 minutes to fix on the floor and much longer on the door. Lay the garland near an outlet, connect the ends, and plug it in. For battery lights, load fresh batteries first.
A dark section usually means one loose bulb. Press each bulb in that section firmly into its socket until the section lights up. If your garland is not pre-lit, test your separate light strand now too.
Fluff every branch on the floor, working from the core out
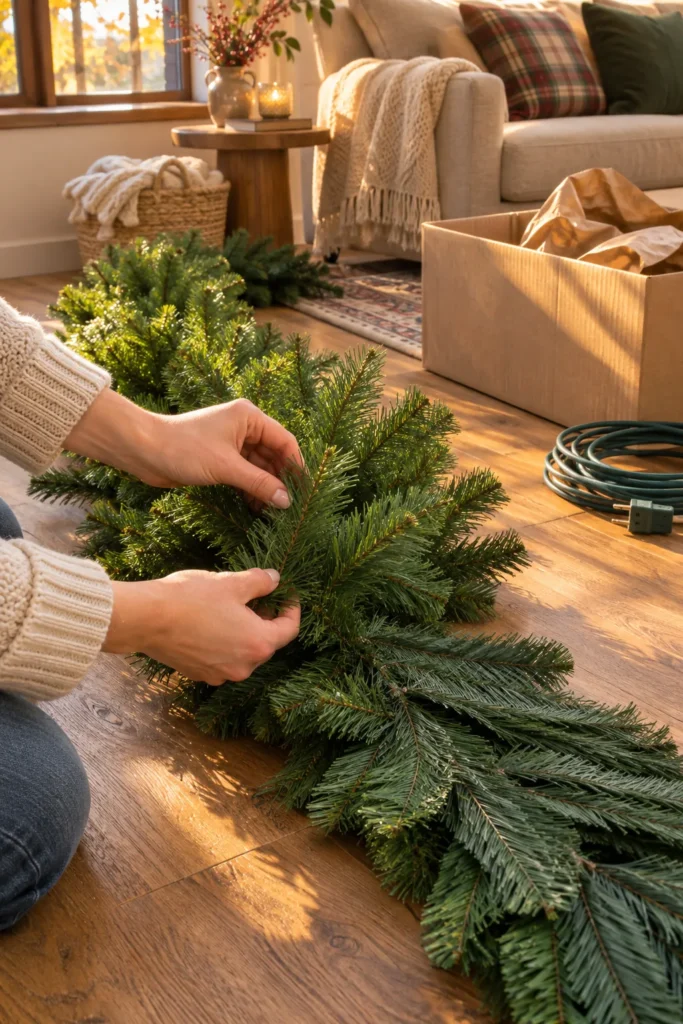
Straight out of the box, faux garland is squashed flat, and flat garland looks thin from the street. Start at one end. Pull each tip apart into a fan: one sprig up, one left, one right, one toward you. Shape the inner branches near the center wire first, since they fill the gaps behind the tips. Give each 9-foot length about 15 to 20 minutes.
Pro Tip
Bend the branches on the back side flat against the center wire. That side rests on your trim, and flattening it lets the garland hug the frame instead of sticking out into the doorway.
Wipe the front of the trim with rubbing alcohol
Adhesive grips whatever sits on the surface. Outdoor trim holds a thin film of dust and pollen you cannot see. Dampen a paper towel with rubbing alcohol, wipe the front face of the trim, and let it dry for 5 minutes. Skip household cleaners, which leave a slippery film. Painted the trim recently? Wait 7 days after painting before sticking anything on.
(Using brick clips, siding hooks, or cup hooks? Skip ahead to Step 6.)
Mark the hook spots with painter’s tape every 12 to 16 inches
If the hooks go up by eye, the garland goes up crooked. Stick a small tab of painter’s tape right beside each hook spot, on the front face of the trim:
- One at each top corner
- One at the center of the top trim
- One every 12 to 16 inches down each side
- The last one about 12 inches above the ground
Keep every tab off the inner edge where the door closes. A hook there will scrape the door each time it opens.
Press each hook against the frame for a full 30 seconds
Peel the liner, line the hook up with its tape tab, and press hard for 30 seconds. Pressure is what activates the adhesive, so count it out loud instead of guessing. Turn the hook opening up so the garland can rest inside it.
Brick clips snap over a single brick instead, and siding hooks slide up under the lip of a vinyl panel. If you own your home and are using cup hooks, tap a starter hole with a small nail first so the trim does not split.
Give the adhesive time to set before loading the hooks
One full hour is the set time on most outdoor adhesive hooks. Load them sooner and the garland’s weight can pull them loose before the bond forms. Use the 1 hour to carry the garland outside, find your extension cord, and set out your floral wire. Brick clips, siding hooks, and cup hooks can hold weight right away.
Hang Christmas garland around your front door from the top center out
Starting in the middle keeps both sides the same length.
- One long garland: fold it in half and set the fold in the center hook.
- Two 9-foot garlands: set one end of each in the center hook so they overlap by about 4 inches.
- Pre-lit garland: the garland on the outlet side needs its plug at the bottom, so plug the second garland into its free end up top.
Lay the garland across the top trim and into both corner hooks.
Pro Tip
Cinch the center joint with a green 4-inch zip tie right away. It keeps the two pieces from creeping apart every time the door shuts.
Run each side down the frame to the ground
Without a little tension, garland stretches into dips between the hooks. Lay it into each side hook from the top corner down, pressing it snug against the trim. You should see no daylight between the garland and the frame. Finish one whole side, then the other. Let any extra length pool on the ground or curl around a planter.
Tie the garland to every hook with green floral wire
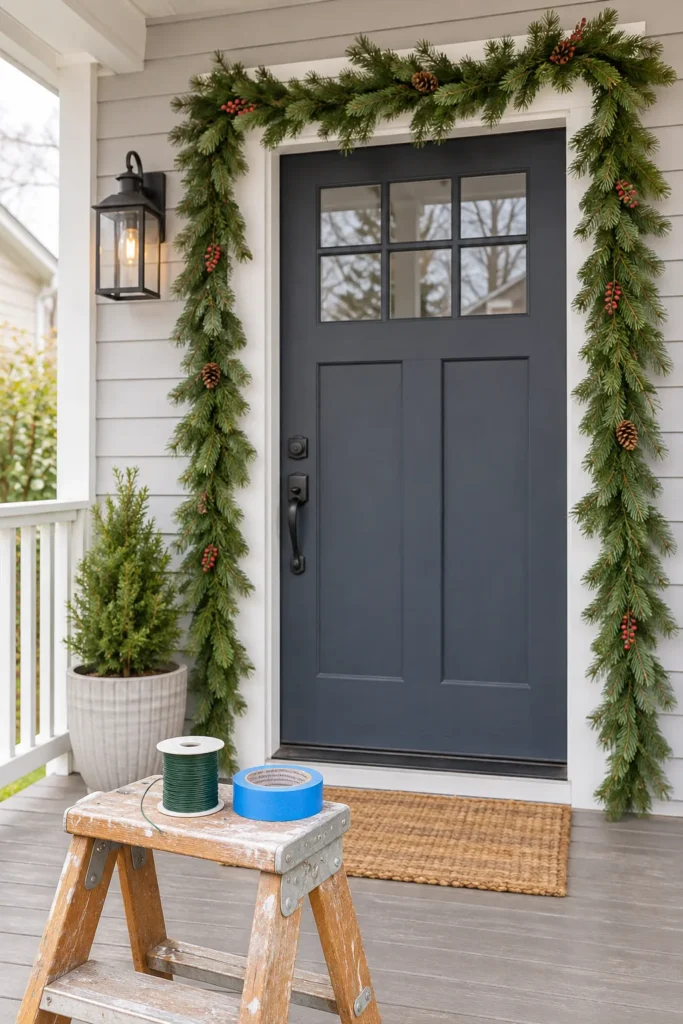
Wind, kids, and slammed doors will lift garland out of an open hook. Cut one 6-inch piece of floral wire for each hook. Wrap it 2 times around the garland’s center wire and the hook, then twist the ends tight and tuck them under a branch. Wrap the center wire, not the tips, because tips bend and slip.
(No floral wire? Green zip ties or bread-bag twist ties work too.)
Route the cord to the outlet along the bottom of the frame
Plan the cord’s path before you plug anything in. Run it down the outlet-side trim and along the base of the wall, away from where people step. Use only an extension cord labeled for outdoor use, plugged into an outdoor outlet. No outdoor outlet nearby? Swap to battery-powered lights with a built-in timer set to 6 hours on.
Heads Up
Never run a cord through the door gap or under the door. Closing the door crushes the wire, which can damage it and create a fire risk.
Open and close the door three times to check for snags
Branches that look fine with the door open can catch on the top hinge-side corner as it swings. Open and close the door 3 times, slowly, watching that corner. Bend any catching tips outward and back toward the trim.
Tuck a bow or a few picks into the two top corners
If your door already looks full, skip this step. Otherwise, the two top corners are where a small addition shows most. Wire one 8- to 10-inch bow into each corner, or tuck 3 pinecone or berry picks into each. Choose shatterproof ornaments, since front doors get slammed. Keep the added weight within your hooks’ limit, especially at the corners, which carry the most load.
Fill bare spots while standing 15 feet back, where neighbors see it
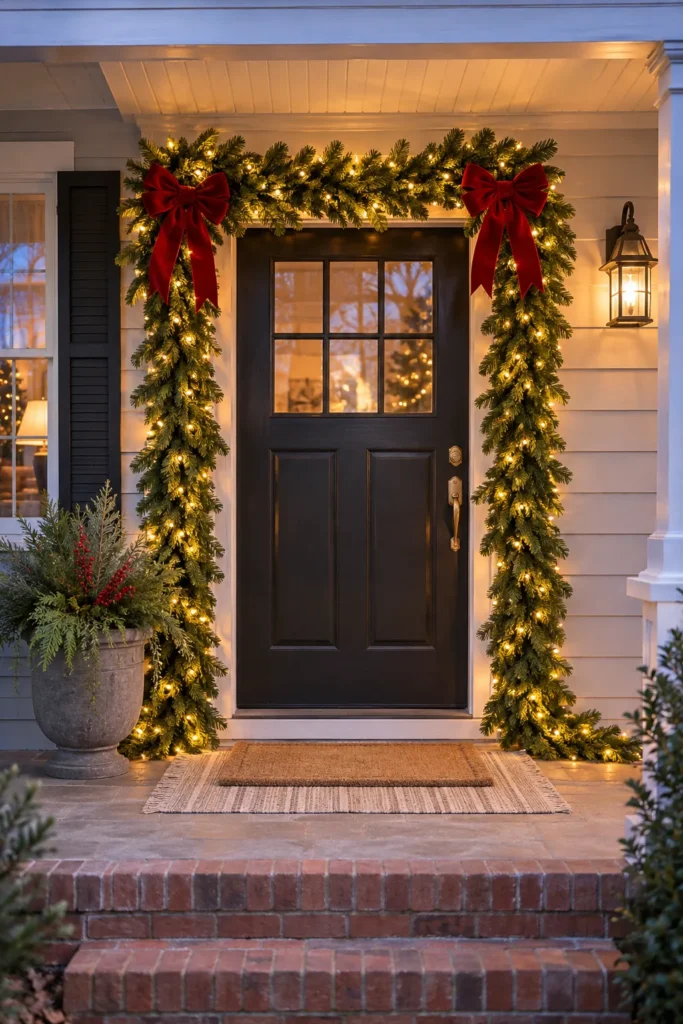
Your neighbors see this door from the sidewalk, not from your doormat. Walk out about 15 feet and look for three things: bare patches, visible hooks, and one side hanging lower than the other. Pull nearby branches over any hook that shows. Fill larger gaps by wiring in a spare pick or a leftover branch. Check again after dark with the lights on.
Frequently Asked Questions
How much garland do I need for a front door?
A standard front door frame measures about 17 feet from the ground, up, across, and back down. Two 9-foot garlands cover it. Buy a third if you want the ends to pool at the bottom.
Can I hang garland around my door without nails?
Yes. Use outdoor adhesive hooks on smooth painted trim or flat vinyl, and brick clips on brick. Siding hooks slip under the lip of vinyl siding.
Will faux garland hold up in rain and snow?
Most faux garland handles rain and snow fine. Check that the box says it is rated for outdoor use, especially for pre-lit garland, since the wiring must be weatherproof too.
What if I have a storm door?
Hang the garland on the outer frame around the storm door, not the main door. That way, both doors still open and close freely.
How do I take adhesive hooks down without peeling paint?
Hold the hook steady and pull the stretch tab slowly straight down along the wall, never out toward you. Keep stretching until the strip lets go.
Your Door Is Ready
Your front door now has a full, even garland that will hold through wind, slammed doors, and every delivery until January. Now that you know how to hang Christmas garland around your front door, next year goes faster, because your hook spots are already planned. Try the same hook-and-wire method on a stair railing or porch rail next. Save this pin for your next holiday refresh, and follow for more seasonal decor ideas.