
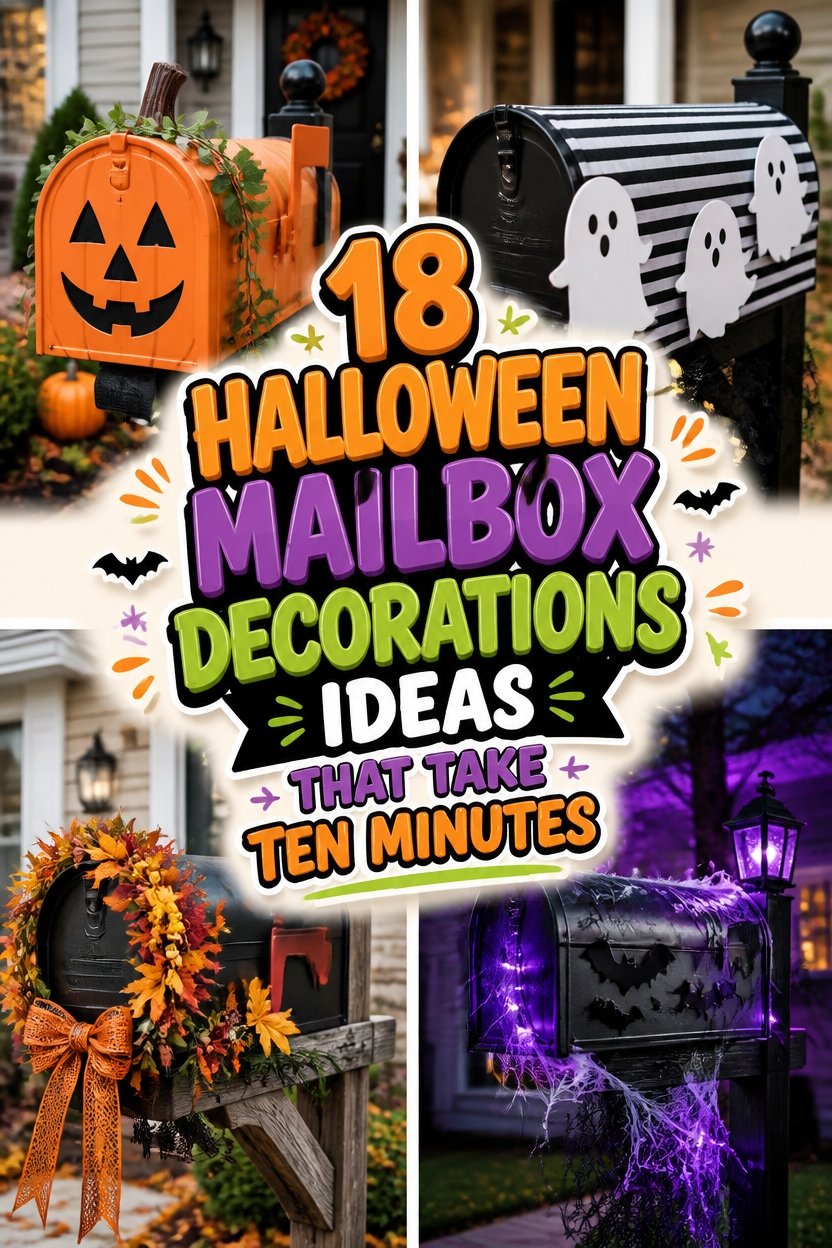
Halloween mailbox decorations take about ten minutes and cost roughly nothing.
A mailbox already has the right shape for it. Round-ish, waist height, sitting at the exact spot where people slow down to look at your house.
Paint, fabric and a marker will cover most of what follows.
I wrapped mine in gauze one October and the postie left a note saying it was the best thing on her route.
Here is what works on a small surface.
You Might Also Love


Keep the Slot Clear
Leave the opening and the door completely unobstructed. Your mail carrier has to use it every day, and decorations that get in the way tend to get removed for you.
Same goes for the flag. Anything glued near it will jam it, so keep decoration to the sides and the top.
Then check your fixings weekly. A mailbox sits fully exposed to wind and rain with nothing sheltering it, so tape that held fine on day one often gives up by the second week.
18 Halloween Mailbox Decorations Ideas
Every idea here takes ten minutes or less and uses supplies you can buy in one trip.
The simple ones tend to win. A jack-o’-lantern face in black paint on an orange mailbox reads instantly from a moving car, while something intricate just becomes a blur.
Pick one and get it done before your coffee goes cold.
Classic Jack-O’-Lantern Face
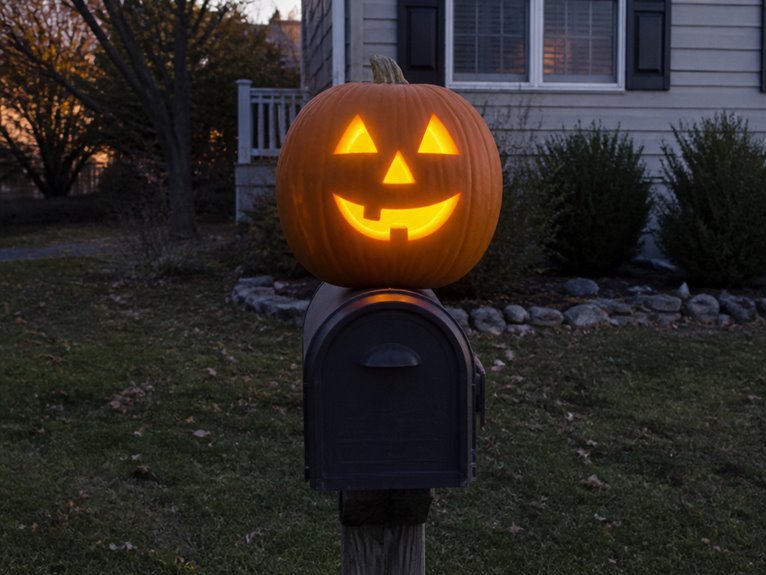
The jack-o’-lantern design remains a traditional choice for mailbox decoration during Halloween. Homeowners can paint an orange mailbox with a carved face, using black paint for the eyes, nose, and mouth. Alternatively, adhesive vinyl cutouts provide a quicker application method.
This design requires basic painting supplies or pre-made stickers, making it accessible for most decorators seeking a recognizable Halloween symbol.
Friendly Ghost With White Fabric
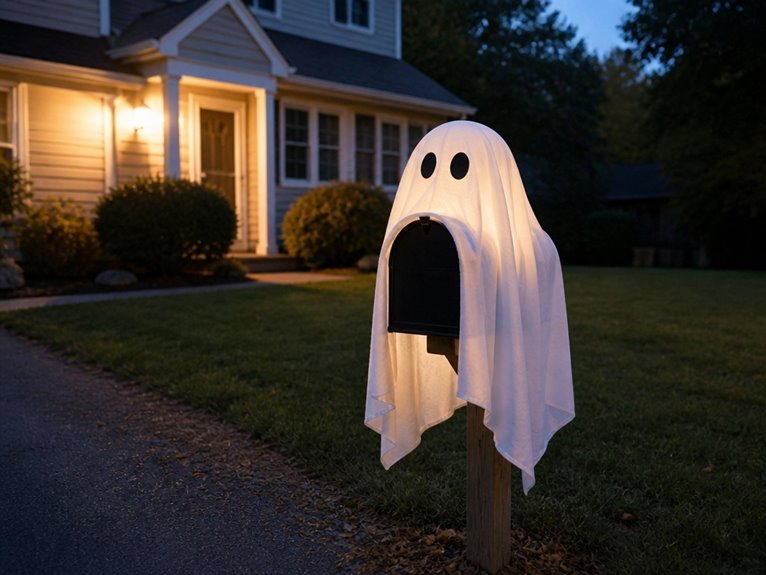
Many decorators choose white fabric to create a simple ghost figure for their mailbox, draping the material over the mailbox structure to form a rounded, floating appearance. Black markers, paint, or felt circles serve as eyes and mouth. Securing the fabric with tape or pins prevents shifting from wind.
This decoration requires minimal supplies, takes approximately ten minutes to assemble, and produces an instantly recognizable Halloween display suitable for most mailbox styles.
Candy Corn Stripes
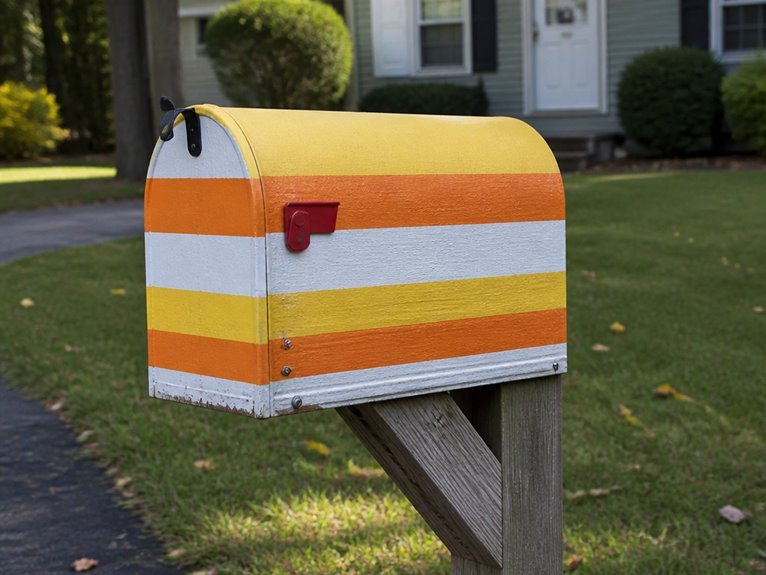
Decorators can paint horizontal stripes across their mailbox in candy corn colors: yellow on top, orange in the middle, and white on the bottom. This design requires basic acrylic paint, a brush, and approximately ten minutes to complete.
The stripes should be roughly equal in width, with dried layers between applications. This approach produces a recognizable, seasonal mailbox decoration without complex techniques or materials.
Bloody Handprints
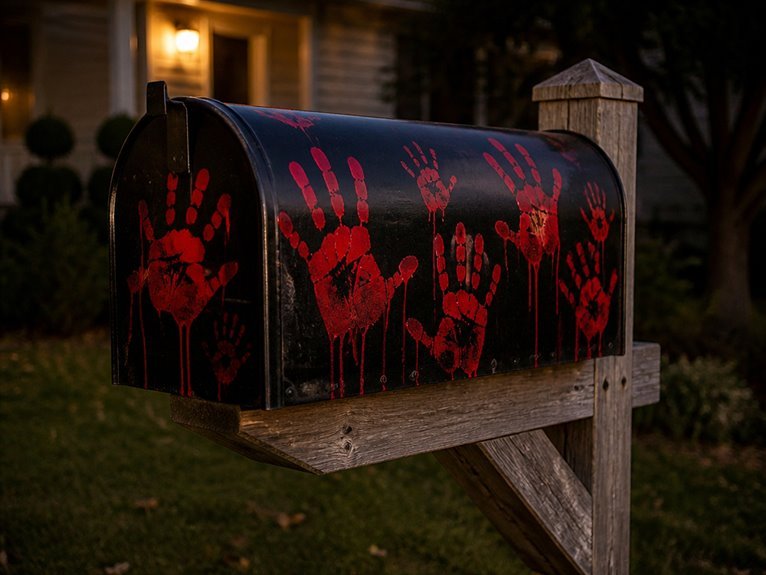
A creative variation involves applying bloody handprints to the mailbox surface using red paint or fake blood. This technique requires minimal supplies: paintbrushes, sponges, or actual hands as applicators.
The prints can be positioned randomly across the mailbox front, or arranged in a deliberate pattern. Dried paint or commercial fake blood products work effectively. This decoration method achieves a realistic, unsettling effect appropriate for Halloween themes.
Black Cat Silhouette
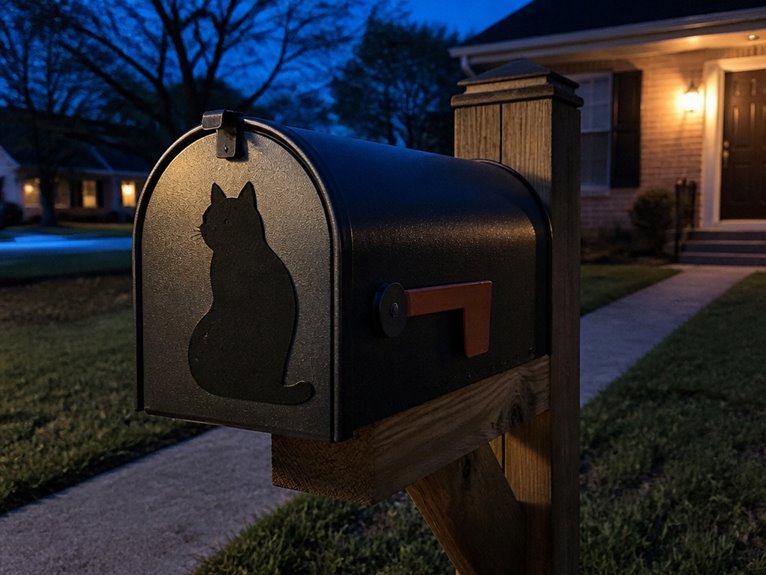
black cats represent a traditional Halloween symbol, silhouettes of these felines work effectively as mailbox decorations. Cut cat shapes from black cardstock or vinyl, then attach them to mailbox sides using tape or adhesive. Alternatively, purchase pre-made black cat decals online.
Position silhouettes in sitting or walking poses for varied visual interest. This decoration method requires minimal materials and takes approximately ten minutes to complete.
Witch Hat Topper
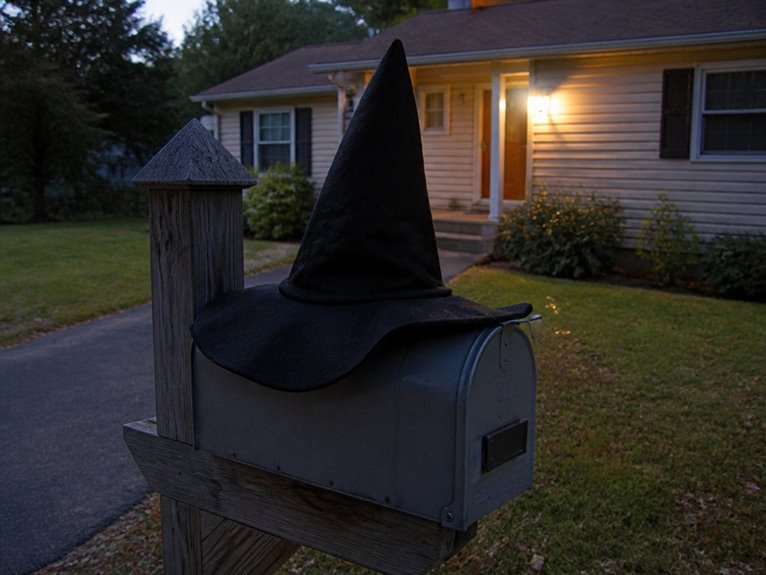
Witch hat toppers serve as eye-catching mailbox decorations that instantly convey the Halloween theme. These decorations consist of a black, pointed hat secured to the mailbox post or top. Materials include foam, plastic, or fabric construction.
Homeowners can purchase pre-made versions or craft custom designs using basic supplies. The topper requires minimal installation time and withstands typical weather conditions throughout the season.
Mummy Wrapped in Gauze
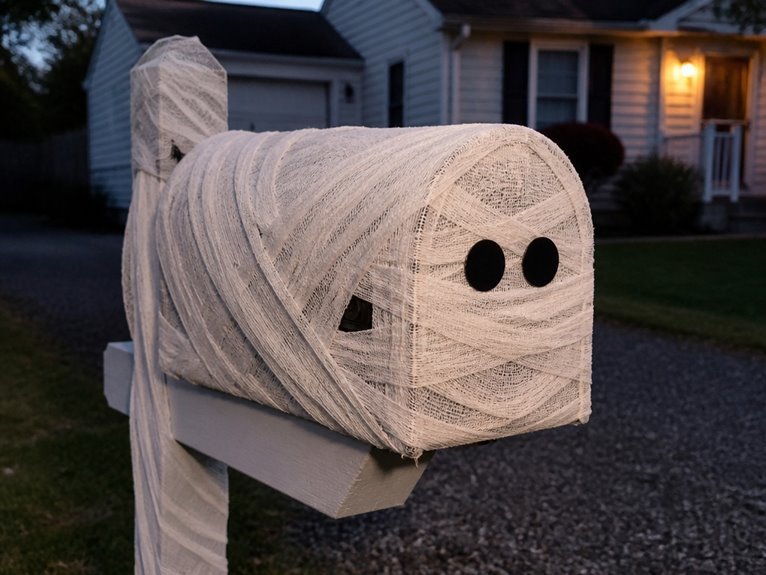
For homeowners seeking a classic Halloween mailbox decoration, mummy designs offer straightforward appeal and accessibility. White gauze or strips of fabric wrap around the mailbox structure, creating the mummy appearance. Black markers or paint add facial features, including eye sockets and mouth details.
This decoration requires minimal materials, takes approximately ten minutes to complete, and produces recognizable results suitable for residential display.
Skeleton Bones Design
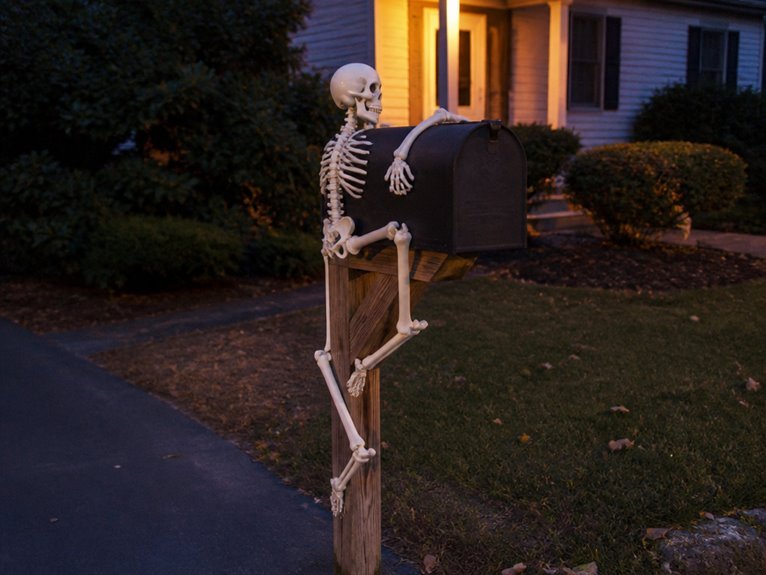
Many homeowners choose skeleton bone designs for mailbox decorations, as they require basic materials and simple assembly. White PVC pipe, foam bones, or painted cardboard pieces form the skeletal structure. Arranging these elements along the mailbox perimeter creates an effective display. Black paint or markers add definition to bone details.
This design approach takes approximately ten minutes to complete and produces a recognizable Halloween effect.
Zombie Head in Gauze
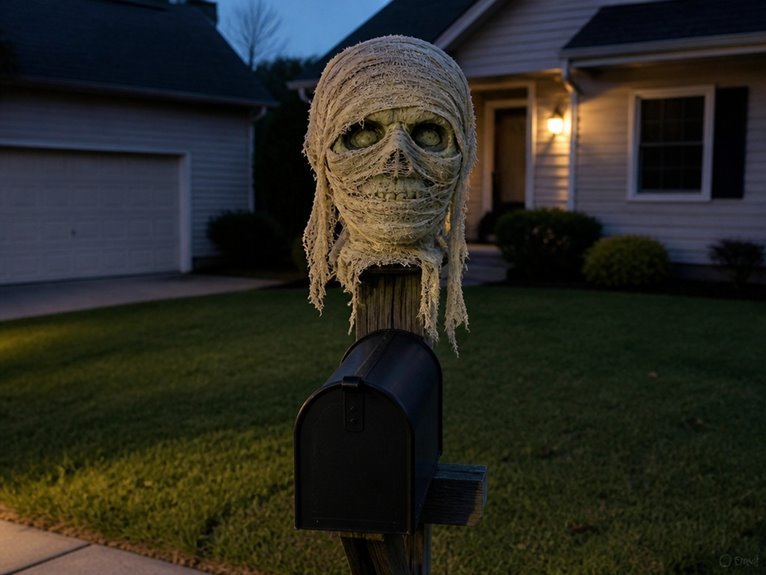
A zombie head wrapped in gauze creates an unsettling mailbox decoration that requires a foam head form, medical gauze or cheesecloth, and basic makeup supplies.
Drape the gauze loosely around the head, leaving gaps to expose the face. Apply gray and green makeup to create a decayed appearance. Add fake blood to the gauze and face for realistic details.
Position the head securely on the mailbox post or near the entrance.
Creepy Cobweb Draping
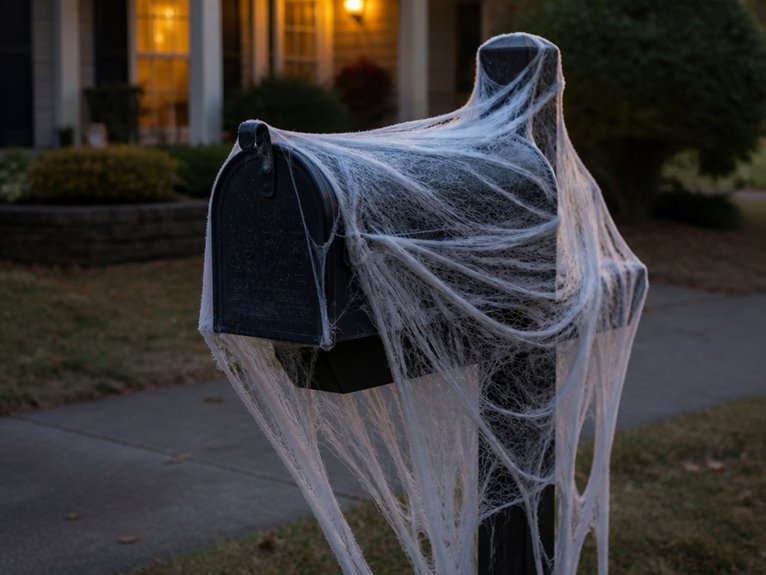
Cobweb draping transforms a mailbox into a haunted structure through layered, stretchy synthetic webbing that clings to surfaces and creates an aged, abandoned appearance. White or gray webbing works best, draped loosely around corners and edges. Black plastic spiders placed within the webs enhance the effect.
The material stretches easily, adheres without adhesive, and completes setup in minutes.
Spider Web With Plastic Spider
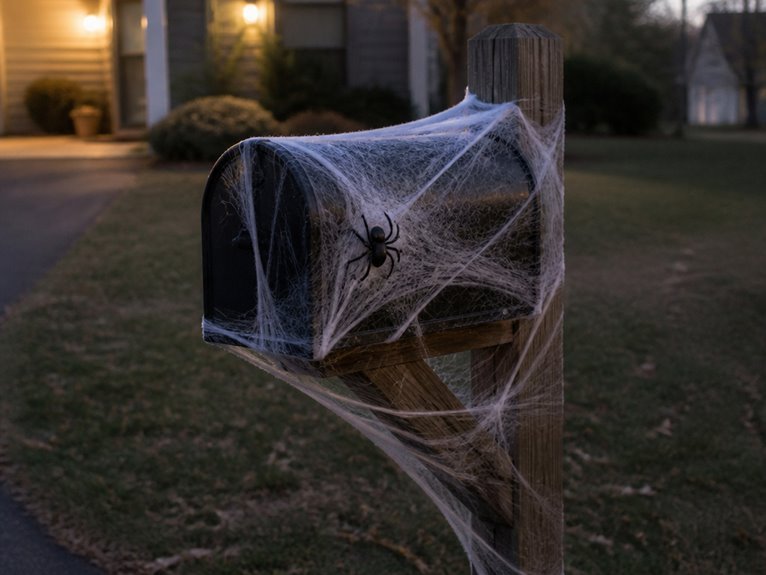
Building upon the webbing foundation, plastic spiders offer a simple way to enhance the mailbox’s haunted appearance. Positioning spiders of varying sizes throughout the web creates visual interest and depth. Black, brown, and glow-in-the-dark varieties are available at most retailers.
Securing spiders with small dabs of hot glue or adhesive strips prevents wind displacement, ensuring decorations remain intact throughout the season.
Haunted Eyes Peering Out
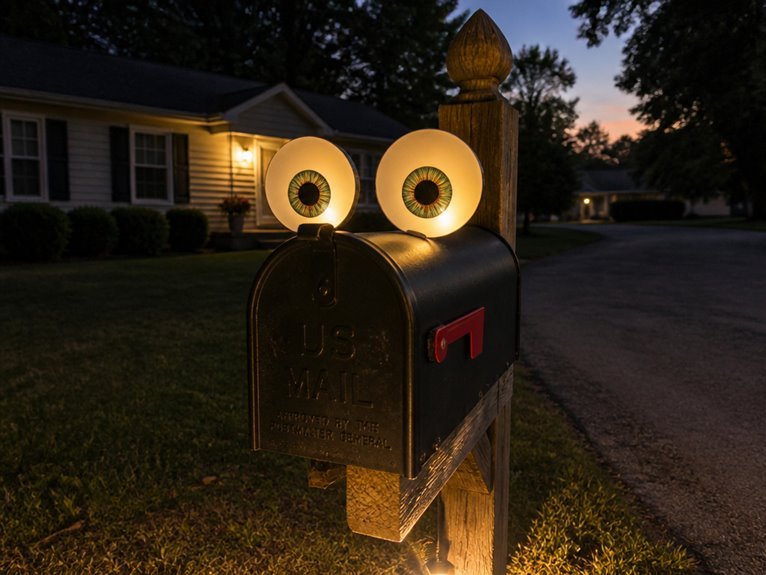
The illusion of watching eyes draws immediate attention to a mailbox and creates an unsettling focal point for Halloween decorations. Googly eyes, glow-in-the-dark pupils, or printed eye cutouts can be attached directly to the mailbox surface. Yellow, red, or white eyes produce different effects. Positioning multiple eyes at varying heights increases the unsettling quality.
This decoration requires minimal setup time and materials.
Monster Mouth With Teeth
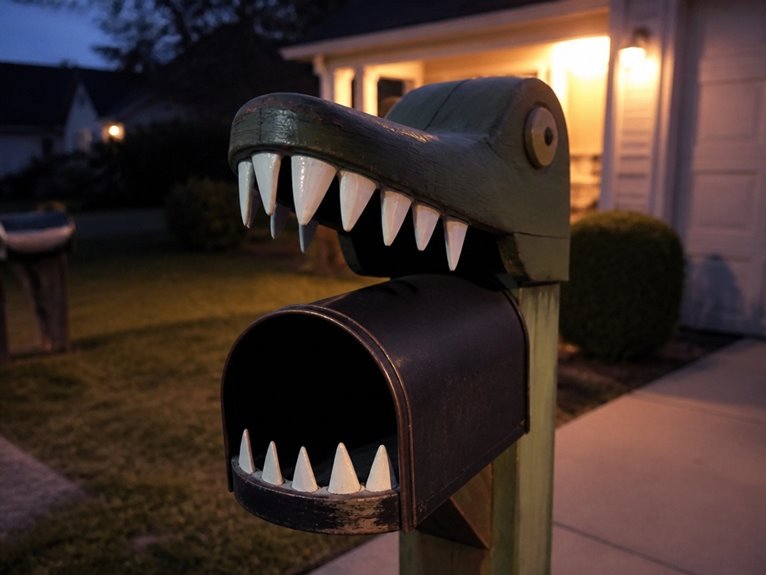
A mailbox can be transformed into a gaping monster mouth by adding a border of painted or attached teeth around its opening. Foam sheets, craft foam, or white painted cardboard work effectively for teeth.
The decorator cuts triangular or rectangular shapes, arranges them along the mailbox edges, and secures them with adhesive or nails. Red paint inside the mouth enhances the effect, creating an intimidating appearance suitable for Halloween displays.
Bats Flying Across
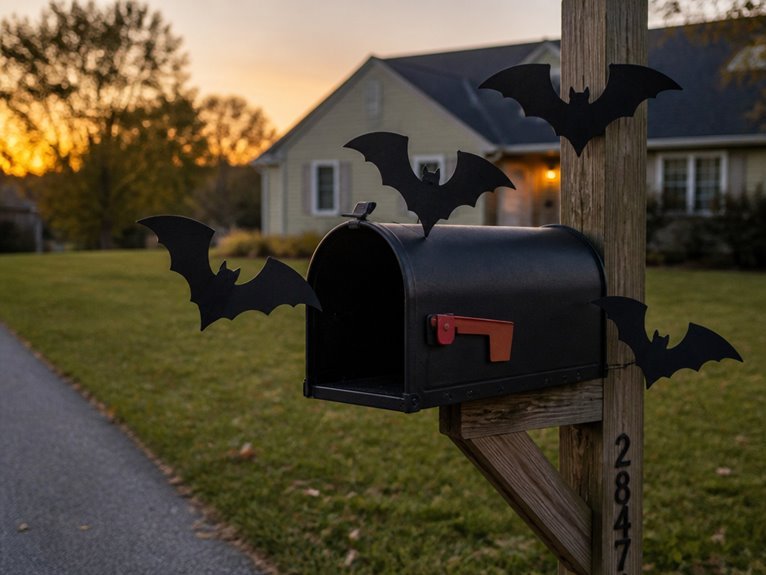
Multiple black bats can be arranged across a mailbox to create a flying effect that captures attention during Halloween displays. Cardboard or foam bats, attached with adhesive or wire, work effectively for this decoration.
Positioning bats at varied heights and angles enhances the illusion of movement. Black paint, markers, or pre-made bat cutouts from craft stores provide simple implementation options for this straightforward mailbox enhancement.
You Might Also Love
Glowing Pumpkin Effect
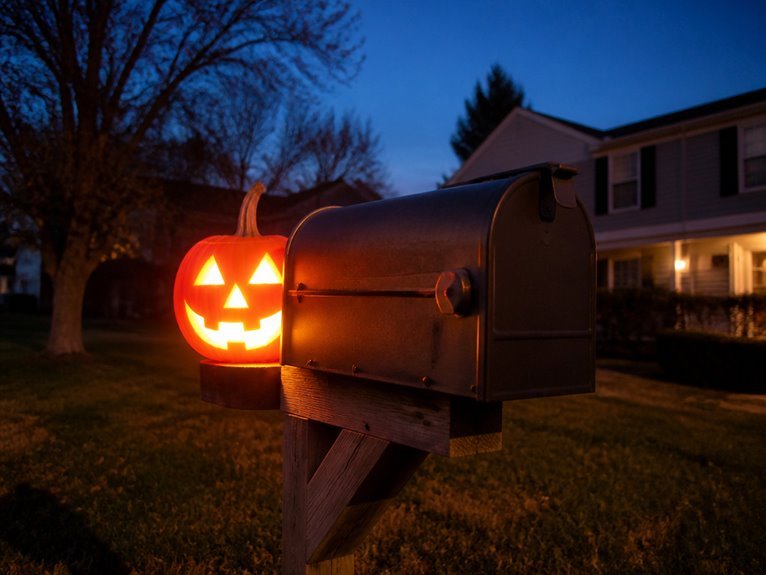
Illuminated pumpkins create a striking Halloween mailbox focal point by using LED lights, glow sticks, or battery-powered lanterns placed inside or behind carved jack-o’-lantern designs. This technique requires minimal setup time, typically five to ten minutes. Orange plastic pumpkins work well for this purpose.
The glow effect becomes visible during evening hours, drawing attention to the mailbox area and complementing other decorations nearby.
LED Tape Border Glow
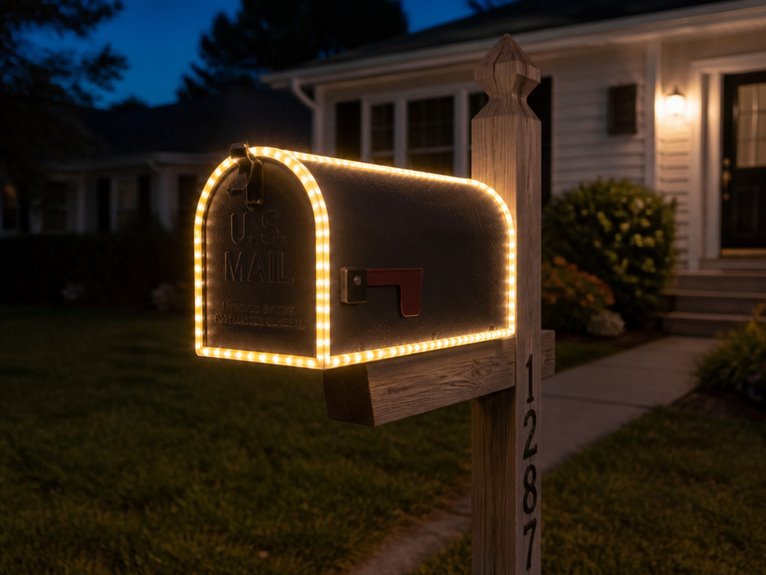
LED tape strips, typically available in adhesive-backed rolls, outline mailbox edges with continuous colored light and create a modern decorative effect.
These strips, available in white, purple, and orange varieties, adhere directly to mailbox surfaces. Battery-powered options eliminate wiring needs. The tape activates via switch or remote control, providing adjustable brightness levels.
Installation takes approximately five minutes, requiring only surface cleaning before application.
Day of the Dead Skull
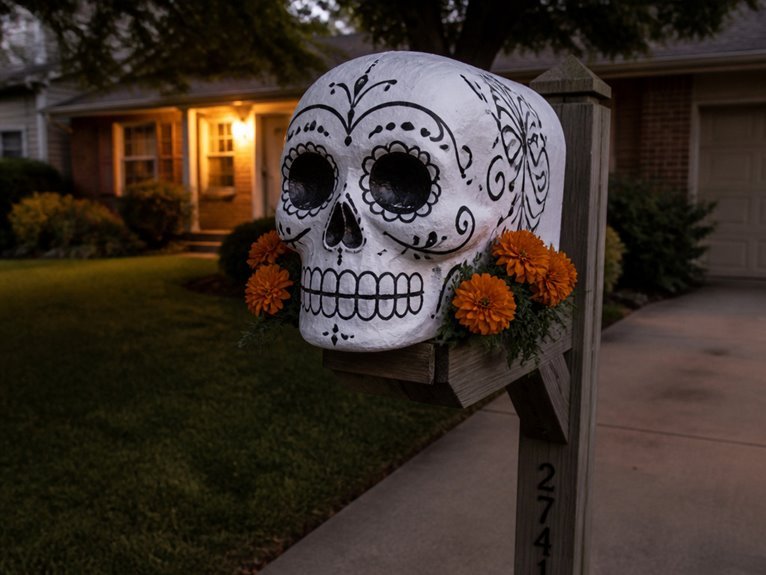
While LED lighting offers modern brightness effects, Day of the Dead skull decorations provide a cultural and artistic approach to mailbox styling. Painted skulls, featuring colorful floral patterns and intricate designs, attach directly to mailbox surfaces. Foam or ceramic skull options work well for durability.
These decorations require minimal assembly, taking approximately ten minutes to secure with weatherproof adhesive or mounting brackets.
Festive Pumpkin Patch Scene
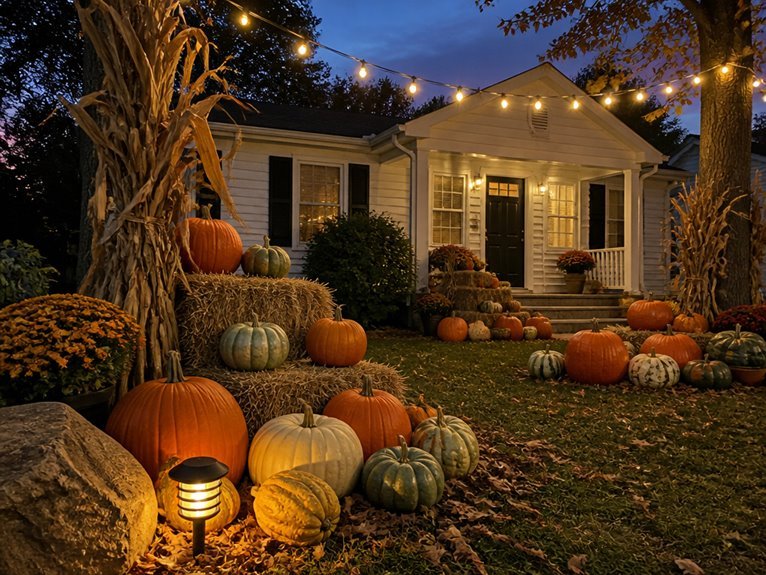
Because pumpkins serve as iconic autumn symbols, they work effectively for mailbox decoration during the Halloween season. Arranging miniature pumpkins, gourds, and cornstalks around the mailbox post creates a pumpkin patch appearance.
Adding hay bales, dried leaves, and orange lights enhances the scene. These elements require minimal assembly time and withstand typical weather conditions throughout October.
Frequently Asked Questions
What Materials Are Best for Outdoor Mailbox Decorations That Withstand Rain?
Plastic, metal, and treated wood resist rain effectively. Vinyl banners, polyresin ornaments, and galvanized steel decorations withstand moisture best. Outdoor-grade paint and waterproof sealants protect materials further. One should avoid paper and untreated fabric for durable results.
How Can I Secure Decorations to My Mailbox Without Causing Damage?
Why risk permanent marks on one’s mailbox? One should use adhesive strips, velcro, or foam tape to attach decorations securely. These methods prevent scratches and dents while remaining easily removable, preserving the mailbox’s original finish during seasonal display changes.
Are There Battery-Powered Lighting Options for Mailbox Decorations?
Yes, battery-powered lighting options are widely available for mailbox decorations. LED string lights, solar-powered stake lights, and battery-operated lanterns provide safe, convenient illumination without requiring electrical wiring or outlets near the mailbox.
Can I Reuse These Decorations for Multiple Halloween Seasons?
One might assume all Halloween decorations deteriorate quickly, yet quality matters considerably. Most plastic mailbox decorations withstand multiple seasons when stored properly indoors. Fabric items and lights require careful inspection for wear before reuse.
How Do I Prevent Decorations From Being Stolen or Vandalized?
One should secure decorations with sturdy adhesive or weatherproof fasteners, position the mailbox in visible areas near the home, use inexpensive replaceable items, and consider installing motion-activated lighting to deter potential thieves or vandals.
Conclusion
These eighteen mailbox decoration ideas offer accessible options for Halloween preparation. By chance, the simplest designs—Jack-O’-Lanterns, ghosts, and candy corn stripes—often produce the most recognizable results. Materials like paint, fabric, and cardstock remain consistently affordable and available. Coincidentally, the ten-minute timeframe accommodates most households’ schedules, allowing decoration without significant planning. Whether selecting classic or elaborate designs, homeowners can enhance their properties while maintaining practical efficiency during the holiday season.