

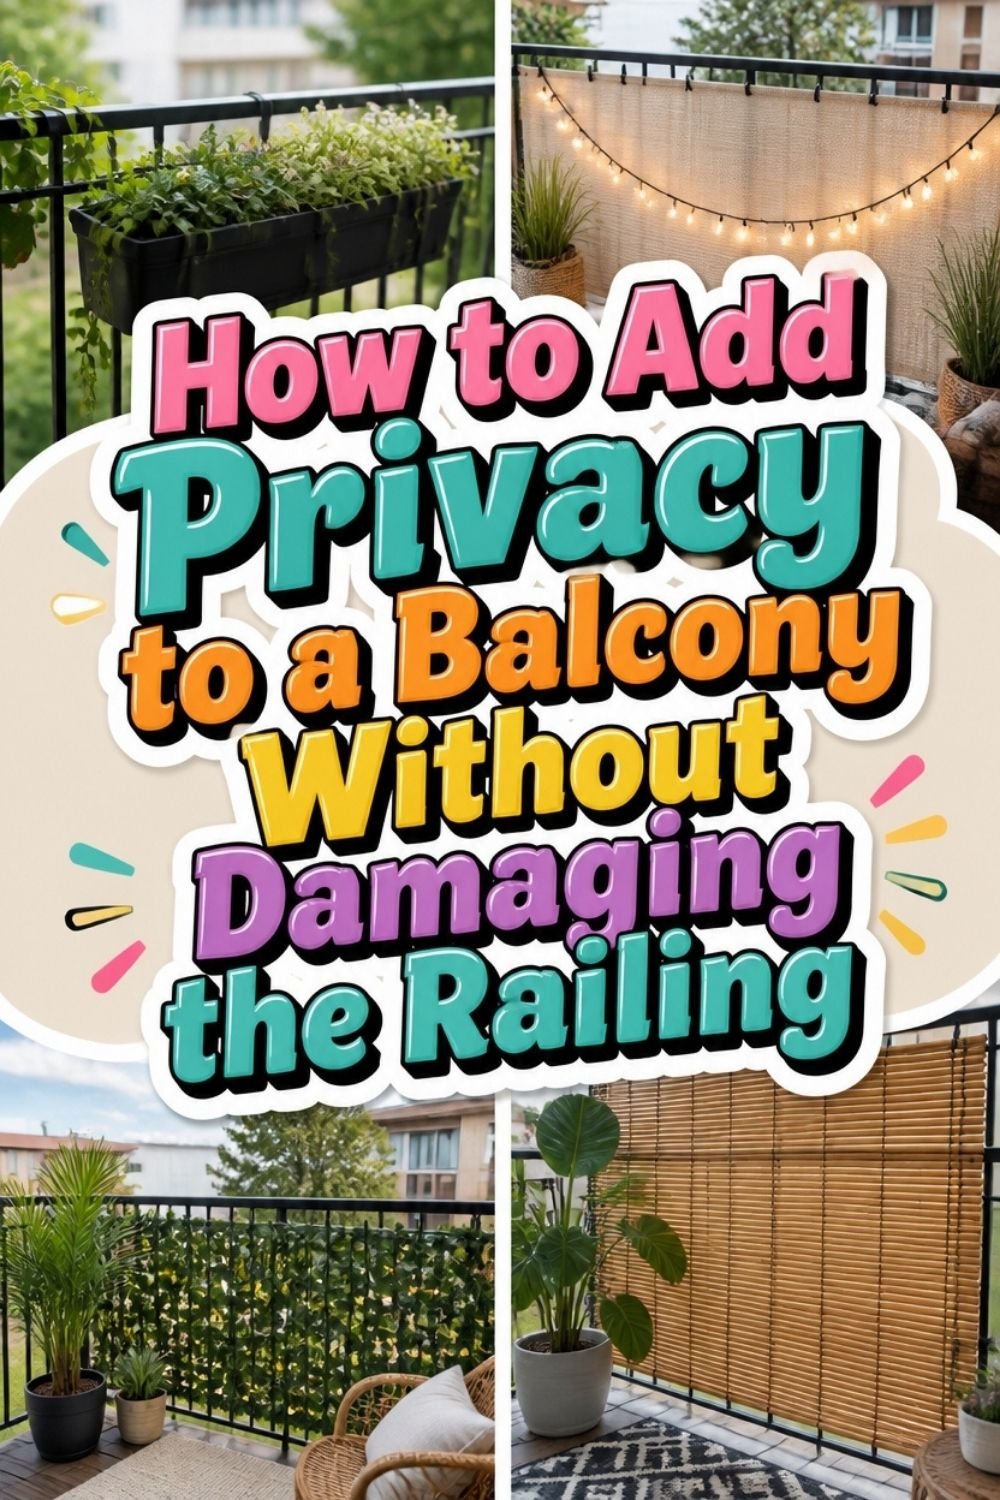
Most balcony privacy ideas for apartments show the same photo: a balcony wrapped in reed fencing on all three sides. It looks calm and finished. It also blocks the view you pay rent for, turns the railing into a sail the first windy evening, and in plenty of buildings it breaks a clause about changing the look of the exterior.
Here is the part those photos skip. You are not overlooked from everywhere. You are overlooked from one or two specific angles, usually a neighbour’s balcony to one side or a window across the way. Block those and you are done. Block everything and you have built yourself a box.
So this guide starts with a diagnosis rather than a shopping list. You will sit in your own chair and work out exactly who can see you and from where. Then you will match a material to your railing type and your wind exposure, because a screen that suits a glass balustrade is the wrong choice for iron bars in an exposed spot.
Everything here attaches with cable ties on the inside of the railing. Nothing is drilled, screwed, glued, or hung on the outside face. It all comes off in 20 minutes and leaves no mark.
Give it half a day total. Go sit in your chair first.
What You Need
Buy the left column regardless of which screen you choose, since the protection is what keeps your deposit intact. Pick one material from the right column after Steps 4 and 5.
- UV-rated black cable ties, 8 in, one pack
- Foam pipe insulation for railing sleeves
- Felt pads or old inner tube offcuts
- Soft garden twine as a backup tie
- Flush cutters or small scissors
- Tape measure and a marker
- Bucket, cloth, mild detergent
- Reed or bamboo roll fencing
- Willow screening, denser and heavier
- Balcony privacy mesh, permeable weave
- Artificial hedge panels, clip-together
- Free-standing trellis with a climber
- Tall planters for the height you cannot screen
- Outdoor curtain panel on a tension rod
At a Glance
- Sit in the chair before you decide anything
- Map the three viewpoints that can see you
- Rank which exposure actually bothers you
- Identify your railing type before you shop
- Judge your wind exposure honestly
- Choose permeable screening over solid panels
- Protect the railing before anything touches it
- Cable-tie the screen to the inside of the rail
- Add height with a free-standing element
- Block the view from above only if you have one
- Soften the screen edge with plants
- Test it after dark with your lights on
- Re-tension the fixings after the first storm
Sit in the chair before you decide anything
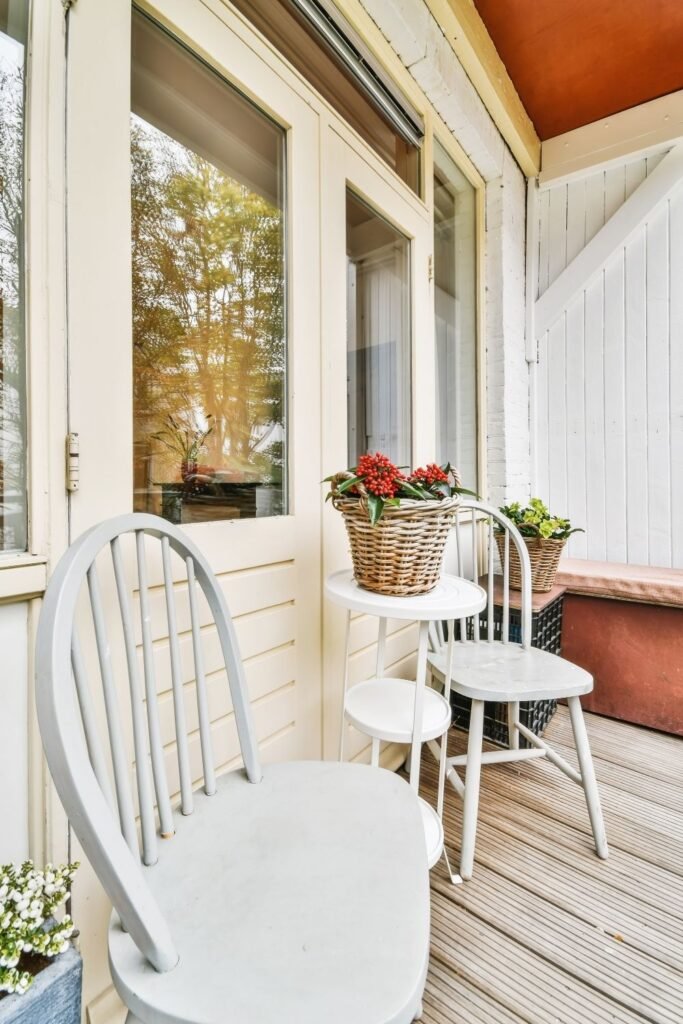
Standing on a balcony and sitting on one give you two completely different exposures. Standing, you can see over the rail and everyone can see you. Seated, a 3 foot railing already hides most of your body, and the only thing left exposed is your head and shoulders.
Put your chair exactly where you plan to use it, sit down, and look around from that height. Most people find they need far less screening than they assumed, and only across a narrow band.
Map the three viewpoints that can see you
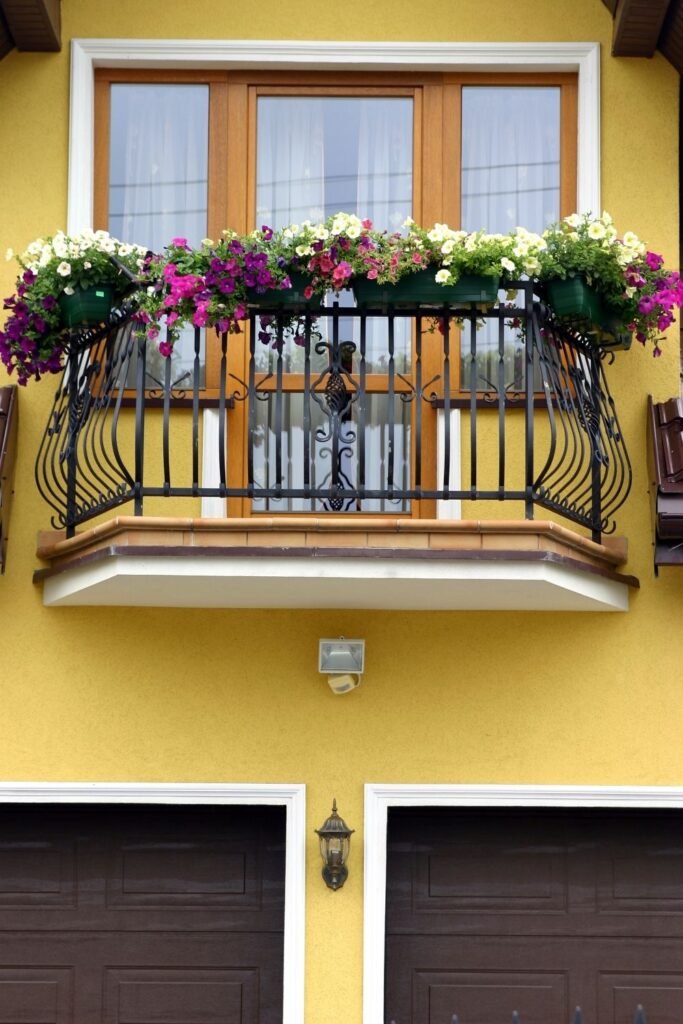
Three angles account for nearly all balcony overlooking, and they need different fixes. Work through them one at a time while you are still sitting down:
- Alongside, from the neighbouring balcony on one or both sides
- Across, from windows or balconies facing you
- Above, from the balcony directly overhead
Note which ones apply to you and which do not. A balcony on the top floor has no view from above. A corner unit often has only one side neighbour. Write down the two or three that are real for your space and ignore the rest.
Hold your phone at seated head height, roughly 4 feet above the floor, and take a slow video panning the full width of the balcony. Watch it back indoors. A screen flattens depth and shows you which windows genuinely have a line to your chair and which are blocked already by a wall, a pillar, or an angle. People routinely discover that the balcony they worried about cannot actually see them, and that a window they never noticed can.
Rank which exposure actually bothers you
Not all overlooking feels the same. Being visible to a neighbour you wave at is different from a stairwell window that strangers pass all day. Put your angles in order, worst first, and screen only the top one or two.
Every panel you add costs light, airflow, and view. Spending that budget on the angle that actually bothers you is what keeps the balcony pleasant to sit on.
Identify your railing type before you shop
What your railing is made of decides how a screen attaches, and getting this wrong is the most common reason a purchase goes back. Look at yours and match it to one of these:
- Vertical bars or spindles, the easiest, since ties pass straight through anywhere
- Horizontal cables or rails, ties work but the screen needs a top and bottom line
- Glass panels with a metal top rail, only the top rail takes a fixing
- Solid masonry or concrete, no fixing points at all, so use free-standing screening
Glass and solid balustrades are the two that catch people out. Both leave you with a single anchor line or none, which means a hanging screen or a free-standing panel rather than anything laced along the rail.
Judge your wind exposure honestly
Ask yourself how often the balcony is unpleasant to sit on because of the wind. That answer matters more than the screen you like the look of. A sheltered ground-floor balcony in a courtyard takes almost any material. A tenth-floor corner unit facing open ground takes only the most permeable options, and even those need checking regularly.
Height is the strongest predictor. Wind speed rises noticeably with each floor, and corner positions get gusts that come from two directions at once.
Choose permeable screening over solid panels
Screens catch wind, and the more solid the material the more force it collects. A permeable screen lets air pass through and reduces the load dramatically, which is why reed, willow, and mesh survive on exposed balconies while solid panels tear loose from them. Permeable also blocks sightlines nearly as well, because the eye cannot resolve detail through a broken surface at any distance.
Reed and bamboo rolls are the standard choice and cost the least. Willow is denser and heavier, which suits sheltered spots. Balcony privacy mesh is the most permeable of all and the best pick for high or exposed positions. Artificial hedge panels sit between the two, so check the backing, since a solid plastic backing behaves like a panel rather than a screen.
A solid panel on a railing is a sail, and the forces involved are larger than they look. Wind pushing against a screen loads every fixing point and the railing itself, and on an exposed balcony that shows up as bent spindles, loosened posts, or a whole panel coming away with the ties still attached. Railings are engineered to stop people falling, not to carry sideways wind load. Keep to permeable materials, tie at close intervals rather than at the corners, and take the screen down before a forecast storm rather than after it.
Protect the railing before anything touches it
Damage on a rented balcony almost never comes from the screen itself. It comes from grit trapped between the screen and the paintwork, which grinds every time the wind moves it. Wash the railing with mild detergent and let it dry fully first.
Painted metal and powder-coated aluminium both scratch easily, so anything resting directly against them needs a soft layer in between.
Foam pipe insulation from the plumbing aisle costs a few dollars and solves this completely. It comes pre-split down one side, so it snaps over a top rail in seconds and gives the screen a soft surface to rest against. Cut lengths to sit under the top edge and anywhere the screen presses hardest. Felt pads or offcuts from an old bike inner tube do the same job at the individual tie points. Nothing here is visible once the screen is up.
Cable-tie the screen to the inside of the rail
Ties every 12 inches along the top edge and every 18 inches down the sides is the spacing that holds. Wider gaps let the screen billow, and billowing is what loosens fixings and frays the material. Unroll the screen against the inside face of the railing, tie the top corners first to hold it in position, then work along the top edge before doing the sides.
A few habits make this come apart cleanly later:
- Use black UV-rated ties, since cheap ones go brittle in one season
- Tie through the screen rather than around the whole rail
- Leave the tails long until the screen is fully hung
- Trim tails flush with flush cutters, pointing downward
- Keep a dozen spare ties in a pot for replacements
Inside the railing is the only face to use. Anything mounted on the outside changes the appearance of the building, which many leases and building rules restrict explicitly, and it puts the material and its fixings over a drop where a failure lands on someone. Some buildings also cap screen height or require a uniform colour across the block, so check what your lease says before you buy. A short email to building management is quicker than taking a screen down after a complaint.
Add height with a free-standing element, not a taller screen
The instinct when a screen is not tall enough is to buy a taller one, and that makes the wind problem worse while blocking more of your own view. Put the extra height inside the balcony instead. A free-standing trellis with a climber, a tall narrow planter, or a tension-rod curtain panel all sit on your floor rather than loading the railing.
Height only needs to reach seated eye level, roughly 4 feet, to break the sightline from a chair.
Block the view from above only if you have one
Skip this entirely if the balcony above you is empty, if you are on the top floor, or if the overhead unit sits back far enough that nobody can see down. When it is a real problem, a fabric shade sail or an outdoor curtain panel run on a tension rod across the ceiling handles it without touching the railing at all. Keep the fabric permeable here too.
Soften the screen edge with plants
A reed roll stops abruptly at both ends and that hard edge is what makes a screen look bought rather than planned. Put a tall plant or a narrow trellis at each end so the eye reads a green boundary instead of a rolled-up mat. Ornamental grasses work particularly well because they move with the wind rather than fighting it, and they cope with the exposure that kills softer plants.
One plant at each end is enough. Filling the whole length hides the screen you just paid for.
Test it after dark with your lights on
Screening solves the daytime problem and reverses completely at night. With your interior lights on and the sky dark, your balcony and everything on it becomes the brightest thing on that facade, and anyone across from you sees more than they did at noon. Go out after dark with the lounge lights on behind you and look back at your own balcony from the street or the corridor window if you can reach one.
The fixes are small. Close the curtain to the room behind, light the balcony with one low warm lamp rather than the overhead spill from indoors, and sit slightly forward of the door rather than in the light spilling out of it.
Re-tension the fixings after the first storm
Give it two or three weeks and one proper windy night before you call the job finished. Walk the length of the screen and push it gently at several points, feeling for any section that gives more than the rest. Replace any tie that has stretched, add a few extra at the top corners where load concentrates, and check the foam sleeves have not slipped out of position. Ten minutes now prevents the slow loosening that ends with a screen flapping against your railing at midnight.
Frequently Asked Questions
Do I need permission from my landlord or building management?
For a permeable screen cable-tied to the inside of the railing, usually not, because nothing is drilled, bolted, or attached to the structure and it comes off leaving no mark. Where permission starts to matter is anything visible as a change to the building from outside, anything mounted on the outer face of the rail, and anything above the railing height. Plenty of buildings also specify a colour or cap how tall a screen can be, which is exactly the kind of clause people find out about after a letter arrives. Read the lease first, and if a clause is ambiguous, email management and keep the reply.
My balcony has glass panels. Can I screen it at all?
Yes, though your options narrow to two. Glass balustrades usually have a metal top rail, and that rail is your only fixing line, so a screen hangs from it rather than lacing along its length. A lightweight mesh or reed roll tied at close intervals along the top works well and needs weighting or tying at the bottom so it does not billow. The other option skips the railing entirely and uses free-standing screening inside the balcony, which is often the better answer on glass, since a hanging screen on a frameless panel has nothing to secure its lower edge to.
What is the cheapest option that actually works?
A reed or bamboo roll with a pack of UV-rated cable ties runs about 30 to 60 dollars for a standard balcony width, and it is the option most people end up with for good reason. Willow costs more and lasts longer in sheltered spots. Privacy mesh sits in a similar range to reed and outperforms it in wind. The genuine false economy is cheap cable ties, since non-UV ties go brittle within a season and fail in a batch, usually overnight and usually in the wind. Spend the extra dollar on black UV-rated ties.
How long will a reed or bamboo screen last?
Two to three seasons in a sheltered position, and closer to one in full sun and steady wind. Reed fades to grey and the binding wires are what fail first, usually along the top edge where the load concentrates. Willow lasts longer and costs more. Privacy mesh outlasts both by a wide margin, often five years or more, which is why it is the sensible choice on an exposed high balcony even though it looks less natural. Taking the screen down over winter, if you have somewhere to store it, roughly doubles the life of any of them.
Will a screen make my balcony darker or feel smaller?
Both, a little, which is exactly why the ranking in Step 3 matters. A screen on one side barely registers. A screen on all three sides cuts a noticeable amount of light and turns a small balcony into a corridor. Permeable materials help here too, since reed and mesh both pass some light where a solid panel passes none. If your balcony is already dim or north-facing, screen only the single worst angle and use plants and a free-standing trellis for the rest.
Quick Reference Card
Screenshot this before you shop. Find your railing down the side, your exposure across the top, and read off the match.
| Railing | Sheltered | Exposed or High |
|---|---|---|
| Vertical bars | Reed or willow roll | Privacy mesh, ties every 12 in |
| Horizontal cables | Reed roll, top and bottom lines | Mesh, tied top and bottom |
| Glass with top rail | Hanging mesh, weighted hem | Free-standing trellis instead |
| Solid concrete | Free-standing trellis or planters | Tall planters, weighted bases |
| Seen From | What Fixes It |
|---|---|
| Alongside | Screen that one side, plus a tall plant at the end |
| Across | Screen to seated eye level, around 4 ft |
| Above | Ceiling shade sail, or move the chair 2 ft in |
| After dark | Curtain the room behind, one low warm lamp outside |
- Sightline test from 4 ft, seated head height
- Ties every 12 in along the top, 18 in down the sides
- Screen height only needs to reach 4 ft
- Use black UV-rated ties, 8 in length
- Climber planters at 14 in or wider
- Re-tension after 2 to 3 weeks and one windy night
- Whole screen comes down in about 20 minutes
Screened Where It Counts, Open Everywhere Else
You blocked the angle that bothered you and kept the light, the airflow, and the view. Nothing was drilled and nothing was left behind.
Check the ties again after the first real storm. That one habit is the difference between a screen that lasts three seasons and one that frays by August.
Most balcony privacy ideas for apartments scale down to a fire escape landing, a shared stairwell window, or a ground-floor patio. Diagnose the sightline first, then match the material to the wind.
Pin this to your apartment living board so the match table is with you when you shop.


