

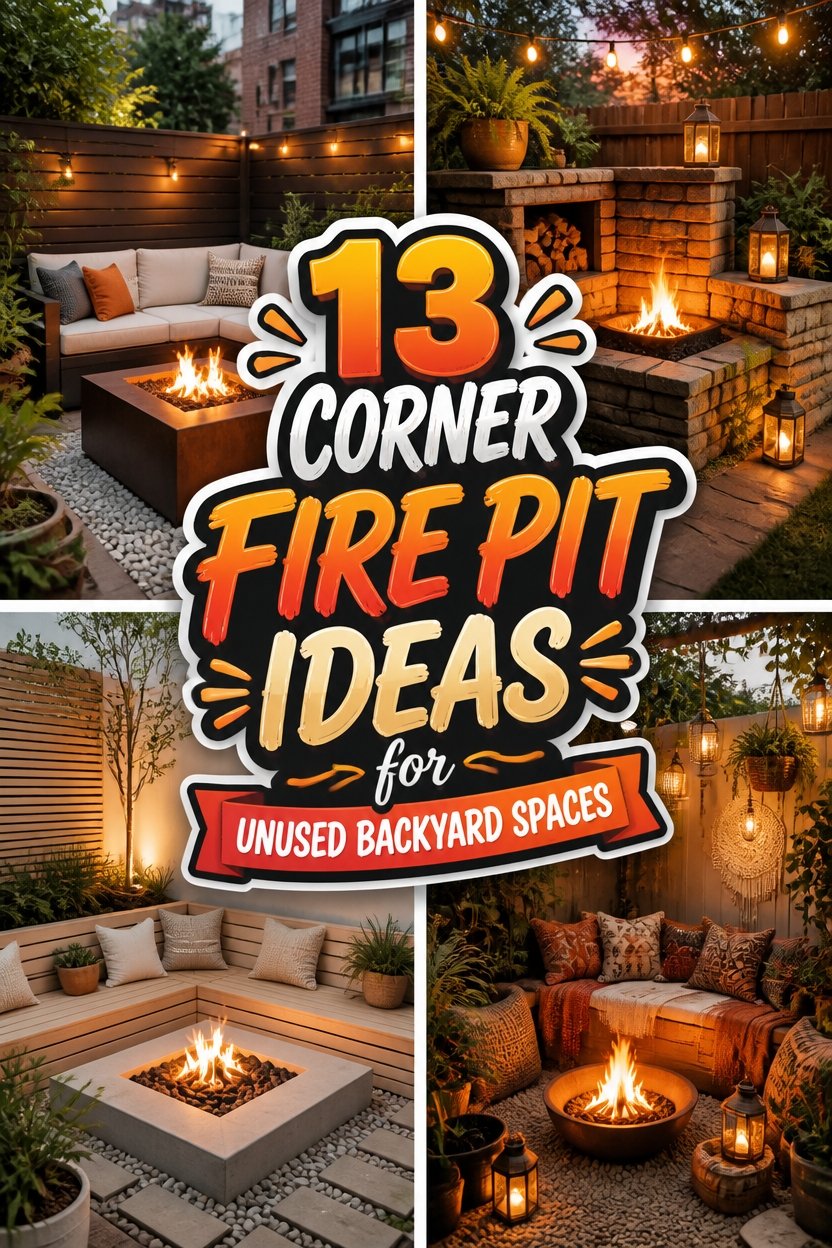
I used to walk past the same empty corner of my patio every day without a second thought. Then I added a small fire pit there, and suddenly it became the first place guests headed when they arrived.
Corners are strange like that. They’re often the most awkward part of a yard, yet they turn into the coziest spot once you give them a purpose.
You’ve got plenty of directions to take this. Sleek steel cubes suit a modern space, while stacked stone or brick leans more traditional, and even a repurposed metal barrel can look intentional with the right placement.
Size isn’t really the limiting factor people assume it is. Sunken pits with built-in benches, tucked-in L-shaped seating, or a compact tabletop bowl can all work in a corner that barely gets used right now.
The Decisions That Matter Most
Before you commit to a design, figure out how that corner gets used already. A spot near your back door for quick evenings needs a different setup than a far corner reserved for bigger gatherings.
Clearance rules aren’t just a suggestion. Give yourself real distance from fences, siding, and low branches so the finished pit is actually safe to use.
Budget shapes this more than most people expect going in. A metal basket costs a fraction of a built-in fireplace, and both can look great depending on how you style the space around them.
13 Corner Fire Pit Ideas
Some of these setups take an afternoon and a trip to the hardware store. Others are weekend-long builds that turn into permanent backyard fixtures.
I’ve mixed budget-friendly options in with higher-end builds so you can see what’s realistic no matter where you’re starting from.
Scroll through and see which one matches the corner you’ve got sitting there right now.
The Modern Minimalist Corner Fire Pit
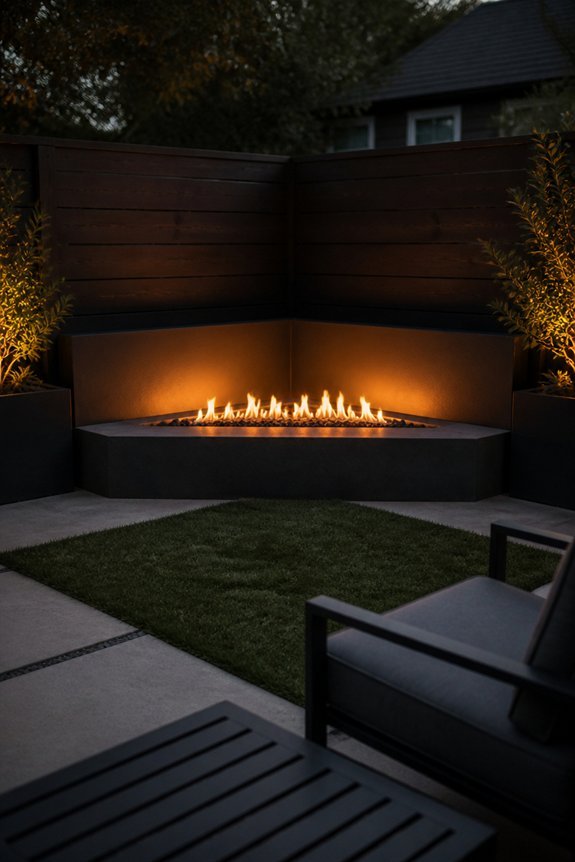
A steel cube or rectangular frame fits neatly into any backyard corner. These fire pits measure 24 to 36 inches per side. They transform unused areas into cozy gathering spots without stealing valuable yard space.
Steel models handle weather exposure with ease. Most last several years with little upkeep. You can place one directly on soil or concrete. Some designs include removable grates for cooking. Others keep it simple with open tops for wood burning.
Clean lines and neutral finishes blend with modern landscaping. Choose stainless steel or powder-coated black to match your outdoor decor. No foundation or permanent construction needed. Relocate anytime you like.
Ash removal takes only a few minutes. Add a protective cover during off-seasons to extend its life.
Go Rustic: Stone and Brick Fire Pits
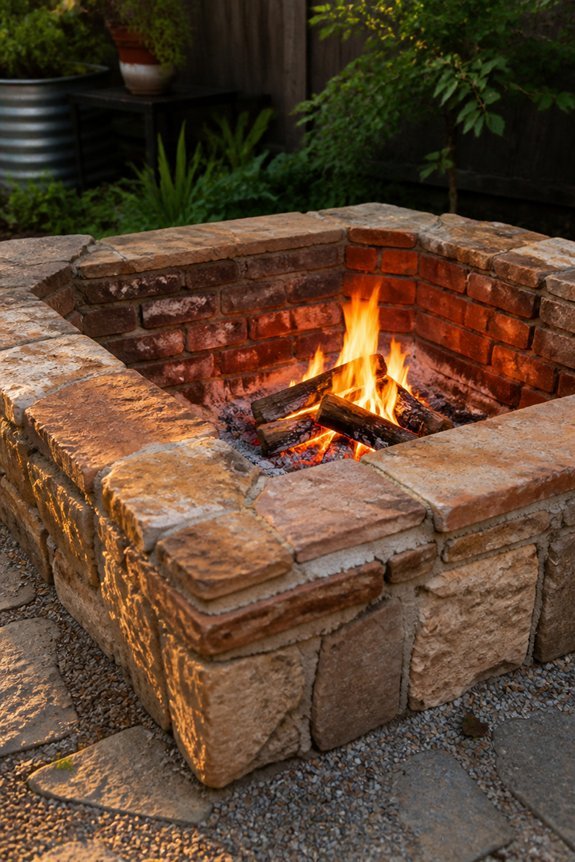
Stone and brick fire pits bring a timeless, natural look to your backyard. They pair beautifully with rustic or traditional outdoor designs.
These builds use limestone, granite, or clay brick. They last for years and become true centerpieces in your space.
You can stack stones or bricks in circles or squares around a fire basin. Both shapes work well and hold up to heat and weather.
Local stone works great. Pre-made kits save time if you prefer simpler assembly.
Start with gravel or concrete underneath. This stops the pit from sinking over time.
Good drainage keeps water from pooling below. Plan for seating around the edge to create a natural gathering spot.
Sweep out ash now and then. Check mortar for cracks each season.
Stone and brick outlast metal options by years. They cost more upfront, but you save money over time.
Sink It In: Sunken Fire Pits With Built-In Seating
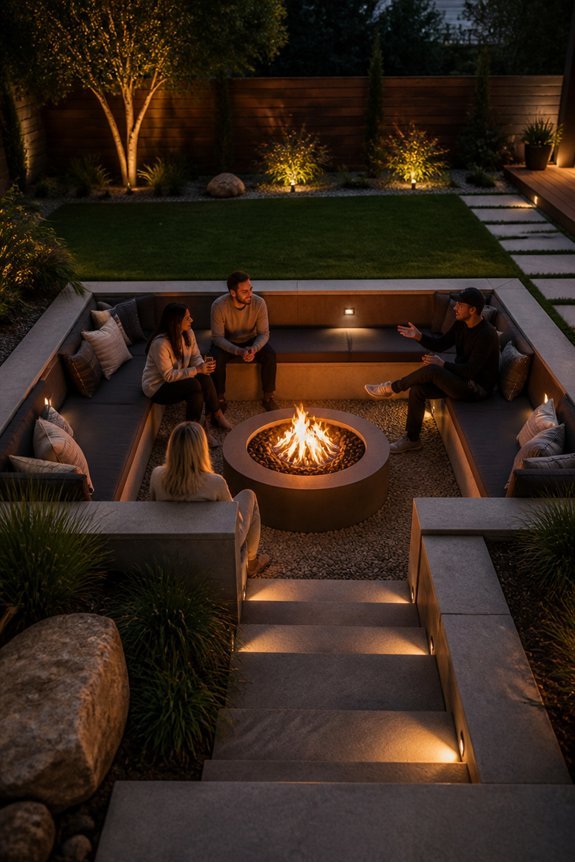
Sunken fire pits take a different approach from above-ground stone structures. They create an inset gathering space that feels more intimate and sheltered. These pits are dug into the ground. Then they are lined with brick, stone, or metal rings for safety and durability.
Built-in seating surrounds the perimeter. Homeowners can choose concrete benches, stacked stone, or wooden platforms. This design offers several practical benefits. Wind exposure is reduced. Flames stay contained. Designated seating means no need to move chairs around.
Proper drainage is essential during installation. This prevents water from pooling in the pit. Always check local building codes before starting construction.
Limestone, granite, and fire-rated concrete work well for bench surfaces. These materials handle heat and weather beautifully.
Corner locations suit sunken pits perfectly. They turn unused spaces into functional gathering areas. The design also blends smoothly with surrounding landscaping.
Small Space Solution: Compact Tabletop Fire Bowls
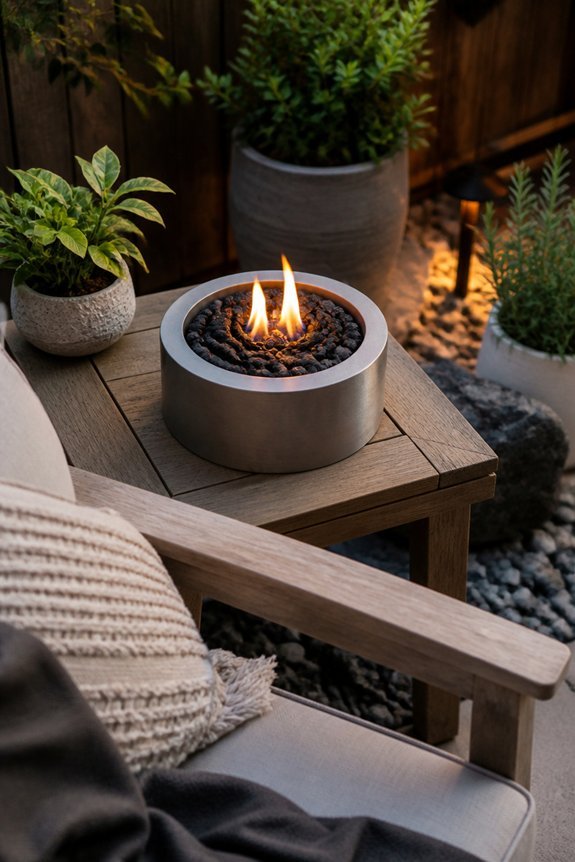
Tabletop fire bowls work well for small outdoor spaces. They sit right on your existing table or patio. No major installation needed.
Popular options include the Solo Stove Tabletop and Breeo Tabletop Fire Bowl. Both fit nicely in tight gathering spots.
These units run on bioethanol fuel or gel canisters. No wood to store. No ash to clean up. No ventilation required.
Most bowls measure 12 to 18 inches across. They give off gentle heat perfect for cozy settings.
Keep your fire bowl away from anything flammable. Place it on a sturdy, level surface. Leave enough room overhead from structures like awnings or umbrellas.
Apartment balconies, tiny patios, and compact courtyards all benefit from these space-smart solutions.
Double Duty: L-Shaped Bench and Fire Combos
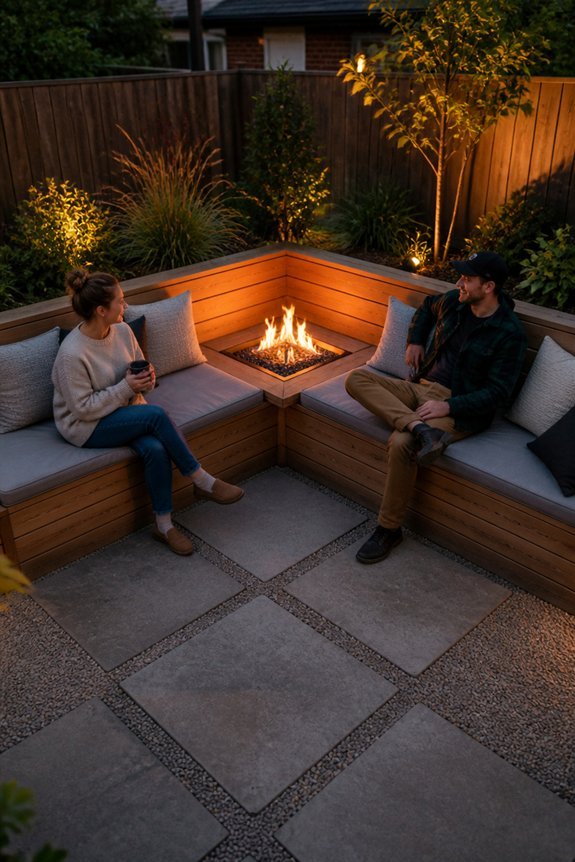
L-shaped bench and fire combos serve larger gatherings. They merge seating and warmth into one unified structure. Seating runs along two perpendicular sides with the fire centered at the corner.
Common materials include concrete, stone, or metal frames. These pair well with cushioned seating for comfort. Multiple guests can gather at once, which makes entertaining simple. Some models include built-in storage beneath the benches. This space works well for firewood or outdoor supplies.
These designs offer clear advantages. They save space and encourage conversation. The integrated layout also keeps everything in one spot. Corner areas of yards become useful with this setup. Otherwise empty spaces turn into social hubs.
Level ground is essential for installation. Clearance from overhead branches matters too. Upkeep is straightforward. Wipe down seating surfaces regularly. Remove ash from fire components as needed.
Budget Pick: Gravel Ring Fire Pits
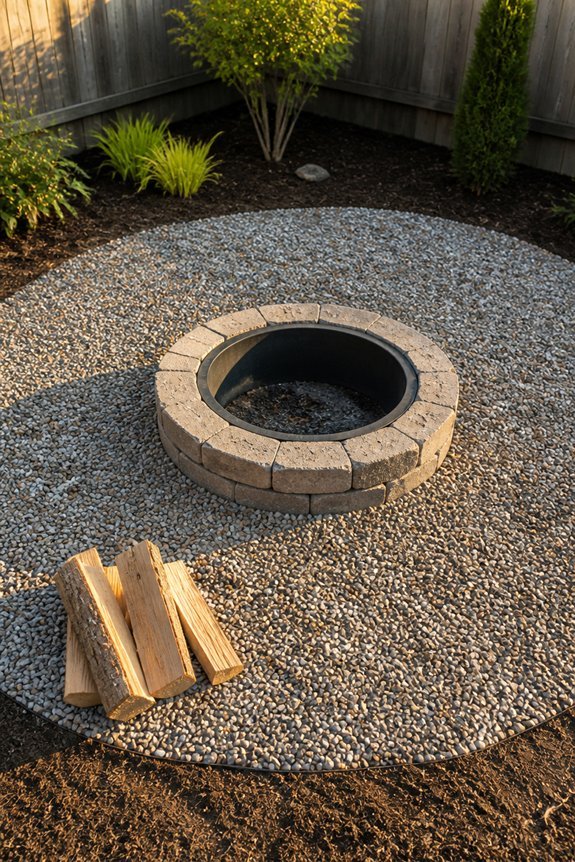
Many homeowners choose gravel ring fire pits. They cost little and build quickly.
This design uses stones or pavers in a circle. The center fills with gravel and fire-safe materials.
You need few tools for this method. Most budgets can handle it. Gather rocks from your yard. Buy affordable pea gravel. Arrange everything where you want it.
The gravel layer protects the ground below. Heat won’t damage what’s underneath.
Rake the gravel now and then. Replace stones if heat cracks them. Taking apart the pit later takes little work. This suits temporary or seasonal setups.
The design keeps things simple. It focuses on function rather than looks.
Add Shade: Fire Pits Under Corner Pergolas
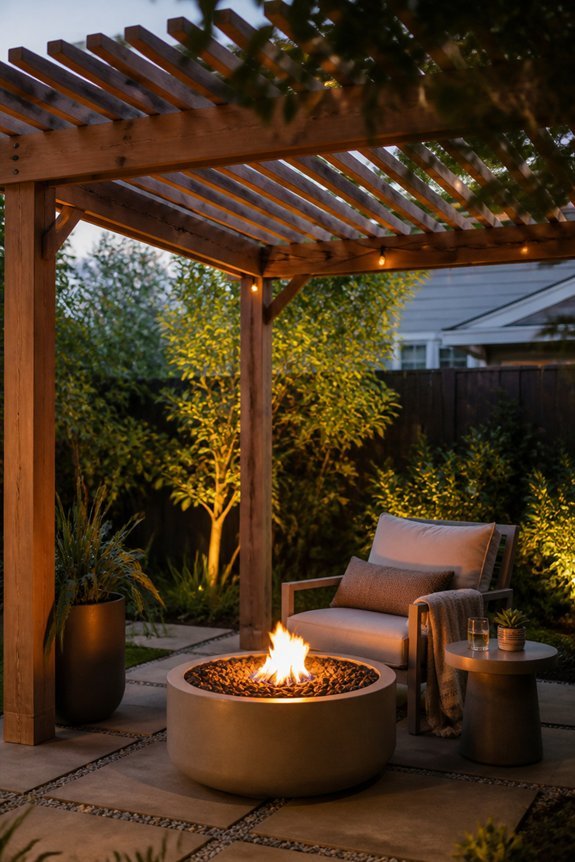
A corner pergola gives your fire pit a cool, shaded spot to gather. It blocks harsh sun and makes warm afternoons much more enjoyable. You can turn an unused corner into something special without losing sight of the yard.
Wood, vinyl, or metal frames all work well here. Add climbing vines for extra shade that grows fuller each season. The open roof lets smoke rise and escape safely.
Slatted roofs create gentle light patterns below. Corner placement needs proper clearance from fences and buildings. Check local codes before you build.
These setups handle benches, chairs, or small tables with ease. Host friends or unwind alone. The space adapts to your needs.
Layer It: Tiered Garden Beds With Central Fire
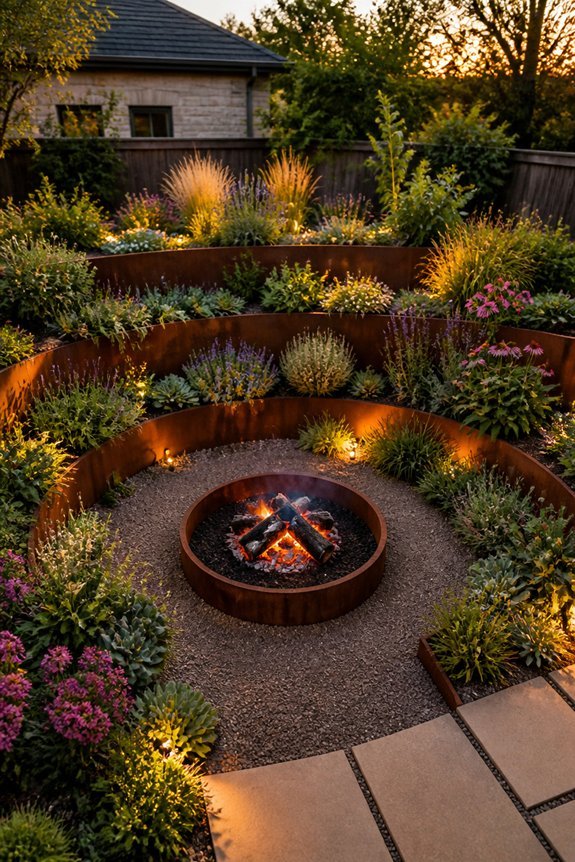
Tiered garden beds surrounding a center fire pit create distinct zones. They combine visual interest with practical growing space.
The elevated beds step upward in concentric circles. Wood or stone construction works best for this layout. Homeowners can grow herbs, vegetables, and ornamental plants at varying heights. This improves drainage and makes tending easier.
The central fire pit draws the eye naturally. The surrounding beds offer built-in seating and clear gathering spaces. Cedar, composite lumber, or stacked stone suit most budgets and styles.
Lavender, rosemary, and low shrubs thrive in these conditions. The design squeezes maximum use from small or corner spaces. You get a functional entertainment area with gardening built right in.
Quick Fix: Metal Fire Baskets
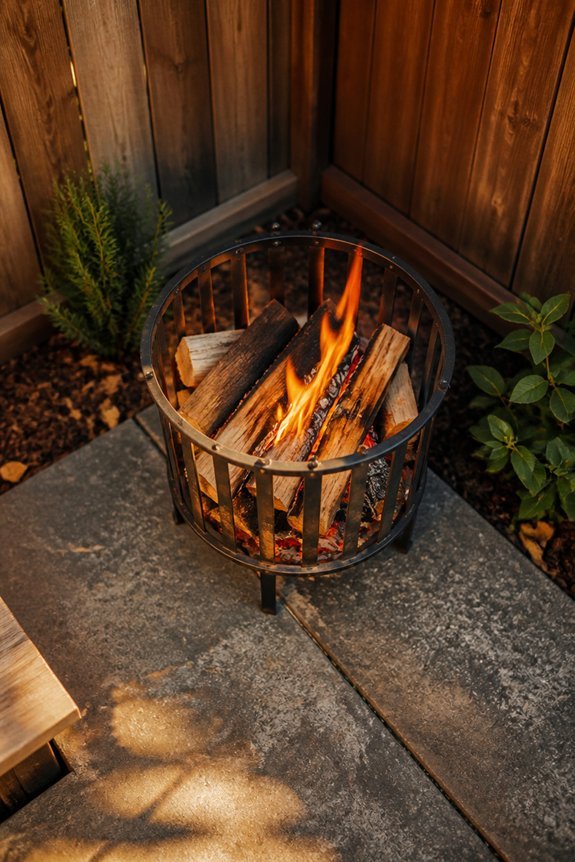
Metal fire baskets provide a fast solution for homeowners. You get a functional fire pit without heavy construction or planning.
These portable containers hold firewood and flames. They only need a flat surface to work. Styles range from square designs to round bowls. Some sit on elevated stands for added height.
Popular brands include Solo Stove and Tiki Brand. Sizes vary from 24 inches to 36 inches in diameter. You can find one that fits your space perfectly.
Setup is simple. Place the basket on level ground. Keep it away from buildings and low branches. Add firewood and light it up. The metal cools fast after use. This makes moving it easy.
Metal baskets fit nicely in corners, patios, or gardens. You get instant fire pit function. No permanent installation needed. No site prep required.
Go Natural: Stone Circle Fire Pits
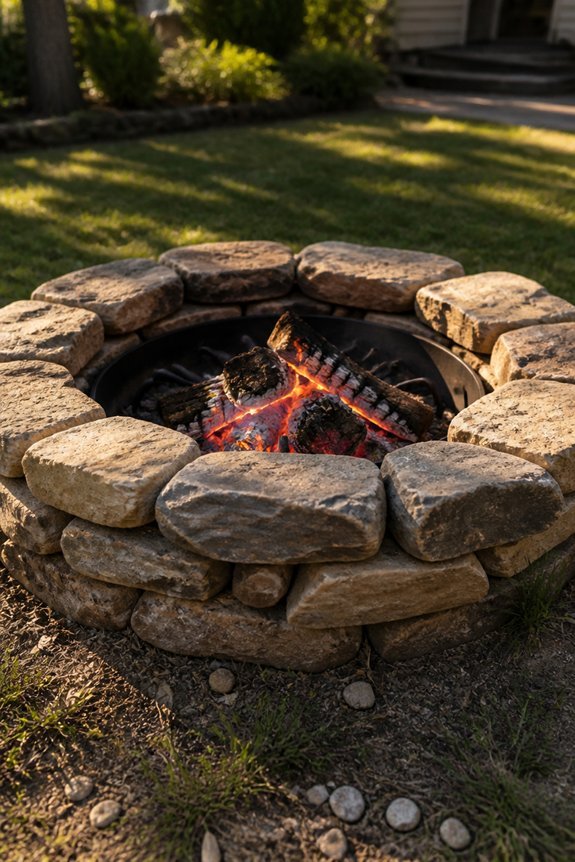
Stone circles offer a permanent fire pit option for homeowners seeking a natural aesthetic. These installations use stacked or arranged stones to create a defined burning area. The typical size ranges from four to six feet in diameter.
Natural materials work best for construction. Granite, limestone, and fieldstone provide durability and heat retention. The stones create a functional barrier that contains flames and ash. They also allow air circulation underneath.
Installation requires a level ground surface. Professionals can grade uneven areas beforehand if needed. Stone circles suit corner spaces effectively. They transform unused portions of your yard into inviting gathering areas.
Maintenance is straightforward. Simply inspect the stones periodically and remove ash buildup. This approach eliminates the need for portable equipment. It also creates a semi-permanent landscape feature.
Stone circles complement various yard styles. They withstand seasonal weather changes without significant deterioration.
DIY for Less: Cinder Block Fire Pits
Build Your Own for Under $100
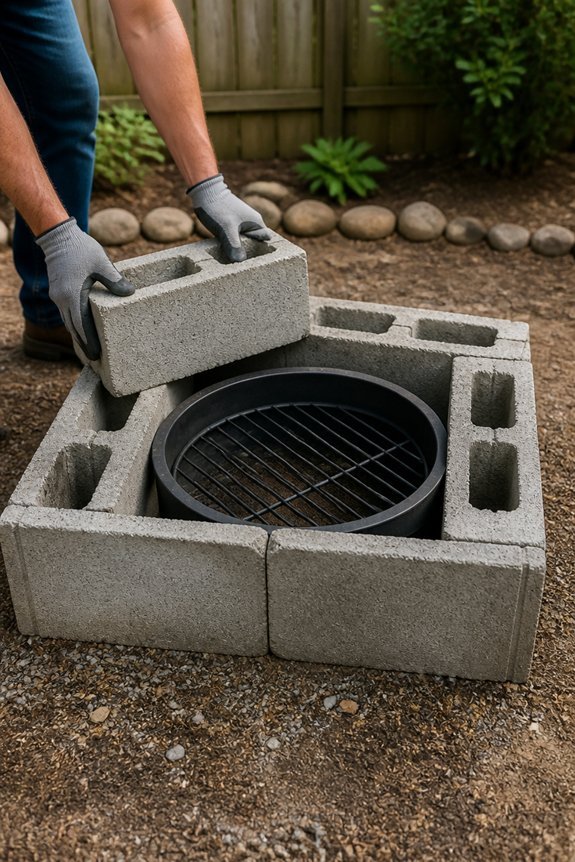
Cinder block fire pits fit tight budgets. You can skip professional help entirely. These blocks stack by hand. No mortar needed. No special tools required.
A simple circle works best. Use 40 to 50 blocks total. Stack them 3 or 4 layers high. This gives you a 3- to 4-foot opening inside. That’s plenty of room for backyard fires.
What You’ll Need
Gather cinder blocks, landscape fabric, gravel, and a metal grate. Pick level ground first. Lay the fabric down inside your circle. Pour gravel over it. This drains water and protects your base.
Top it with a metal grate. Now you can cook burgers. Or just keep flames contained.
Why This Works
Stone and brick cost far more. Cinder blocks hold up just as long. They handle heat well. They survive weather year after year. You get durability without the price tag.
Upscale Option: Built-In Corner Fireplaces
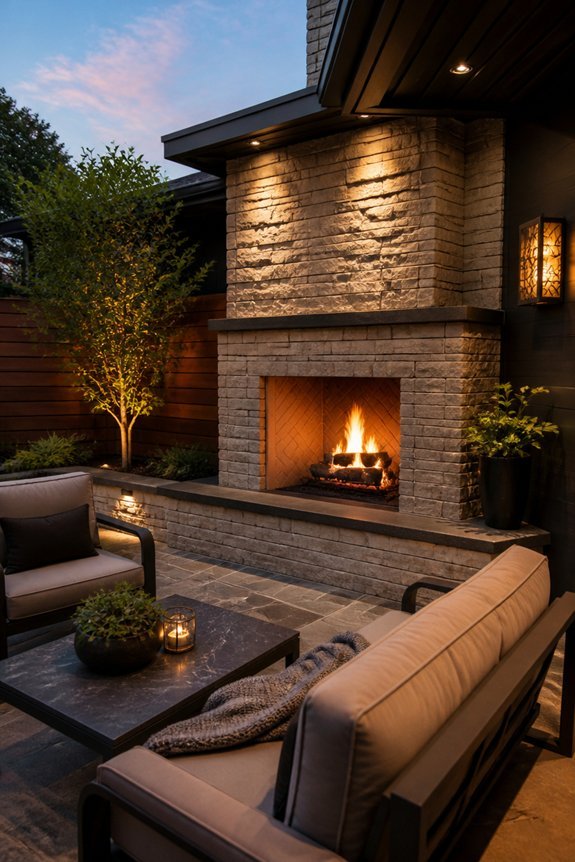
A corner fireplace brings new life to any backyard. It creates a true outdoor living space for everyday enjoyment.
Built-in corner fireplaces offer a lasting, polished look. They turn unused corners into warm gathering spots. Most are built from brick or stone for both beauty and strength.
Homeowners can pick from wood-burning, gas, or electric models. Local rules and personal taste will guide this choice. A pro should check chimney placement, airflow, and foundation needs before work begins.
Expect to invest in firebrick, mortar, grates, and steel frames. These quality materials cost more than portable units. The trade-off is a fixture that boosts home value and stands up to years of weather.
Built-in units need little care beyond yearly checkups. Arrange seating nearby to create a natural focal point. Your outdoor space becomes an inviting place to relax with family and friends.
Cheapest Route: Drum and Barrel Fire Pits
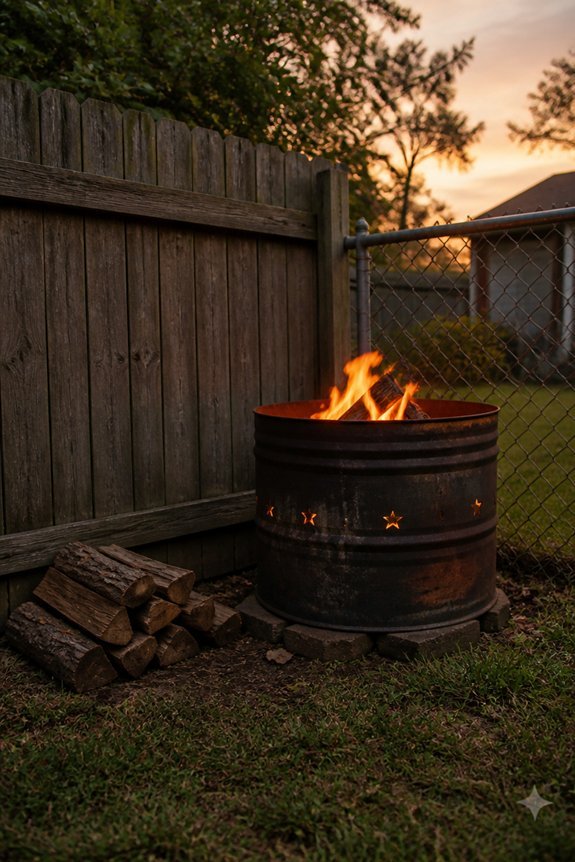
These fire pits give homeowners a simple, low-cost option. You get warmth and atmosphere without building a permanent structure.
Metal containers create the fire chamber. Most people use 55-gallon drums or smaller barrels. Steel holds up well and keeps heat where you need it. Setup takes little time. Find flat ground and add a grate for firewood. Drill holes near the bottom for airflow. Prices run $50 to $200 based on size and extras.
Placement takes some thought. Corner spots work nicely. Keep a safe distance from buildings and trees. Empty ashes often and treat rust spots when they appear. Your fire pit will last much longer with basic care.
Frequently Asked Questions
What Safety Precautions Should I Take Before Installing a Corner Fire Pit?
Check your local building codes before you start anything. Some areas require permits, and it’s a lot easier to sort that out early than after the pit is built.
Clear out flammable material within about ten feet of the space. That includes dry leaves, mulch, and anything else that could catch quickly.
Good drainage and heat-resistant materials matter too. Keep enough distance from your house, fence, and any plants nearby so everything stays safe once the fire’s going.
Do I Need a Permit or Inspection for a Backyard Fire Pit Installation?
Most areas do require some kind of permit or inspection, though it varies quite a bit depending on where you live. Your local building department is the best place to check before you buy materials.
They’ll be able to tell you about setback distances and any construction standards you need to follow. It only takes a phone call or a quick look at their website.
Skipping this step can cause headaches later, especially if you ever sell your home. It’s worth the extra ten minutes upfront.
How Do I Maintain and Clean My Fire Pit Throughout the Year?
Regular ash removal is the biggest habit to build. Doing it after every few uses keeps things from piling up and looking neglected.
Check your grates now and then for rust or damage, and give surfaces a wipe down when they start looking dusty or sooty. Small maintenance like this adds years to your setup.
If water tends to pool in your pit, drain it promptly so it doesn’t sit there. A cover during the off season also helps protect everything until you’re ready to use it again.
What’s the Best Fuel Type for Corner Fire Pits in Residential Areas?
Seasoned hardwood is your best bet here. It burns efficiently and doesn’t produce nearly as much smoke as other options.
Try to avoid softwoods and anything treated, since both tend to smoke more and can release fumes you don’t want drifting toward your house or your neighbors.
If you live somewhere with tighter restrictions on smoke, hardwood is usually the safest choice to stick with.
How Far Should a Fire Pit Be From My House or Fence?
You’ll want at least 10 to 15 feet of clearance from your house, and 5 to 10 feet from any fence line. That gap gives you a real safety buffer.
This distance also protects your siding and fencing from heat damage over time, which isn’t always obvious until it’s already happened.
Leaving that extra room means easier access in an emergency too, so it’s worth resisting the urge to tuck your pit in tighter than that.
CONCLUSION
That awkward, unused corner of your yard has more potential than it gets credit for. I’ve seen it happen in my own backyard, where the least-used spot became the one everyone gravitated toward once there was a reason to sit there.
You don’t need the biggest budget to make it work either. A cinder block build can hold up just as well as something built by a pro, it just takes a bit more elbow grease on your end.
Stone circles, sunken pits, corner pergolas, there’s a version of this for every yard size and every comfort level with DIY. The trick is picking the one that actually fits how you plan to use the space, not just the one that looks best in photos.
Think about your maintenance tolerance too. A drum fire pit needs more upkeep than a built-in fireplace, but it also costs a fraction of the price to get started.
Whatever direction you go, that corner is waiting to become somewhere people want to sit. Give it a little attention and it’ll pay you back all season long.
I’d love to know which style you’re leaning toward, or if you’ve already turned a corner of your own yard into something like this. Leave a comment and let me know how it turned out.


